


Java Platform SE binary has stopped working on Windows 11/10
Java-based applications generally run smoothly with a few occasional crashes here and there. One of these most discussed errors is «Java (TM) Platform SE binary has stopped workingWhich some users have reported witnessing while trying to run Java-based applications on their systems. In most cases, the conflict between the graphics card driver and the Java platform is the root cause. If you are facing the same dilemma, follow these solutions.
Solution 1: update the graphics card driver
The graphics card driver update should work.
We have shown how to easily upgrade an NVIDIA card. If you are using a Radeon or Intel card, the steps are different but the method is similar.
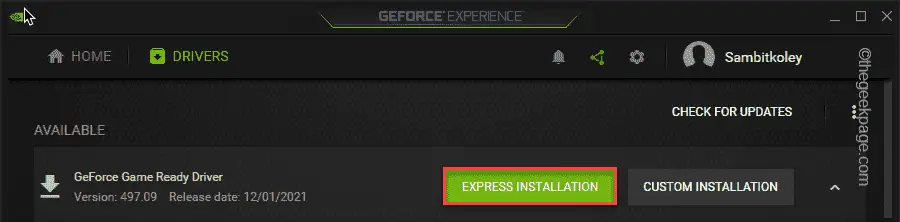
1. First, open Geforce Experience.
2. When GeForce Experience opens, click the button «CONDUCTORS” area.
3. After that, tap «DESCARGAR“.
Now, Geforce Experience will download the latest driver for your card.
4. Once done, tap «quick Install“.
Now, follow the instructions on the screen to complete the installation.
After installing the driver, restart the system once. This will solve the problem you are facing.
Solution 2: uninstall and reinstall Java
You can uninstall and reinstall the Java tools on your system.
Paso 1
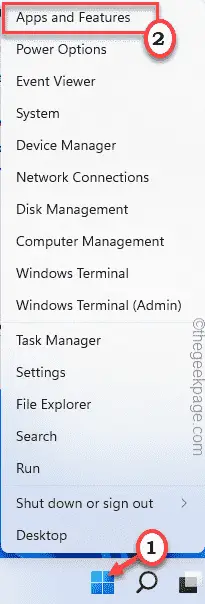
1. First, press the Tecla de Windows + X keys together.
2. Then tap «Apps and Features”To open the Settings page.
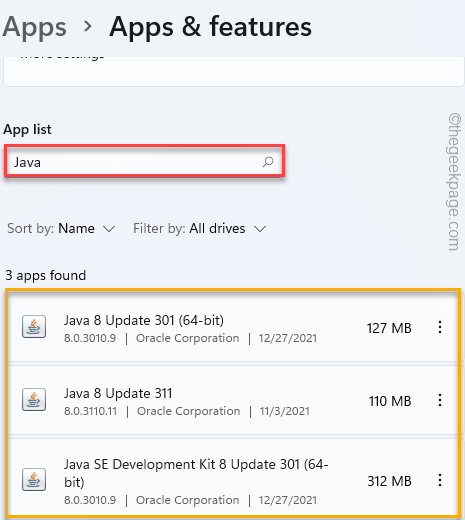
3. Now, on the right side, write «Java”In the search box.
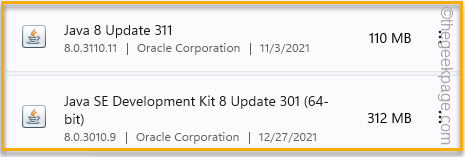
4. These will open the list of Java applications on your system.
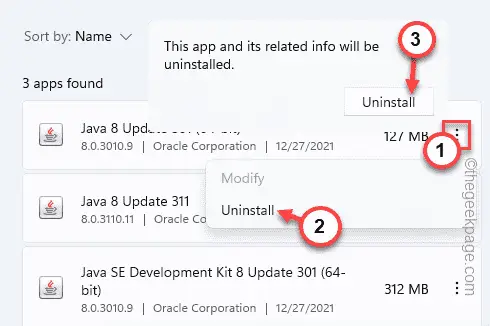
5. After that, tap on the three-dot menu next to the first Java application and tap «Uninstall“.
6. Once again, confirm your action, tap «Uninstall“.
This will uninstall the Java application from your system.
7. Now, following the same method, uninstall other Java applications from the list.
After that, close the Settings.
Paso 2
Now, you need to download the latest version of the Java Toolkit and install it.
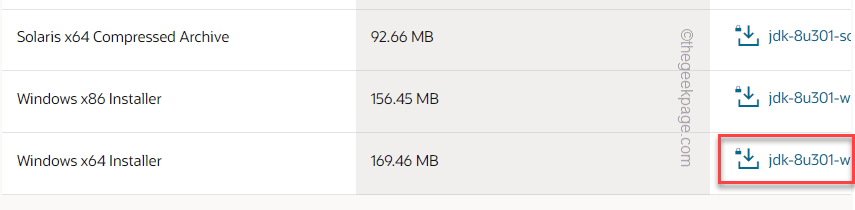
1. First, open the Java file download section.
2. Then choose the correct utility and version to download and tap on it.
3. You must log in with your Oracle credentials. This will start the download process.
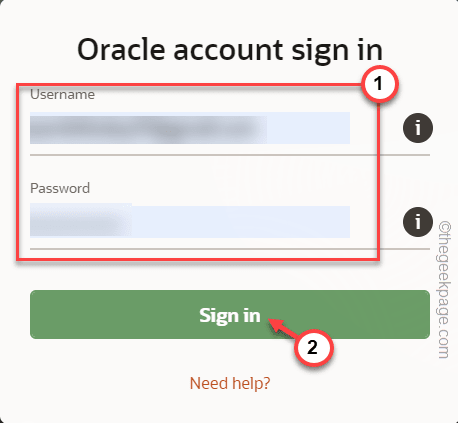
Once you have downloaded it, close your browser window.
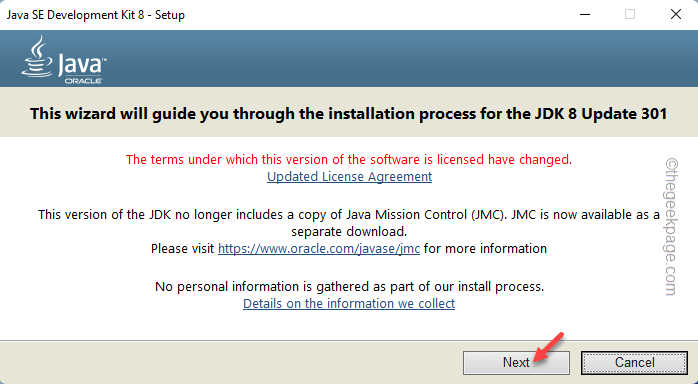
4. After that, double click in the downloaded installation file.
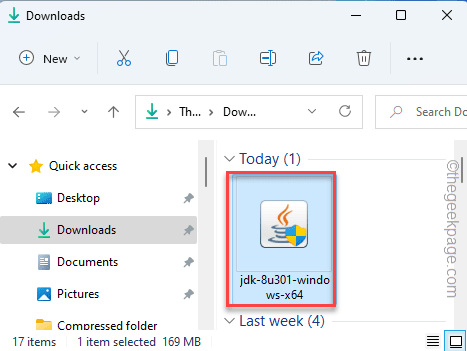
5. Then tap «next”To install the various Java utilities on your system.
Now try using the Java based application and test whether you still see the same error message or not.
Solution 3: modify environment variables
Setting new environment variables should solve the problem you are currently facing.
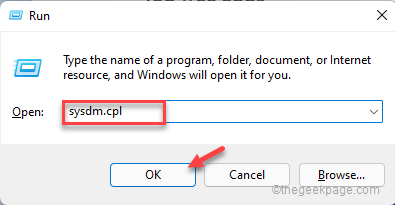
1. First, press the Tecla de Windows + R keys together.
2. Then type this UTR command and tap «OK“.
sysdm.cpl
This will open the System Properties window.
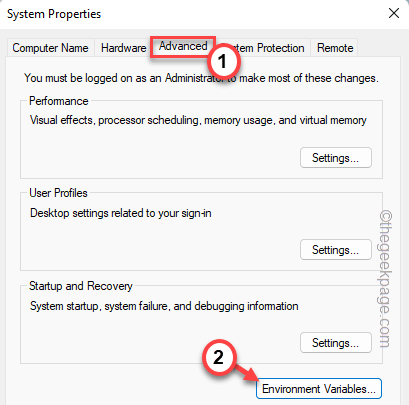
3. When the System Properties panel opens, go to the «Advanced” tab.
4. Here, touch the «Environment Variables... ”.
5. Now click on «New…”Option to create a new variable.
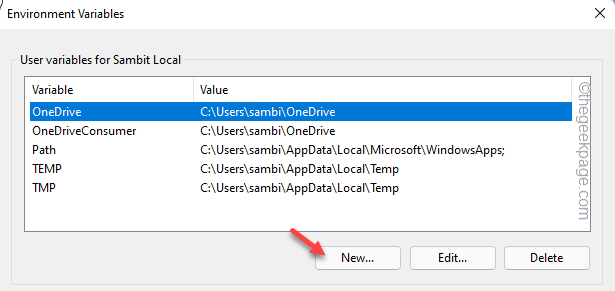
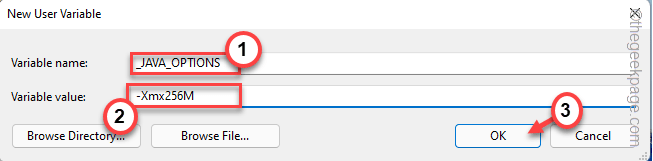
6. Then write «_JAVA_OPTIONS”In the variable name box.
7. After that, write «-Xmx256M“In the value section of the variable.
8. Finally, touch «OK”To save the change.
9. Returning to the Environment Variables page, tap «OK”To save the changes.
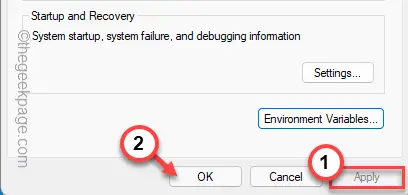
10. Finally, touch the button «Request” Y “OK»Option.
After that, close the System Properties window. Now, restart the machine once.
You will no longer see the Java error message on your system.
Solution 4: run a script
You can create and run a simple script to remove all the old Java from the system.
1. First, start Notepad.
2. Then, copy get all these lines in Notepad.
#This script is used to remove any old Java versions, and leave only the newest.
#Original author: mmcpherson
#Version 1.0 - created 2015-04-24
#Version 1.1 - updated 2015-05-20
# - Now also detects and removes old Java non-update base versions (i.e. Java versions without Update #)
# - Now also removes Java 6 and below, plus added ability to manually change this behaviour.
# - Added uninstall default behaviour to never reboot (now uses msiexec.exe para uninstall)
#Version 1.2 - updated 2015-07-28
# - Bug fixes: null array and op_addition errors.
# IMPORTANT NOTE: If you would like Java versions 6 and below to remain, please edit the next line and replace $true with $false
$UninstallJava6andBelow = $true
#Declare version arrays
$32bitJava = @()
$64bitJava = @()
$32bitVersions = @()
$64bitVersions = @()
#Perform WMI query to find installed Java Updates
if ($UninstallJava6andBelow) {
$32bitJava += Get-WmiObject -Class Win32_Product | Where-Object {
$_.Name -match "(?i)Java((TM))*sd+(sUpdatesd+)*$"
}
#Also find Java version 5, but handled slightly different as CPU bit is only distinguishable by the GUID
$32bitJava += Get-WmiObject -Class Win32_Product | Where-Object {
($_.Name -match "(?i)J2SEsRuntimesEnvironmentsd[.]d(sUpdatesd+)*$") -and ($_.IdentifyingNumber -match "^{32")
}
} else {
$32bitJava += Get-WmiObject -Class Win32_Product | Where-Object {
$_.Name -match "(?i)Java(((TM) 7)|(sd+))(sUpdatesd+)*$"
}
}
#Perform WMI query to find installed Java Updates (64-bit)
if ($UninstallJava6andBelow) {
$64bitJava += Get-WmiObject -Class Win32_Product | Where-Object {
$_.Name -match "(?i)Java((TM))*sd+(sUpdatesd+)*s[(]64-bit[)]$"
}
#Also find Java version 5, but handled slightly different as CPU bit is only distinguishable by the GUID
$64bitJava += Get-WmiObject -Class Win32_Product | Where-Object {
($_.Name -match "(?i)J2SEsRuntimesEnvironmentsd[.]d(sUpdatesd+)*$") -and ($_.IdentifyingNumber -match "^{64")
}
} else {
$64bitJava += Get-WmiObject -Class Win32_Product | Where-Object {
$_.Name -match "(?i)Java(((TM) 7)|(sd+))(sUpdatesd+)*s[(]64-bit[)]$"
}
}
#Enumerate and populate array of versions
Foreach ($app in $32bitJava) {
if ($app -ne $null) { $32bitVersions += $app.Version }
}
#Enumerate and populate array of versions
Foreach ($app in $64bitJava) {
if ($app -ne $null) { $64bitVersions += $app.Version }
}
#Create an array that is sorted correctly by the actual Version (as a System.Version object) rather than by value.
$sorted32bitVersions = $32bitVersions | %{ New-Object System.Version ($_) } | sort
$sorted64bitVersions = $64bitVersions | %{ New-Object System.Version ($_) } | sort
#If a single result is returned, convert the result into a single value array so we don't run in to trouble calling .GetUpperBound later
if($sorted32bitVersions -isnot [system.array]) { $sorted32bitVersions = @($sorted32bitVersions)}
if($sorted64bitVersions -isnot [system.array]) { $sorted64bitVersions = @($sorted64bitVersions)}
#Grab the value of the newest version from the array, first converting
$newest32bitVersion = $sorted32bitVersions[$sorted32bitVersions.GetUpperBound(0)]
$newest64bitVersion = $sorted64bitVersions[$sorted64bitVersions.GetUpperBound(0)]
Foreach ($app in $32bitJava) {
if ($app -ne $null)
{
# Remove all versions of Java, where the version does not match the newest version.
if (($app.Version -ne $newest32bitVersion) -and ($newest32bitVersion -ne $null)) {
$appGUID = $app.Properties["IdentifyingNumber"].Value.ToString()
Start-Process -FilePath "msiexec.exe" -ArgumentList "/qn /norestart /x $($appGUID)" -Wait -Passthru
#write-host "Uninstalling 32-bit version: " $app
}
}
}
Foreach ($app in $64bitJava) {
if ($app -ne $null)
{
# Remove all versions of Java, where the version does not match the newest version.
if (($app.Version -ne $newest64bitVersion) -and ($newest64bitVersion -ne $null)) {
$appGUID = $app.Properties["IdentifyingNumber"].Value.ToString()
Start-Process -FilePath "msiexec.exe" -ArgumentList "/qn /norestart /x $($appGUID)" -Wait -Passthru
#write-host "Uninstalling 64-bit version: " $app
}
}
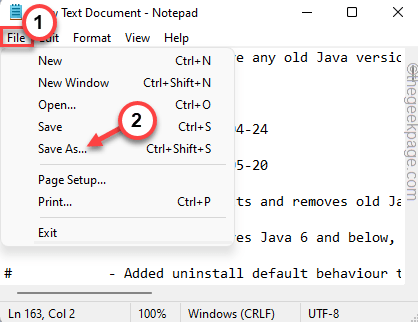
}3. Then tap «Archive«And touch the»Save as»Option.
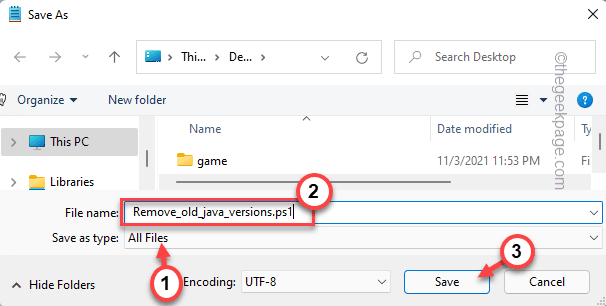
4. Select the file type as «Whole archives».
5. After that, name it «Remove_old_java_versions.ps1«And touch»Save money”To save the script.
After you’ve saved the file, close Notepad.
6. After that, right click on this «Remove_old_java_versions“PowerShell script and tap”It runs with powershell“.
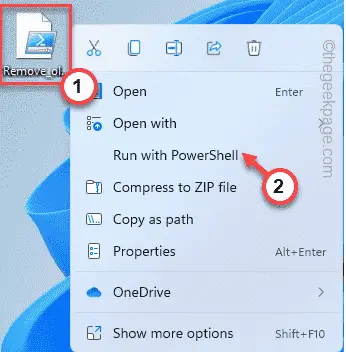
This will remove the oldest and most corrupted Java installation from your system.
Solution 5: clear the Java cache
You have to clear the Java cache.
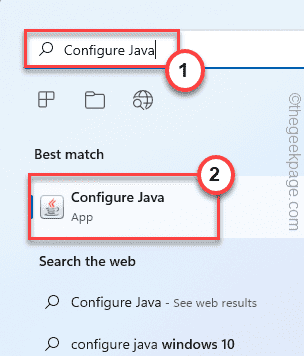
1. First, write «Configure Java”In the search box.
2. Then, tap on the «Configure Java“To access it.
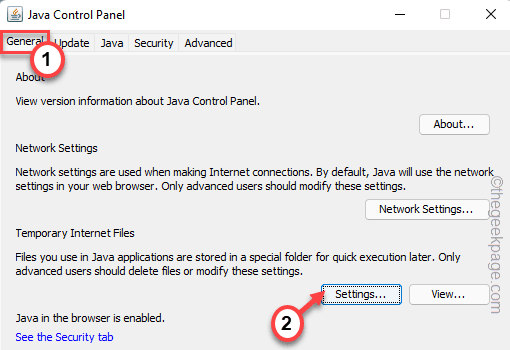
3. Now go to the «General” tab.
4. Here, touch the «Settings …“To access it.
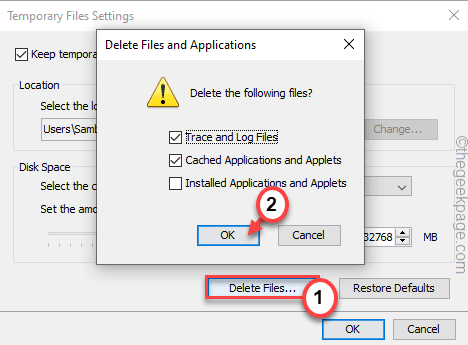
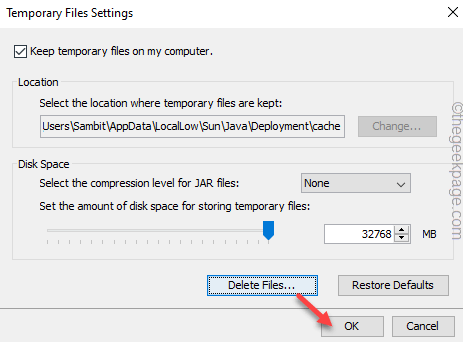
5. Now, touch «Delete files ... ”.
6. Then tap «OK“To continue.
7. Returning to the Temporary Files Settings page, tap «OK“.
Finally, when you are done, close all the windows.
Test if this solution works or not.
Solution 6: run the program in compatibility mode
There may be a compatibility problem with the Java application.
1. First, go to this location:
C:users%username%AppDataLocalMicrosoftWindowsWERReportArchive
2. Here, find the error log file.
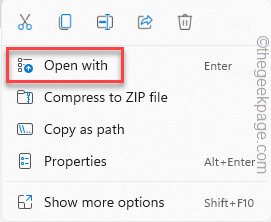
3. Then right-click on the error log and tap «To open with“.
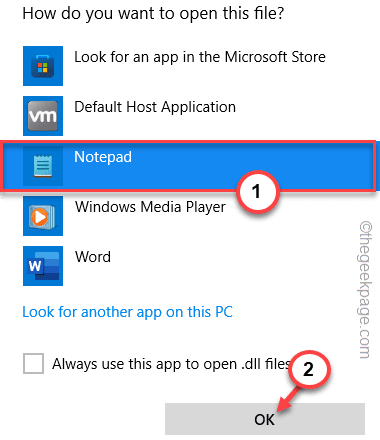
4. Now choose «Bloc“.
4. Now, find the «AppPath“. This way, you will know which Java.exe file has caused this problem.
Usually it is like this
D:appnamesubfolderocxjrebin)
5. Now navigate to the root location of this Java application.
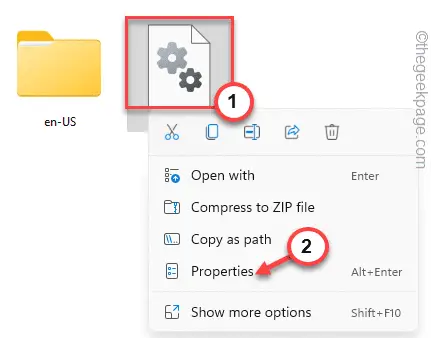
6. Then, right-click on the «Java«Application and touch»Properties (edit)“.
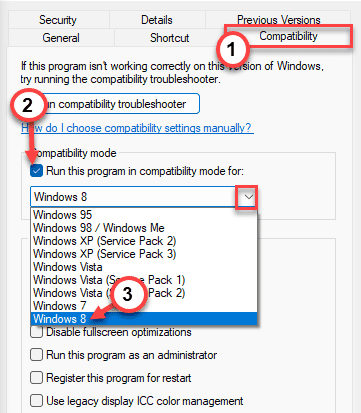
7. Then go to «Compatibility” tab.
8. After that, cheque the “Run this program in compatibility mode for:»Option.
9. Then choose «Windows 8”In the drop-down menu.
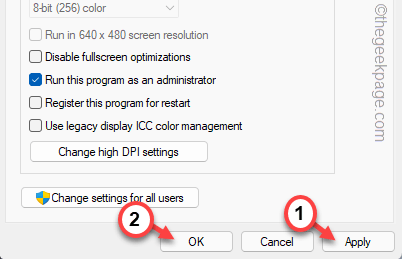
10. Then save this change with a tap on «Request” Y “OK“.
After that, log out from the web interface or whatever other service you are using. Then log in again.
Try launching the app again and check if this works or not. Your problem should be solved.
Related posts:
 How to access Steam games without an internet connection
  How to view FPS with Xbox Game Bar in Windows 10: Steps Made Easy
  Hacked account? How to check and remedy
  How to make video calls from WhatsApp Web
  How to increase the RAM memory of a desktop or laptop + Tips and Tricks
  How to organize your YouTube subscriptions into categories
+ Tips and Tricks
How to organize your YouTube subscriptions into categories
+ Tips and Tricks


