


Microsoft Visual C++ 2015 Redistributable Setup Error 0x80240017
Microsoft Visual C++ has become an integral part of the Windows operating system that is needed to run most common applications. Now, some users have recently complained about an issue they are facing while trying to install Visual C++ Redistributable Packages for 2015 or Microsoft Visual Studio Redistributable Packages for 2013. According to these users, the setup stops in the middle and appears “0x80240017 – Unspecified error“. There can be many reasons behind this failure. So without wasting your time behind the reasons for this failure, follow these quick fixes to find a quick fix.
alternative solutions –
1. Try to reboot the system. After the device reboots, try to install the redistributable packages one more time.
2. Please uninstall/disable the antivirus program on your system.
If the workarounds are not enough to resolve the issue, check out these workarounds.
Solution 1: Uninstall the existing redistributable setup file
If there is already a redistributable library file installed on your system, you must first uninstall it.
1. Simply right-click on the Windows icon and tap «Applications and features“.
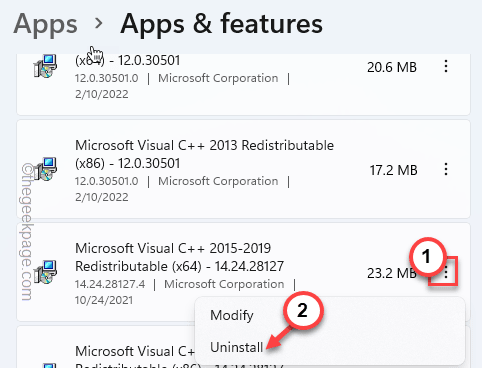
2. Simply scroll down the list of installed applications and locate any redistributable packages related to the one you are trying to install.
(As – Microsoft Visual C++ 2015-2019 Redistributable).
3. Tap on the three points menu and click “uninstall“.
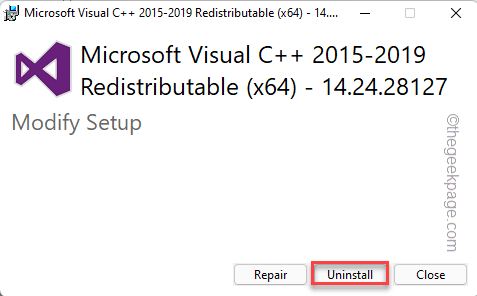
4. You can click “uninstall” once more to completely uninstall the package.
Wait until the uninstall process is complete. Then close everything and reboot your Windows machine.
Then try to install the redistributable package again. This time you will not face any more errors.
Solution 2: Empty the temporary folder
Corrupted files in the Temp folder can cause this problem.
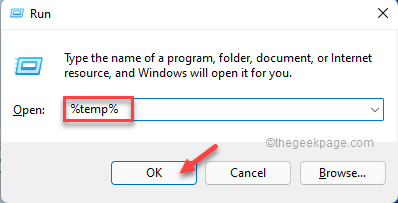
1. Press the button Windows wrench and the R keys together to access Run.
2. Then type this code and click “OK” to open the temporary folder.
%temp%
3. When Temp opens, press the Ctrl+A keys together.
4. Then press the button “Erase” on your keyboard to empty the folder.
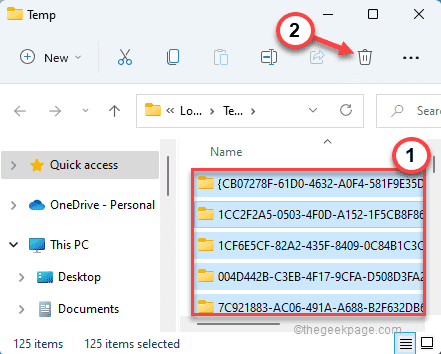
After deleting all files, close File Explorer.
Then run the redistributable packages setup to install it. If the error code continues to appear, go to the next solution.
Solution 3 – Re-register the Windows installation services
Windows Installer may not be registered.
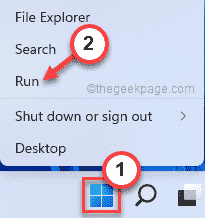
1. Right click on the windows icon and then tap on “Run» To open it.
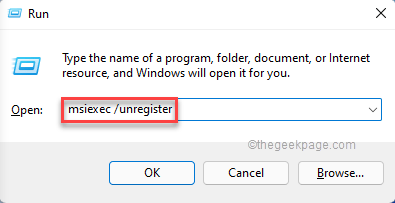
2. Now, write this in the Run terminal and hit Get into to unregister the Windows Installer service.
msiexec /unregister
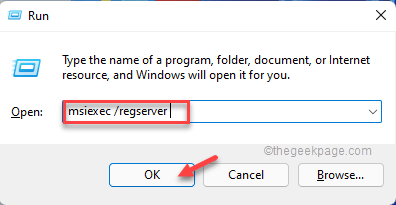
3. Again, copy take this line in Run and click “OK” re-register the Windows Installer service one more time.
msiexec /regserver
Once you’ve done that, run setup once.
You will not trip over the error code again.
Solution 4 – Check for the latest Windows updates
Lack of current update patch can cause this issue on your system.
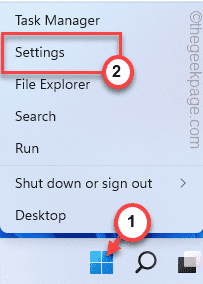
1. Right click on the windows icon on the taskbar and tap on “Settings” to access it.
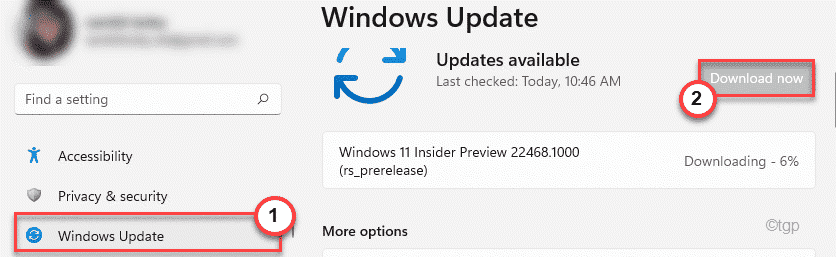
2. When Settings appears, tap on “windows update” On the left side.
4. To check for the latest update patch, tap «Search for updates“.

Windows will detect the latest patch or feature update for your system.
5. Tap on “download now” to download and install the update patch.
6. After installation is complete, you will be prompted to reboot your system. Tap on “Restart now” to reboot the system.
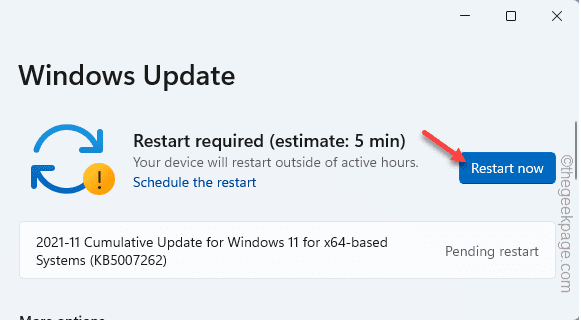
After rebooting the system, run setup again. If the problem persists, go to the next solution.
Solution 5 – Set the correct date and time
If the system is misconfigured to the wrong date and time, the setup will fail.
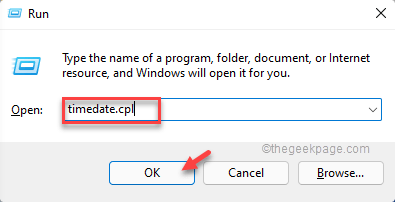
1. Pressing the tecla de Windows and the R key on your keyboard should open Run.
2. Now type “horafecha.cpl” and click “OK“.
3. When the date and time settings open, go to «Date and Time” tab.
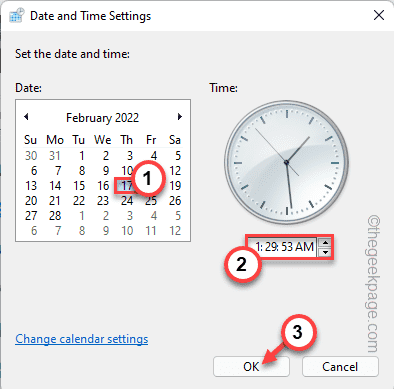
4. After that, tap «Change date and time…” to access it.
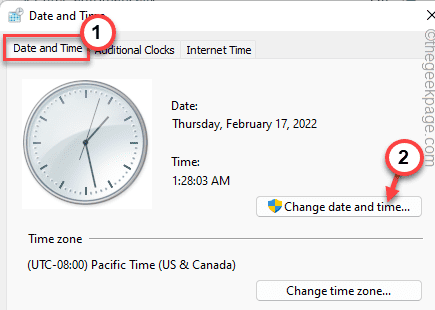
5. Now set the time according to your local time. Do the same for the date.
6. Then tap on “OK” to save the settings.
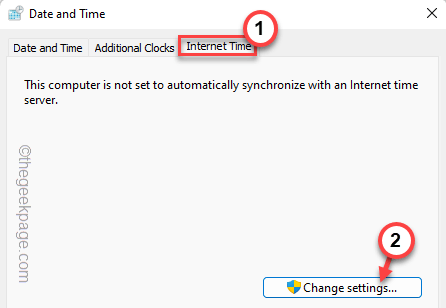
7. Once you have finished correcting the time and date, go to “internet teamsection and ”.
8. After that, tap «Change settings…“.
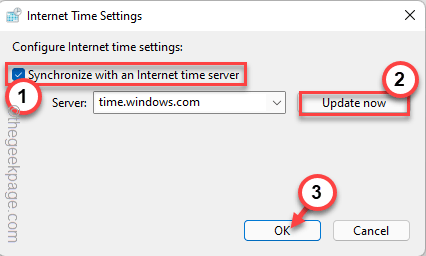
9. Then control the “Synchronize with an Internet server” cash register.
10. Now, click on “Update now” to update the time server settings.
11. Then tap on “OK” to save the changes.
12. Returning to the ‘Date and Time’ window, tap «Apply” and “OK” to save the changes.
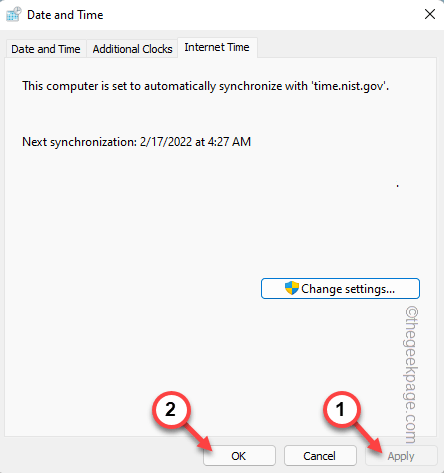
After doing this, reboot the system once. Then run the setup file one more time and check if this works.
Solution 6 – Perform a clean boot
A clean boot provides a clean experience to the setup process by stopping all interfering third-party services.
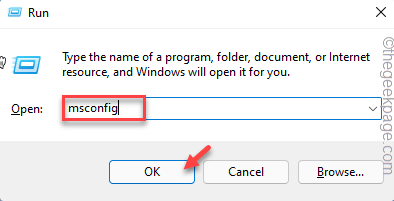
1. The Run window can be opened by pressing Tecla de Windows+R.
2. In that Run window, you can type this line and press Get into.
msconfig
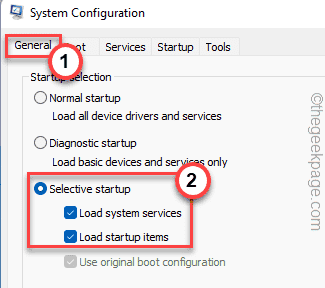
3. After that, tap on the “General” section.
4. Here, select the radio button “selective start“.
5. So, control these two options –
Load system services
Load startup items
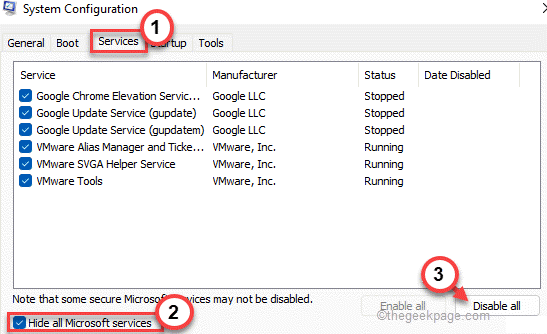
6. After doing that, go to «Services” section.
7. Here alone tick mark the “Hide all Microsoft services” cash register.
8. You will notice that all third party services are automatically selected.
9. Then click the button “disable all” option to disable all these services.
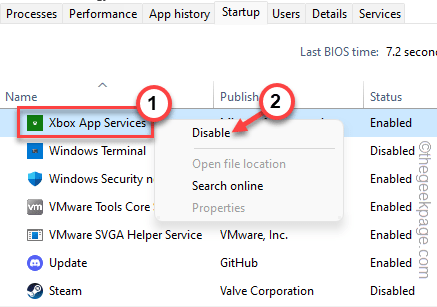
10. After disabling services, you should prevent unusual applications from starting automatically. You just have to go to the «Start up” area.
11. Here, tap on the “Open Task Manager” to access the Task Manager utility.

Task Manager will open.
12. You will notice several applications that are set to start automatically with the system.
13. Right click on each service one by one and tap «Deactivate» disable that.
In this way, make sure that you have disabled all the unwanted apps.
Close the Task Manager window when you’re done.
13. Simply click on “Apply” and then on “OK“.
After this, you will notice that a message has appeared on your screen.
14. Simply click on “Restart now” to reboot the system applying those changes.

Once your system reboots, run the redistributable package installation file one more time. Try if this works.
Solution 7 – Download the Visual C++ installation package
If the installer cannot download the correct package, you can download and install it manually.
1. Download the particular Visual package as per your requirements from these links:
Visual C++ Redistributable Package for Visual Studio 2013 – Download link
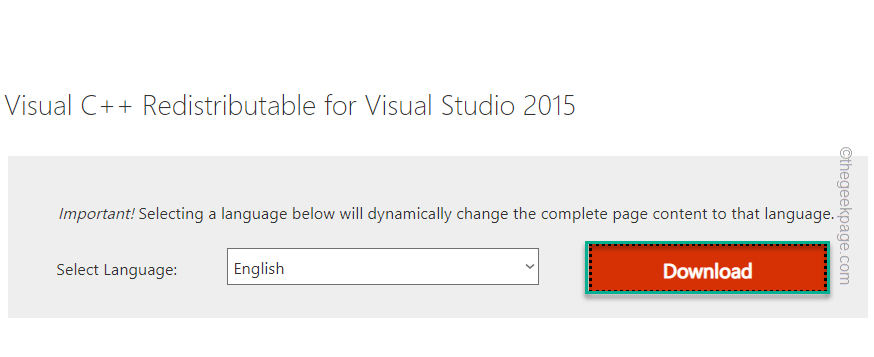
Visual C++ Redistributable Package for Visual Studio 2015 – Download link
2. When you get to the page, touch the button “Descargar” button.
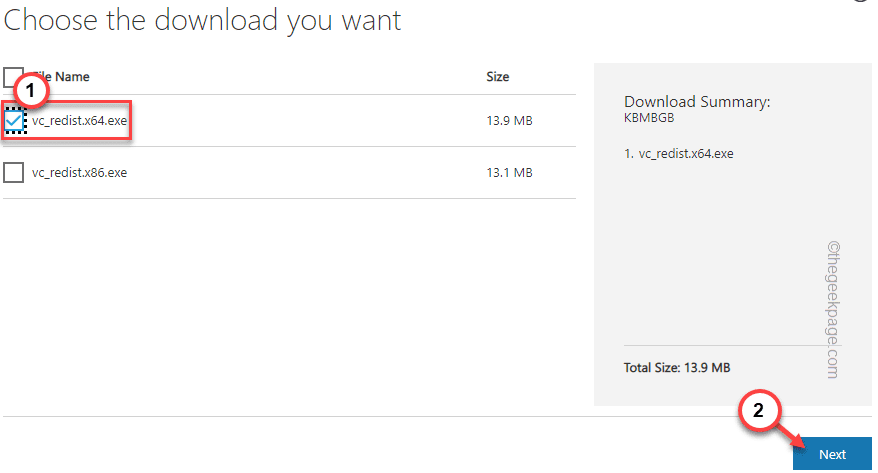
3. Here, just check the correct file according to your OS architecture.
For example, if you are using a 64-bit architecture, control “vc_redistx64.exe“.
4. Then tap on “Next” to start downloading the installation files.
5. After downloading the setup file, double click in that.
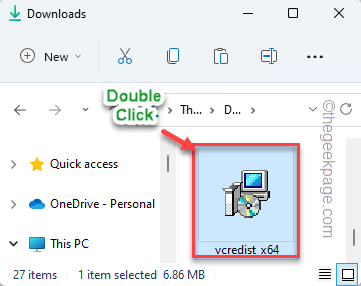
Then follow the steps on the screen to complete the process.
Check if this process helps you resolve the issue.
Fix 8: Run SFC and DISM scan
Running a simple SFC and DISM scan should
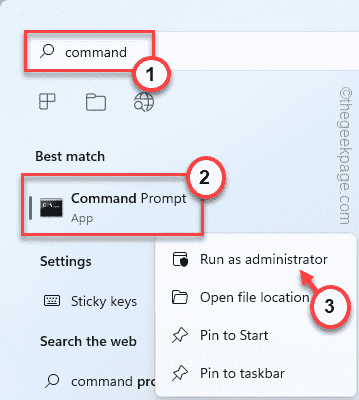
1. Type “command” in the search bar.
2. Then right click on “Symbol of the system” and touch “Execute as an administrator“.
2. Then, writes this SFC scan command and press meget in to run the SFC scan.
sfc /scannow

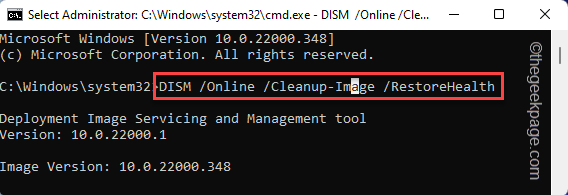
3. Once the SFC scan is complete, copy this code from here, paste it into the terminal and press the button Get into wrench.
dism online cleanup-image restorehealth
Wait until Windows finishes scanning DISM.
After running both scans, close Command Prompt. Then run the setup file once to complete the installation.
Related posts:
 How to access Steam games without an internet connection
  How to view FPS with Xbox Game Bar in Windows 10: Steps Made Easy
  Hacked account? How to check and remedy
  How to make video calls from WhatsApp Web
  How to increase the RAM memory of a desktop or laptop + Tips and Tricks
  How to organize your YouTube subscriptions into categories
+ Tips and Tricks
How to organize your YouTube subscriptions into categories
+ Tips and Tricks


