


Scratch disks are a complete problem in Adobe Photoshop
Adobe Photoshop is a great tool for editing photos, creating new intuitive GIFs, or giving your favorite old photos a breath of fresh air. While Photoshop offers such an extensive list of great tools, the error messages aren’t that great. Sometimes this error message may appear on your screen, “Your request could not be completed because the scratch disks are full.” This is just a simple case of lack of necessary free space on your hard drive. So there is nothing to worry about. You’ll be back in Photoshop very quickly.
initial solutions –
1. Close Photoshop completely and restart it. Try if this works.
2. If simply restarting Photoshop doesn’t work, try restarting your system.
Solution 1: free disk
Scratch disk issue is nothing but a storage issue.
Paso 1
1. Abra Photoshop.
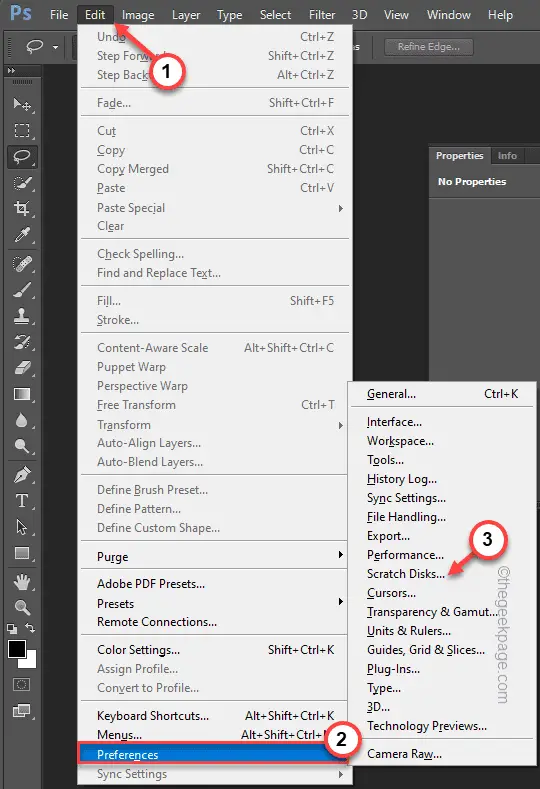
2. Then tap on “Edit” and then scroll down to the “preferences“.
3. Now from the side panel select “scratched records…“.
4. You will see which scratch disk Photoshop is using. You can also note the amount of ‘Free Space’ available for that disk.
Check whether there is at least 40GB free space available or not.
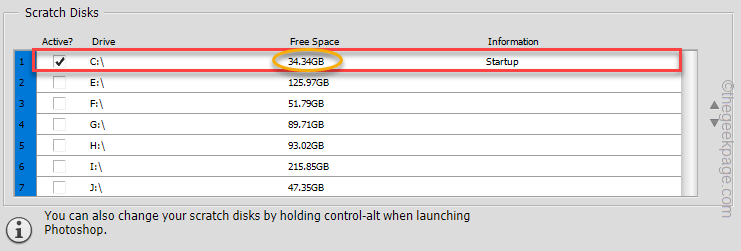
As you can see, the selected drive is “C:” and it only has 34 GB of free space. So we have to clean it up.
Paso 2
If there is not enough free space available, you need to clean the junk on that particular drive.
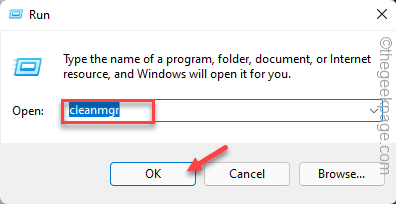
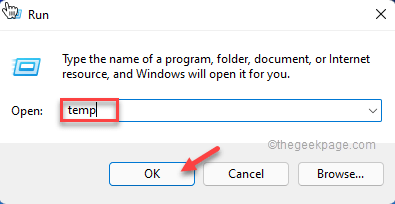
1. Pressing the Tecla de Windows+R The keys together will open the Run terminal.
2. Solo copy take this line there and touch «OK“.
cleanmgr
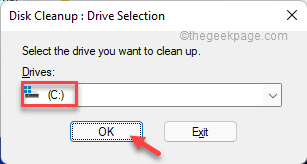
3. Once you get to the Disk Cleanup: Drive Selection window, you will see the ‘Units:‘ option.
4. Now, click on the drop down menu and select the particular drive that Photoshop is using as a scratch disk.
[It is the C: drive in our case.]
5. Finally, touch “OK“.
Wait a few seconds for Windows to determine the junk files.
5. Now, in the “Files to delete:”, check all the boxes one by one.
6. After that, click «OK” to start the cleaning process.
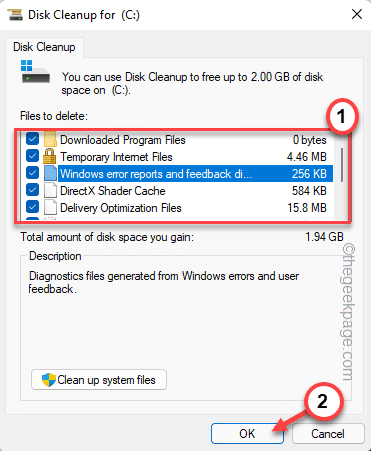
7. Simply click the button “delete files” to remove them.
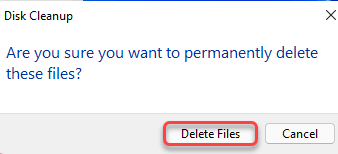
This will remove junk files from your system.
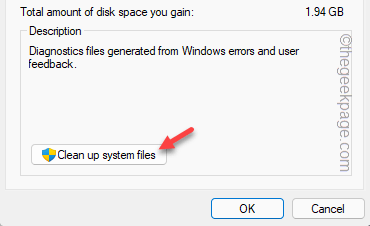
8. Now, reopen the disk cleanup tool.
9. After that, tap «Clean system files“.
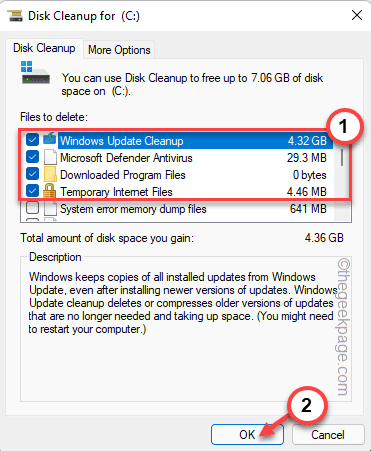
11. Again, choose the particular drive that you have chosen earlier.
12. So, control All the files.
13. Click “OK” to delete the files.
In this way, you should clear all junk files from your system. Then launch Photoshop and try.
Solution 2 – Delete temporary files
Every time you force close Photoshop instead of saving the file, it stores a temporary .PST file in Temp. Cleaning the Temp folder should work.
1. First, right-click on the windows icon and touch «Run“.
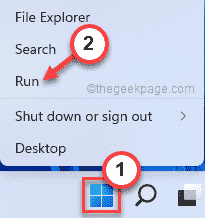
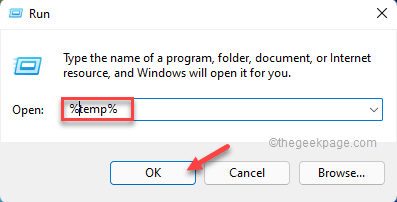
2. Then type “%temperature%” and hit Get into.
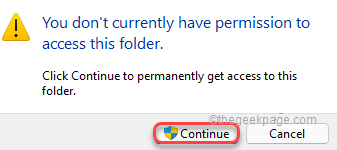
3. You may see an additional permission notice to access the folder.
Faucet “Continue“.
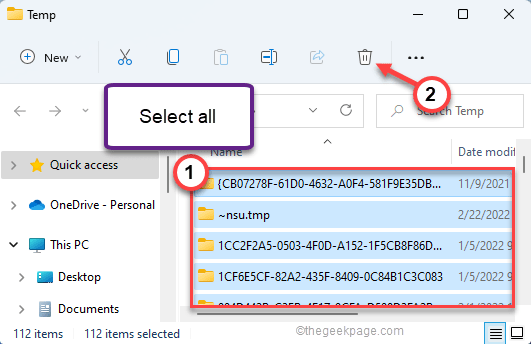
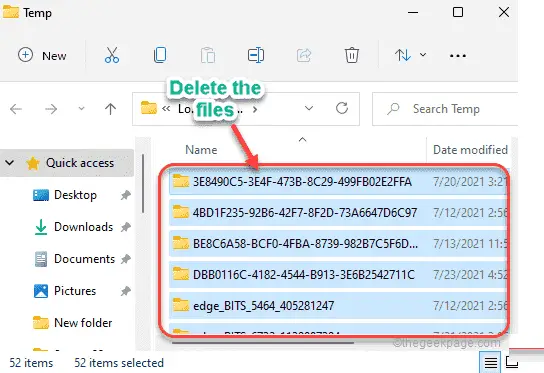
4. Inside this temporary folder, you will find many files and folders.
5. So select all of these at once and tap on the button Get rid of icon.
6. Now press the button again Tecla de Windows+R keys together.
7. Also, type «temperature” and then press the button Get into wrench.
8. Just like before, delete everything from here.
Close File Explorer.
Then open Adobe Photoshop and check if it is still facing
Solution 3 – Modify the location of the Scratch disk
If you have a lot of free space on your other drives, you can set any of them as your default temporary disk location.
1. Abra Adobe Photoshop.
2. When Adobe Photoshop opens, click “Edit” in the menu bar, followed by clicking “preferences“.
3. Now, tap on the “scratched records…» option.
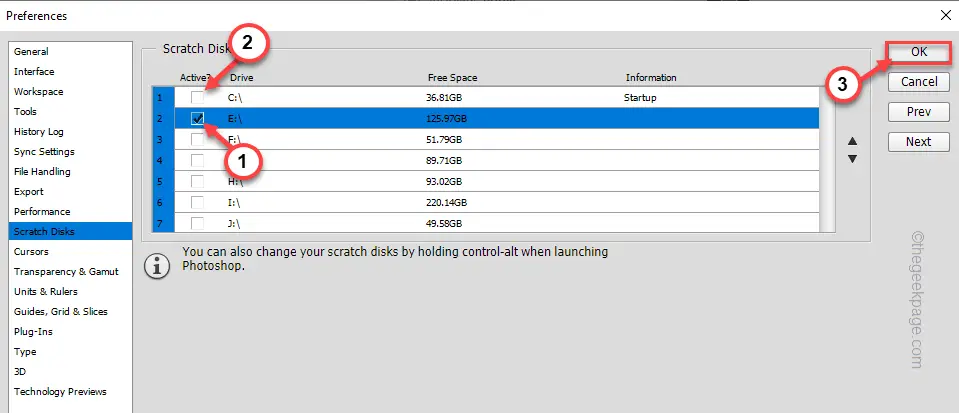
4. On the right side, you will see the list of drives with their subsequent free space.
5. Now, control the drive where the amount of free space is greater than the others. You can also check multiple drives with lots of free space.
6. Now you can Mark off the drive with the least free space.
[Example – In my case, I have selected the “E:” drive which has lots of free space, and deselected the “C:” drive due to less available free space in the latter one.]
7. Then touch “OK” to change the default temporary disk.
Close the Adobe Photoshop application and restart it. Try if this solves the problem.
Solution 4 – Modify the allowed RAM size
Scratch disks are only used when Photoshop cannot store temporary files in RAM due to RAM unavailability.
1. Open Photoshop in
2. Once Photoshop opens, press the Ctrl + K keys together.
You will see the Preferences page.
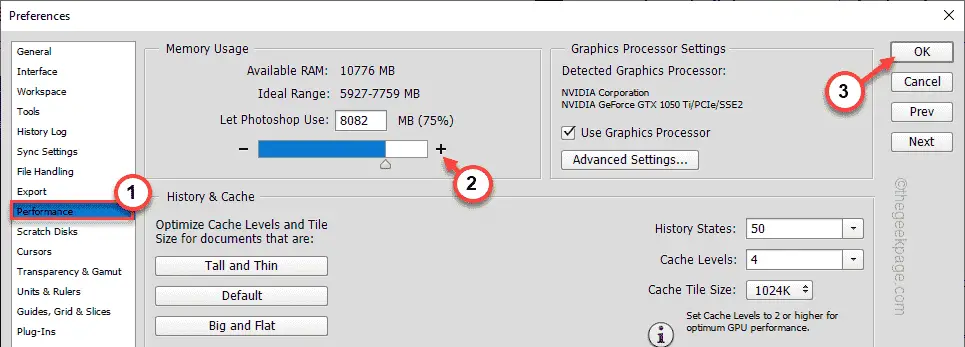
3. In the preferences opens, go to the «Performance” tab.
4. After that, on the right side, you will see the ‘Memory Usage’.
5. Simply tap on the «+” to expand the amount of RAM it allows.
You must allow Photoshop to use at least 75% of your available RAM.
6. Once you have finished checking the RAM value, click «OK” to save the changes.
Close Adobe Photoshop. Check if this helps.
Solution 5 – Purge all cache files
Purging all cache files may work for you.
1. Start Adobe Photoshop if you haven’t already opened it.
2. Now in the menu bar, click on the button “Editmenu.
3. Then from the list of options, tap on “purge>“.
Under the Purge option, you will notice several options. These are –
Undo – Deletes all the changes you just made. You will not be able to undo any previous changes.
Clipboard – Delete everything you have copied before.
History – Removes all alteration history you have made to the image in Photoshop.
Everyone – Erase everything.
video cache – Flushes the video cache in Adobe Photoshop.
Select the particular option you want to delete.

After doing this, check whether you are still getting the Scratch Disk issue or not.
Related posts:
 How to access Steam games without an internet connection
  How to view FPS with Xbox Game Bar in Windows 10: Steps Made Easy
  Hacked account? How to check and remedy
  How to make video calls from WhatsApp Web
  How to increase the RAM memory of a desktop or laptop + Tips and Tricks
  How to organize your YouTube subscriptions into categories
+ Tips and Tricks
How to organize your YouTube subscriptions into categories
+ Tips and Tricks


