


Solution: Windows cannot connect to the printer ‘Error 0x0000052E’ in Windows 11/10
Are you seeing the error message ‘Operation failed with error 0x0000052E’ on your Windows while trying to print something? If you are facing this problem, this article is just for you. This problem occurs because of the mismanaged printer credentials problem. We have mentioned some very easy solutions for this printer problem so that you can fix it in no time.
Solution one: try the default printer troubleshooter
The default printer troubleshooter can fix most problems.
1. At first, press the Tecla de Windows + R keys together.
2. Then, writes this command and click «OK“.
ms-settings:troubleshoot
4. After that, click on «Other troubleshooters“.
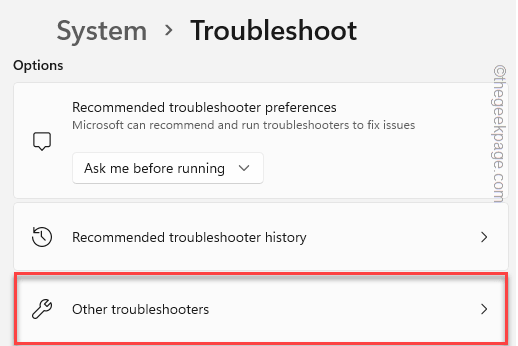
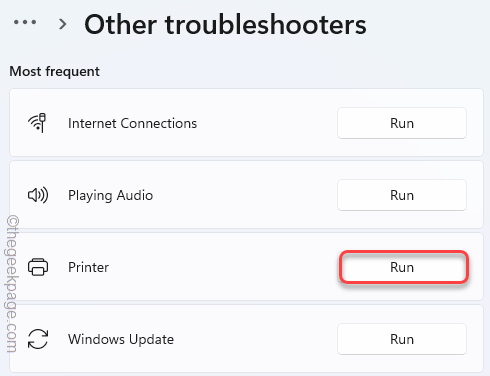
5. Scroll down a bit to find the «Printing machine“Problem solver.
6. Then touch «To run”To use printer diagnostics.
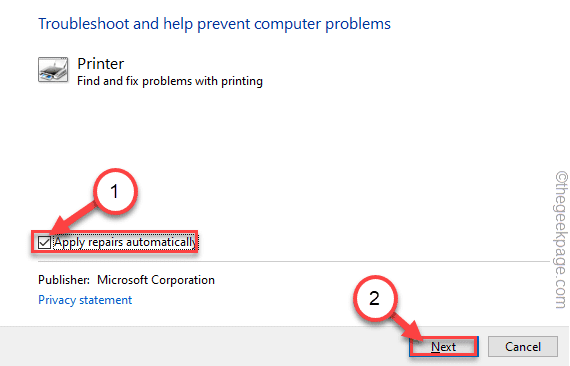
7. Solo, signal mark the “Apply repairs automatically»Option.
8. After that, go to the next step, click «next“.
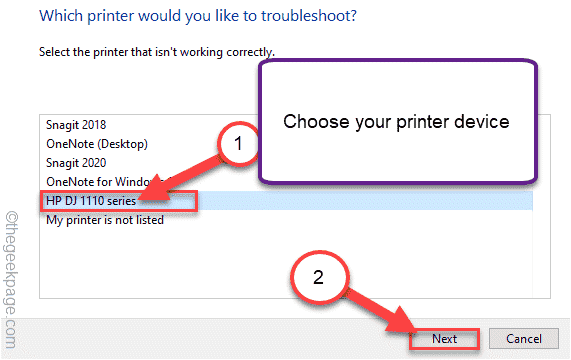
9. After this, select the printer with which you are facing this problem.
10. Then tap «next“.
11. After that, click on «Apply this fix“.
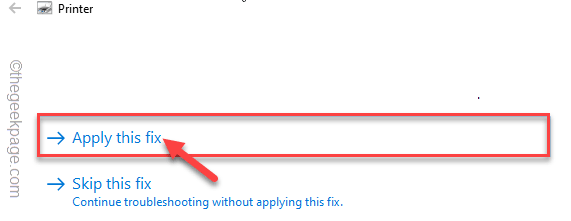
After Windows applies the solution, try printing a test page. Check if this works.
Solution two: rectify the print server
Try rectifying the printer server connection using the CMD terminal.
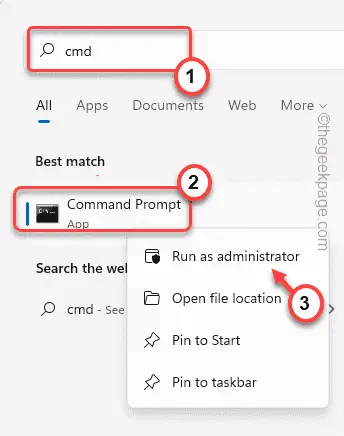
1. At first, press the Windows key and write «cmd“.
2. Then, right-click on the «Symbol of the system«And it touches»Execute as an administrator”To open the terminal with administrative rights.
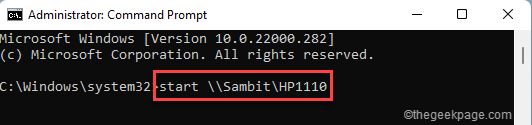
3. When the terminal appears, writes this command and hit Get into.
start servernameprintername
[
NOTE – Replace the “servername” with the name of the printer server you are trying to connect to.
Then, replace the “printername” with the name of the printer you are using.
Example – In our system, the name of the printer server is “Sambit” and the name of the printer is “HP1110“. So, the command will be –
start SambitHP1110
]
After that, close the command prompt.
Recheck the printer connection.
This should fix the problem on its own.
Solution 3: add the appropriate print server credentials
The key issue behind this error is the misconfigured print server credentials on the system.
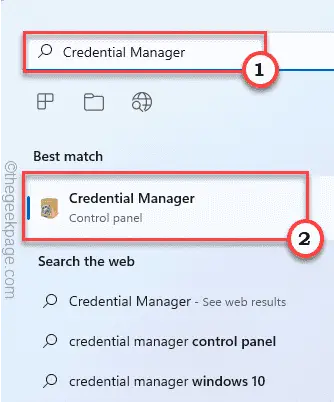
1. At the beginning, search for «Credential Manager”In the search box.
2. Then tap on the «Credential Manager”In the search results.
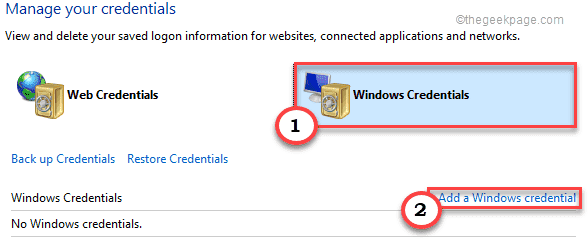
3. Now, tap «Windows credentials”To select it.
4. Then click on «Add Windows credentials”To add a new credential.
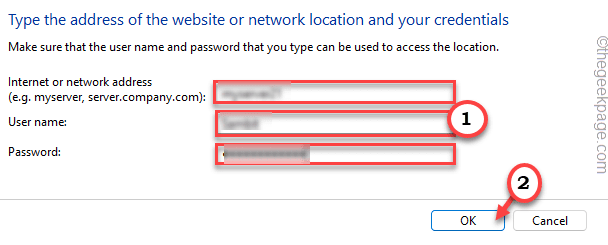
4. Now fill in the necessary information for the printer server with your printer server address, your Username, Password.
5. After that, click on «OK”To save this change.
Then try adding the printer to your machine again. It should work without the error.
Solution 4: uninstall and reinstall Dymo Connect
Some users have recently complained about this problem while using a Dymo device. Uninstalling the Dymo Connect app and reinstalling it should help you solve the problem.
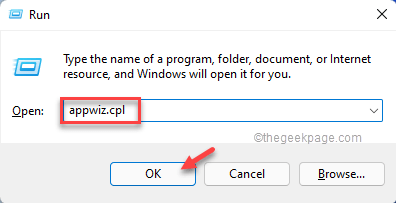
1. At first, press the Tecla de Windows + R keys together.
2. Then write «appwiz.cpl“And click”OK“.
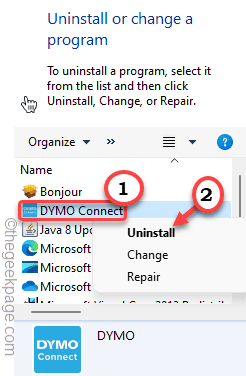
3. When the Program and Features window appears, look for the «Dymo connect”In the application list.
4. Then right-click on the application and tap «Uninstall”To uninstall it from your device.
Now, follow the instructions on the screen to uninstall it from your system.
Once you are done, reboot the system.
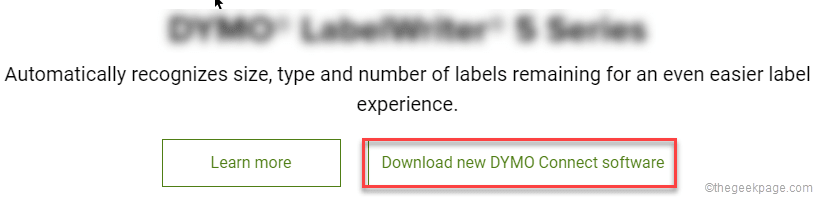
5. After the system reboots, go to the Dymo download page.
6. Here, locate your product and download the latest Dymo Connect software.
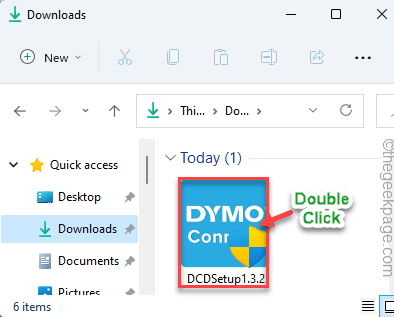
7. Once you have downloaded the configuration, double click on it to run it.
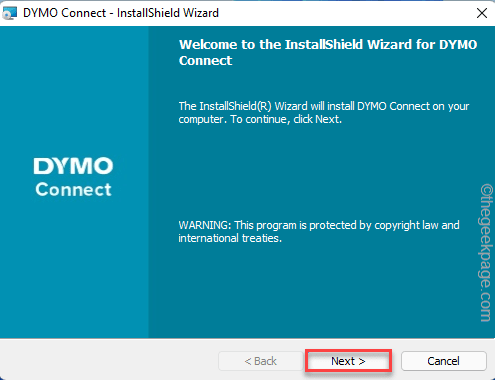
8. Tap on «nextAnd complete the installation by following the steps on the screen.
9. Finally, once you are done, tap «End up“.
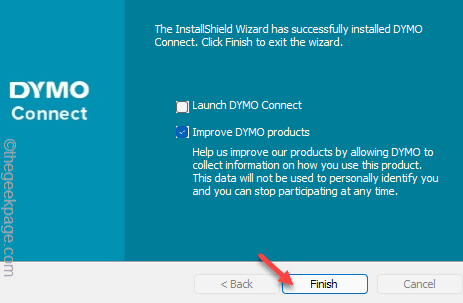
After doing this, connect your printer and print a test page.
Your problem should be solved.
Related posts:
 How to access Steam games without an internet connection
  How to view FPS with Xbox Game Bar in Windows 10: Steps Made Easy
  Hacked account? How to check and remedy
  How to make video calls from WhatsApp Web
  How to increase the RAM memory of a desktop or laptop + Tips and Tricks
  How to organize your YouTube subscriptions into categories
+ Tips and Tricks
How to organize your YouTube subscriptions into categories
+ Tips and Tricks


