


USB drive showing wrong storage size issue in Windows 11, 10
USB drives or any external storage media has become a part of our lives, fast resolution to store photos, videos or just about anything. But what if you see your USB drive showing the wrong highest storage size in File Explorer? This mainly occurs when the storage device has been damaged or contains some malicious files. If you are facing this problem, it may help to format the drive in the correct format.
alternative solutions –
1. You can disconnect the external drive and reconnect it to the system.
2. Try to test the unit with another system. Check whether it shows the correct size or not.
Solution 1 – Format the drive properly
You have to properly format the USB drive.
1. At first, press the button Windows key+E keys together.
2. When File Explorer opens, tap «this computer“.
3. Then right-click on the USB drive and tap «Format…“.
4. Now you can choose the correct file system from the list.
[ It is usually any of these formats NTFS, FAT32, EXT2, EXT3, EXT4, exFAT. ]
5. Then tap on “Start” to start formatting.
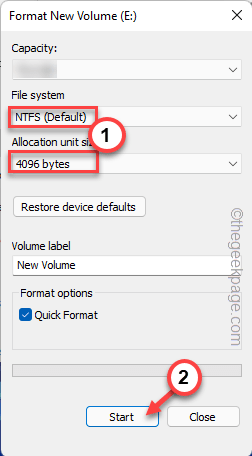
This will start the formatting process.
Solution 2 – Use Command Prompt
If formatting the drive using the normal method doesn’t work, you can use the command prompt.
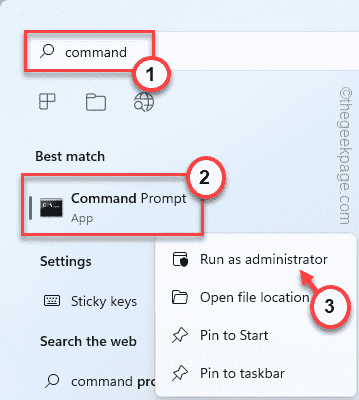
1. Simply type «command” in the search box.
2. Then right click “Symbol of the system” and touch “Execute as an administrator” to access the terminal with administrative rights.
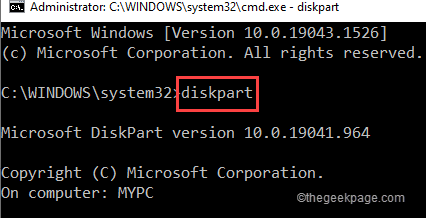
3. When the terminal is opened, writes this code and press Get into to access the Diskpart.
diskpart
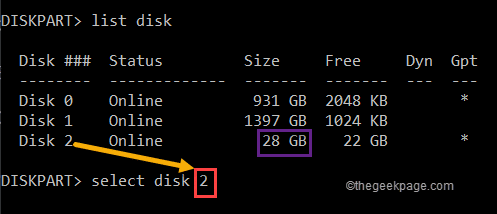
4. Once you are in Diskpart, writes this code and press Get into to view all disks in the drive.
list disk
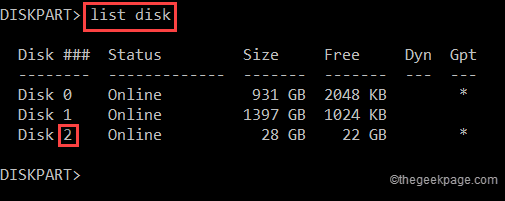
Now, here you will have several disks. You can identify the particular drive from the size of the drives. As in our case, it is “Disco 2” with a disk size of 28 GB.
5. In the next step, you need to select the particular drive you are having this problem with. Modify and run this code to select the disk.
select disk <put the disk number here>
[
NOTE – Just replace the “put the disk number here” with the disk number that you have noted before.
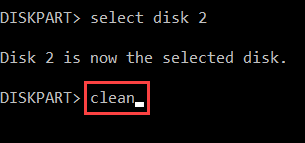
Like – In our case, the disk is “2”. So, the code will be like this –
select disk 2
]
6. Once you have selected the disk, you can clean it.
Run this command to wipe all existing partitions.
clean
7. Finally, you just have to format the drive. Alone writes this line in the terminal and press Get into.*
format fs=fat32 quick

It will take a while. Please wait patiently.
Once done, close the command prompt. Open File Explorer and go to «this computer» option.
You will find the USB drive with the proper storage value back on your system.
*NOTE –
You can do it in any format you want. You just have to modify the command a bit.
Example: Suppose you want to format the drive in NTFS format. So the command will be:
format fs=ntfs quick
Solution 3 – Using Bootice
There is another option you can use to do the same thing.
1. You have to download Loot.
2. Simply touch “Free download” to download the zip file.
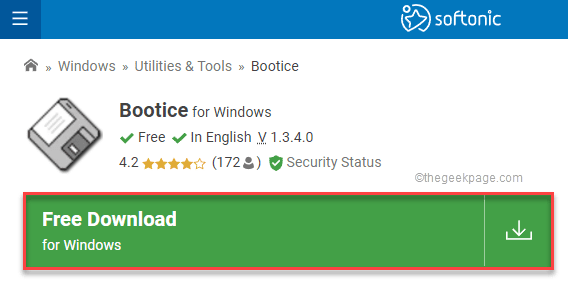
If this doesn’t work, you can download it directly: BOOTICEx64_v1.332.
3. Later, extract the zip file.
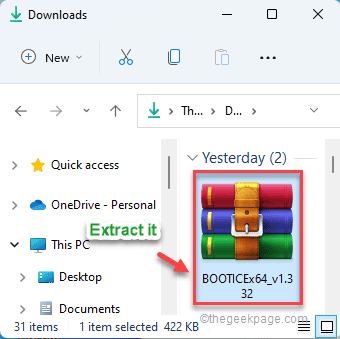
4. Once you’ve done it, double click on “BOOTxx64” to run the utility.

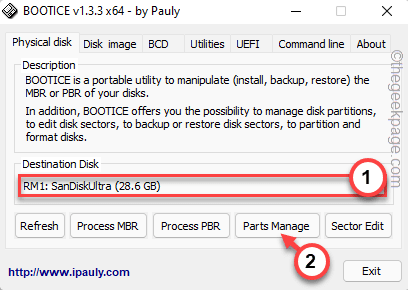
5. Now click on the ‘designation disk‘ and choose the USB drive from the dropdown list.
6. After that, tap «Parts Management“.
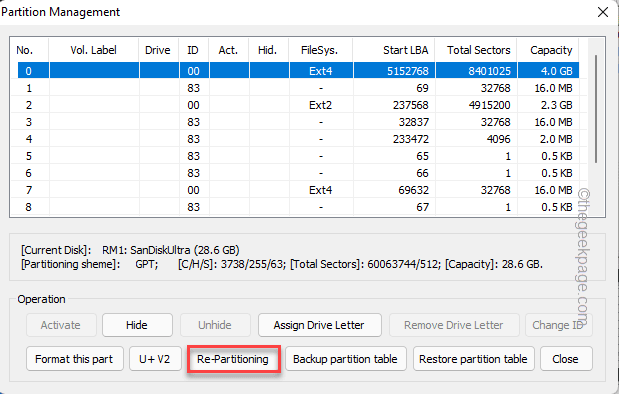
7. On the next screen, simply tap «repartition” to repartition the drive.
8. At first, select “USB-HDD mode (single partition)“.
9. Then set the ‘File System’ to “FAT32” or whatever you prefer.
10. You can give the drive any name simply by typing in the ‘Vol Label:’ option.
11. Next, set ‘Start LBA’ to ‘1” and ‘Seconds Reserved:’ to “32“.
12. Finally, click on “OK“.

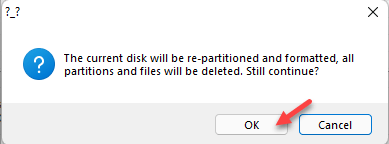
13. Simply touch «OK” for one more time to confirm.
This will reset the partition of the USB drive to a single partition and format it back to its default size.
You should be able to use the USB drive.
Related posts:
 How to access Steam games without an internet connection
  How to view FPS with Xbox Game Bar in Windows 10: Steps Made Easy
  Hacked account? How to check and remedy
  How to make video calls from WhatsApp Web
  How to increase the RAM memory of a desktop or laptop + Tips and Tricks
  How to organize your YouTube subscriptions into categories
+ Tips and Tricks
How to organize your YouTube subscriptions into categories
+ Tips and Tricks


