


Visual C ++ runtime error R6034 on Windows 11/10
Recently, many Windows users have expressed concern about seeing a Visual C ++ runtime error R6034 while working with various programs or changing system related files.
Possible causes of this error are:
- Microsoft Visual C ++ packages are missing or corrupt
- Administrator permissions to access applications are missing
- Damaged system files
If you are one of those users facing this runtime error, please read this article with fixes to help you resolve Visual C ++ R6034 runtime error on your PC.
Solution 1: uninstall and reinstall the Microsoft Visual C ++ redistributable packages
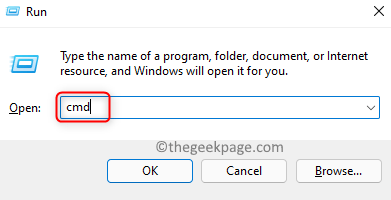
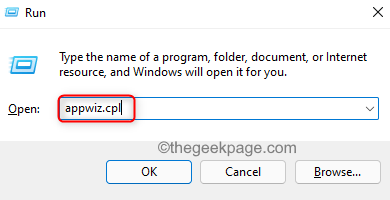
1. Use the Windows and R key combination to open the To run dialogue.
2. Type appwiz.cpl to open Programs and characteristics.
3. If requested UAC click on And.
4. Find Microsoft Visual C ++ Redistributable Packages in the application list.
5. The right button of the mouse in each of these lists and click Uninstall Complete the uninstall process for all installed Visual C ++ packages.

6. Restart your computer.
7. Using your browser, go to this location to download the latest Visual C ++ package.
8. Select your idiom and click the Descargar button.
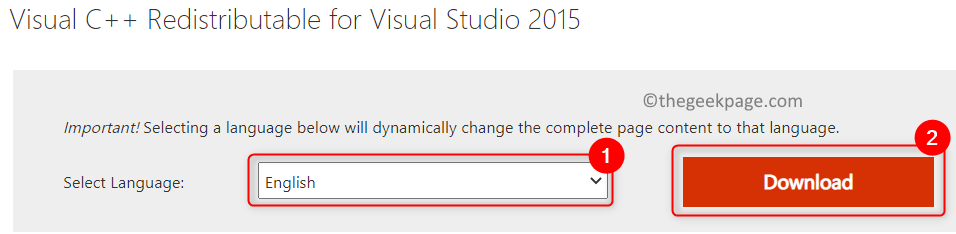
9. Depending on your system architecture, download the specific file. Please select vc_redist.x64.exe by 64 bits and vc_redist.x86.exe for 32 bits PERSONAL COMPUTER.
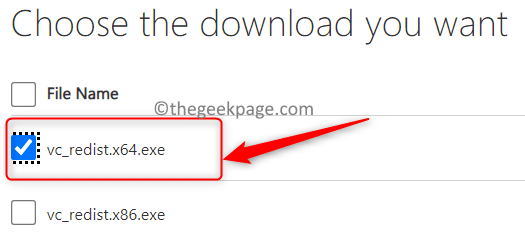
10. Click next and wait for the download to complete.
11. Double click in the executable and complete the installation by following the instructions on the screen.
12. After the installation is complete, check to see if the problem is resolved when you perform the same set of actions that triggered the error.
Solution 2: run the application with administrator privileges
If this error is triggered when using third-party software that is not included in the Windows suite, try to force the application to run as administrator, as you may not have access privileges set.
1. The right button of the mouse in the executable of the problematic application and click Execute as an administrator.
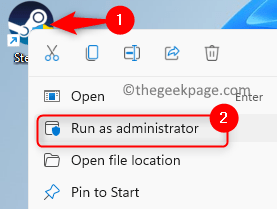
2. Yes UAC appears, select Yes to allow access.
3. Once you open the application, try the steps that caused the problem. Check if the problem has been solved.
4. If the problem is resolved, close the application.
5. The right button of the mouse in the application executable and select Properties.
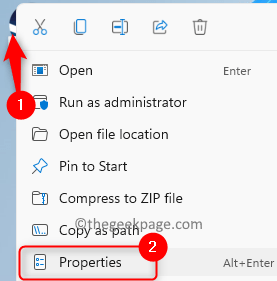
6. In the Properties window, go to the Compatibility tab.
7. Make sure the box next to the option Run this program as administrator it is checked.

8. Click Request and then in OK to save the changes.
In case the problem persists, try the next solution mentioned in the article.
Solution 3: run SFC and DISM Scan
You may encounter this problem due to corrupted system files on your PC. In such a case, using a SFC (System File Checker) and DISM (Deployment Image Servicing and Management) scan utility helps to fix the problem. Always run these two scans one after the other.
1. Press Tecla de Windows + R to open the To run dialogue.
2. Type cmd and press Ctrl + Shift + Enter to open Command prompt as administrator.
3. Type the command and press Enter.
sfc /scannow
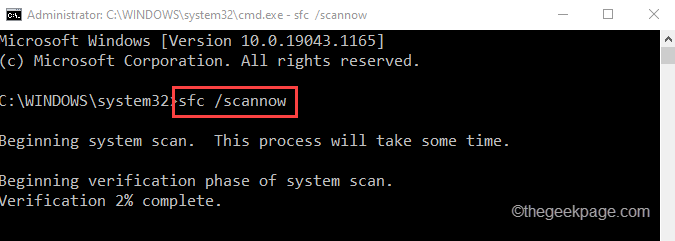
4. Wait for SFC to search for missing or corrupted files on your system.
5. After the scan is complete, you will see a message 100% verification full. If there are corrupt files, SFC will repair them and store the details in a log that the user can see.
6. Restart your PC and check if the problem is solved. If runtime error R6034 still occurs, perform a DISM scan.
7. Open Ejecutar (Windows + R). Writes cmd and press Ctrl + Shift + Enter to open Command prompt as administrator.
8. Enter the command below:
DISM.exe /Online /Cleanup-image /RestoreHealth
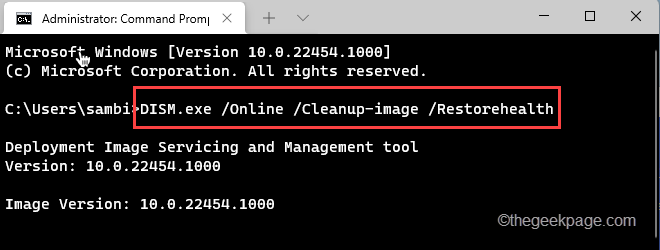
9. Wait for the DISM scan to complete the scan for damage and repair accordingly.
10. Restart your PC and see if the problem is resolved.
Solution 4: Start Windows in safe mode
Safe mode in Windows loads the operating system with only the basic system files and drivers required to boot the system, which will help troubleshoot any issues. Follow the procedure to start Windows in safe mode by clicking the link for Windows 11 and Windows 10 respectively. Check if the problem is fixed after the system starts in safe mode.
Solution 5: perform a clean boot
1. Open To run using the Windows keys and R combination on your keyboard.
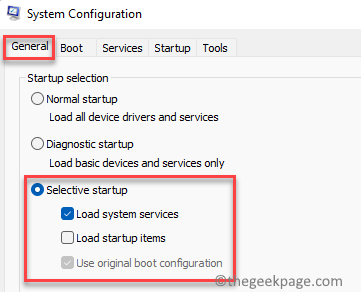
2. Type msconfig to open System configuration.

3. Go to General tab and select the option Selective start.
4. Cheque the box associated with Charging system services and Mark off the option Load startup items.
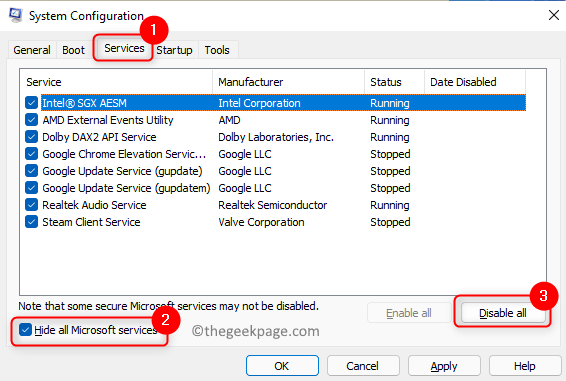
5. Go to Services tab.
6. Cheque the box next to Hide all Microsoft services.
7. Click Disable all button.
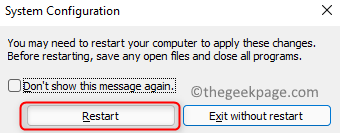
8. Now click Request and then in it’s okay.
9. Click Restart to restart the PC automatically.
10. Check if the error was corrected after booting in clean boot mode.
Solution 6: uninstall recently installed software
In cases where you run into this problem after a software or hardware installation on your PC, it is recommended to uninstall them.
Uninstall specific software
1. Use the Windows and R key combination on your keyboard to open the To run box.
2. Type appwiz.cpl to open Programs and characteristics.
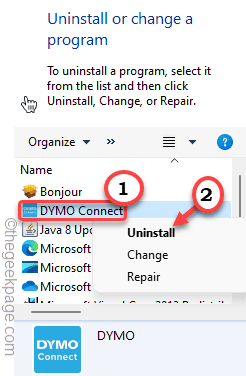
3. Find the application in the list of installed applications.
4. The right button of the mouse on it and choose Uninstall
5. Wait for the uninstall process to complete.
6. Restart your PC and check if the problem is solved.
Uninstall drivers
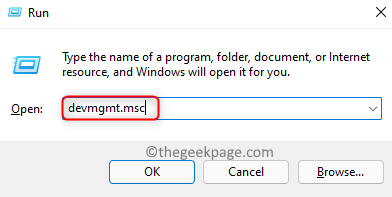
1. Open Ejecutar (Windows + R) and write devmgmt.msc to open Device administrator.
2. Find the driver that was recently installed.
3. The right button of the mouse on the driver and choose Uninstall device.
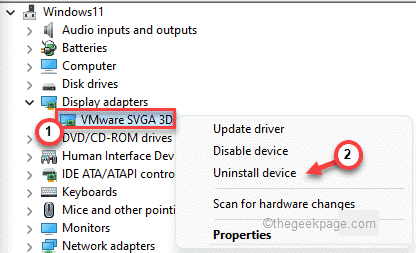
4. Click Uninstall to confirm the uninstall process.
5. Restart your PC once the uninstall process is complete. Check if the problem persists.
Solution 7: reinstall iTunes (if applicable)
If you have iTunes installed on your PC, it has been seen that inconsistent Apple installation files can generate this runtime error.
1. Open To run using the Windows and R key combination.
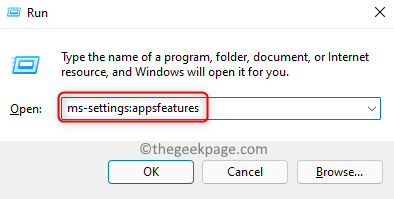
2. Type ms-settings: appsfeatures to open the Apps and Features on Settings.
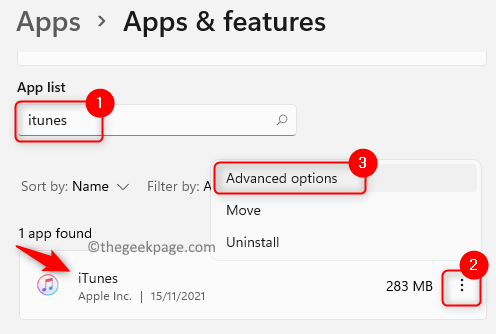
3. Type iTunes at search box to find iTunes in the list of installed applications.
4. In the search result, click the three vertical points associate with iTunes.
5. In the menu that opens, click Advanced Options.
6. In the Advanced Options iTunes window, find the Restart header and click the Restart button.
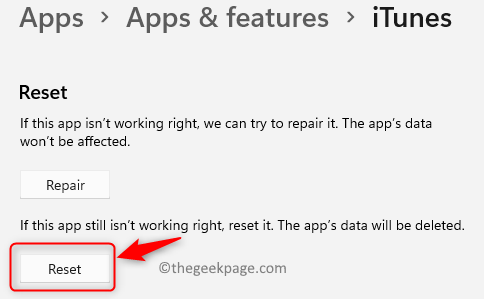
7. When prompted for confirmation, click Restart again.
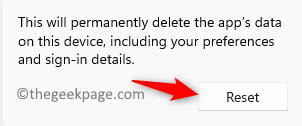
8. Wait for this process to complete. During the reboot process, iTunes will revert to the default state and all components will be reinstalled again.
9. After this process is complete, check if the error still occurs when you perform the same set of actions again.
Solution 8 – Perform system restore
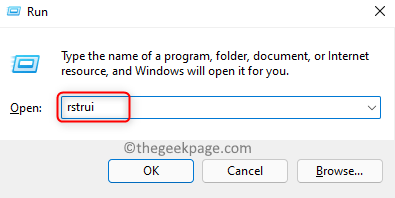
1. Open Ejecutar (Windows + R) and write rstrui to open Windows system restore.
2. Here select the option Choose a different restore point and click Next.
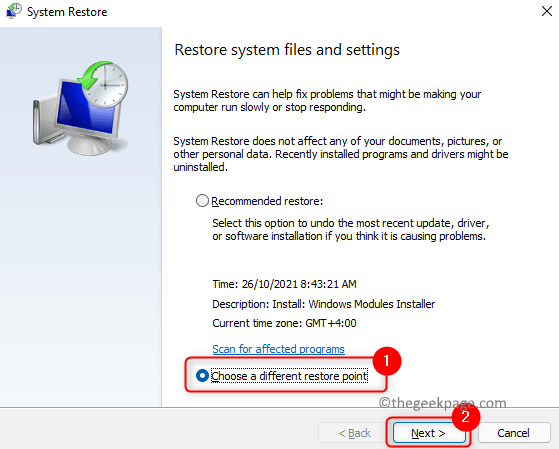
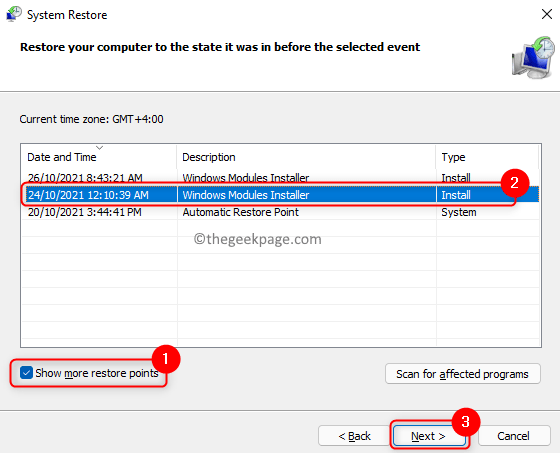
3. Cheque the box at the bottom associated with Show more restore points.
4. Select a restore point from the list based on the date and time of the point where the error did not occur.
5. Click Next.
6. In the last window, confirm the restoration details and click End up to start the process.
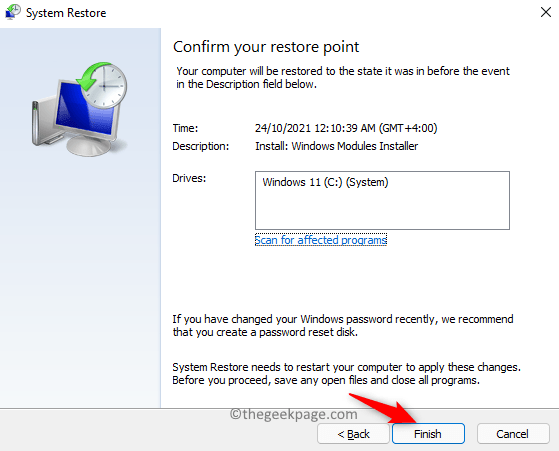
7. Follow the instructions on the screen to complete the restore process.
8. The system now reboots to a previous operating state, at which time the error was not occurring. Now check if the runtime error is resolved.
That is all!
We hope this article was informative enough to overcome Visual C ++ runtime error R6034 on your PC. Comment and let us know the solution that worked for you.
Related posts:
 How to access Steam games without an internet connection
  How to view FPS with Xbox Game Bar in Windows 10: Steps Made Easy
  Hacked account? How to check and remedy
  How to make video calls from WhatsApp Web
  How to increase the RAM memory of a desktop or laptop + Tips and Tricks
  How to organize your YouTube subscriptions into categories
+ Tips and Tricks
How to organize your YouTube subscriptions into categories
+ Tips and Tricks


