


Why can’t upgrades be completed? – Fix on Windows
–
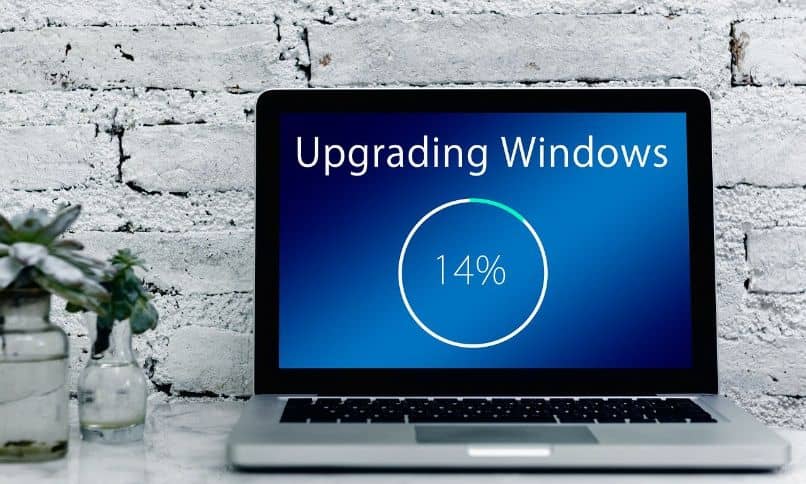
In an operating system like Windows, it is essential to apply updates since they allow access to improvements and other functionalities. Sometimes there are failures in Windows Update and before this you should know why the installations cannot be completed. This tutorial shows you the steps to fix this fault in Windows.
Why do updates in Windows fail to complete?
On certain occasions you will notice that the updates in Windows are not completed. Consequently, the system boot will be blocked and a blue screen will be displayed right at the time of try to undo the changesthen you will try to restart the computer but the same problem will repeat itself over and over again.
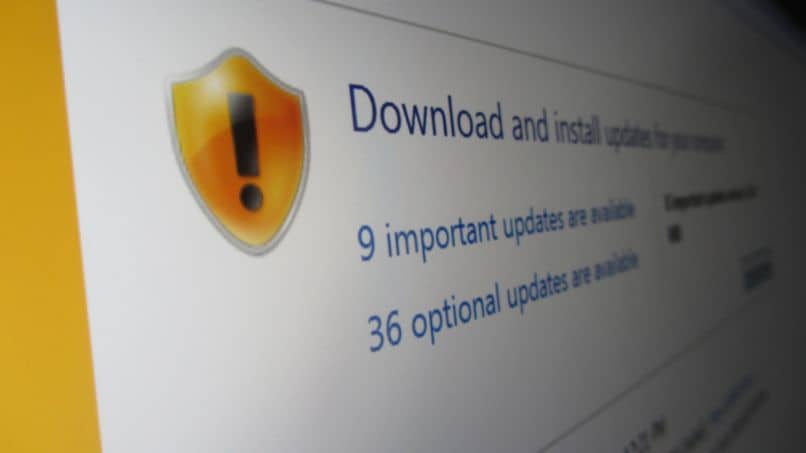
There are multiple reasons why Windows updates fail to complete. Many times, the error arises because the update executable files they do not have access to any DLLs required to function properly or when temporary update files become corrupted.
Even the error may occur due to antivirus settings or certain internet connection settings. Also, there may be interference with certain programs that you have installed. For this reason, it is necessary to fix Windows Update errors in order to complete the update process.
How to fix ‘We couldn’t complete updates/roll back changes in Windows’?
You may see the message ‘We couldn’t complete your updates/roll back your changes in Windows’. You can fix this bug update by starting your PC in Windows Safe Mode, using the troubleshooter, uninstalling updates to undo changes, or renaming the Windows distribution folder.
Fix update error using Windows Safe Mode
It is possible to fix the problems to update using the Safe Mode of the system. With the safe mode of this operating system you can access services and drivers of your computer in order to apply management and support activities quickly.
To open Windows safe mode you can use the key combination ‘Win + R’ and type msconfig mode. Then, press the ‘OK’ button and from the system configuration window check the box ‘Safe Boot’. Finally click on ‘Apply’ and ‘OK’.
Once you restart your computer you should open windows settings and from the ‘Update and security’ section, select the ‘Reset this PC’ option by pressing the ‘Start’ button. Wait while the system takes care of the reset process, which can take a long time.
How to use the troubleshooter to fix errors?
You can too use the troubleshooter to repair errors. Windows Troubleshooter is a tool to fix Windows errors by automatically providing a solution based on a set of parameters including Windows Update.
To open the problem solver, go to the Windows start menu and click the gear icon to access system settings. Next, select the ‘Update & Security’ section and click the ‘Troubleshoot’ option. Find ‘Windows Update’ and press the ‘Run the troubleshooter’ button.
Immediately, the system will start the analysis process of all the elements that make up the windows update process. In this way, it is possible that errors in the registries are detected and that it is necessary to restart the computer in order to resolve any problem that prevents the updates from completing.
Uninstall updates to undo changes in Windows
It is well known that operating system updates allow to obtain security and performance improvements. However, sometimes adverse results are obtained that cause errors. In such a circumstance, it is best to uninstall or remove Windows 10 updates to undo the changes.
To achieve this, go to Windows settings and choose the ‘Update and security’ section. Then, press the ‘Windows Update’ option and click ‘View update history’ to select ‘Uninstall updates’. In the new window, right click on each update you wish to remove and press ‘Uninstall’.
What is done to rename a Software Distribution folder in Windows?
The Software distribution folder is located in the Windows directory and is used to save temporary files that will be used to perform the updates in local mode. If any of these files become corrupted, the error will occur that prevents the updates from completing on the system.
It is possible to rename a Software Distribution folder in Windows in order to resolve the failure when trying to install updates on your computer To do this, open Windows Explorer and access the local drive C:. Then go to the ‘Windows’ folder and look for ‘SoftwareDistribution’. This is the folder you need to modify.
To achieve this, open the Windows console in administrator mode and type the following commands, pressing the ‘Enter’ key after typing each line. In this way, you can execute each statement for the purpose of effecting the folder name change:
SoftwareDistribution
net stop wuauserv
net stop bits
rename c:windowsSoftwareDistribution SoftwareDistribution.bak
net start wuauserv
net start bits
Related posts:
 How to access Steam games without an internet connection
  How to view FPS with Xbox Game Bar in Windows 10: Steps Made Easy
  Hacked account? How to check and remedy
  How to make video calls from WhatsApp Web
  How to increase the RAM memory of a desktop or laptop + Tips and Tricks
  How to organize your YouTube subscriptions into categories
+ Tips and Tricks
How to organize your YouTube subscriptions into categories
+ Tips and Tricks


