


What does it mean to use Microsoft account in Windows 10? synchronize customized settings on each PC
In this guide we will show you what it means to use Microsoft account in Windows 10 and what we can do to convert a local account offline or how to add a Microsoft account on an already configured PC.
READ ALSO: How to make friends and guests use your PC separately and securely
How to sign in with Microsoft account in Windows 10
Microsoft encourages you to activate this option by asking during installation to log in with a registered online account that is very different from the local one you were used to in previous versions of Windows.
In the following chapters we will show you how to enter the Microsoft account in various scenarios, so as to have everything synchronized when we use the same credentials on other computers.
Add a Microsoft account when you first start Windows 10
The simplest procedure for adding a Microsoft account to your PC can be applied when you first start Windows 10 after purchasing a new computer or after a full formatting.
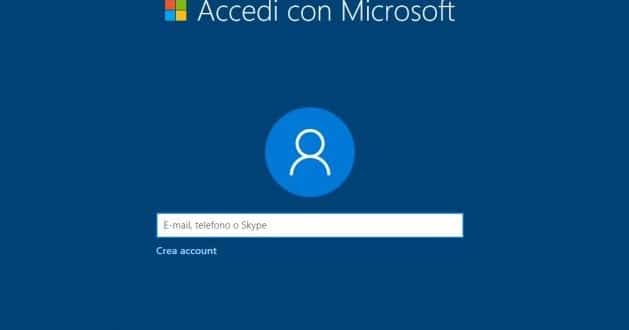
As soon as the system starts we choose as a nation Italy, we confirm the settings on the keyboard with Italian layout, we ignore the addition of another layout and, after a few minutes, we will see the screen where you can log in with the Microsoft account.
We enter our Outlook email, our username or our Skype name, press on Forward and enter the access password.
The installation will proceed normally and, as soon as we have access to the desktop, we will be able to immediately use the synchronization of settings and personal files (as we will show you in the final chapter of the guide).
After adding the account, we invite you to protect it adequately, choosing a security PIN or other unlocking methods, as seen in the guide Protect access to Windows PC with screen lock and password.
Compared to the local account, the password of the online account is encrypted inside the PC: we will not be able to recover it through hack tools or systems, but we will be able to access our account by resetting the Microsoft password, as seen in the guide Reset the Windows 10 password to log into the PC.
Add a Microsoft account to a local account
If we chose to create an offline local account but changed our mind later, we can add the Microsoft account later without any problems by converting the local account into an online synchronized account.
To do this we open the Start menu at the bottom left, open the app Settings, let’s get into the menu Account and then in the menu Your info, so you can press on the item Sign in with a Microsoft account.
A new window will open where you just need to enter your Microsoft account email or username, followed by the login password, to activate your account and start synchronizing our settings and preferences.
Also in this case, the security rules we talked about at the end of the previous chapter apply: we therefore set a PIN or a biometric unlock to make access to our personal account much more secure.
Add a Microsoft account on a PC that is already set up
We have a PC already configured with another Microsoft account in our hands and we want to join ours, perhaps as a new login user? In this case, just open the Start menu at the bottom left, press on the app Settings, press on Account, then on Family and other users and finally on the voice Add another user to this PC.
The classic Microsoft account configuration screen will open, where we can enter our login credentials and thus obtain a new user account synchronized and completely separate from the other account already present (each will have his own personal files, while for programs we can use both ours and those installed by the other account to be used by everyone).
The presence of a PIN or a biometric locking system is even more useful in this scenario, since only in this way will we be able to protect the account from unwanted access by the other user of the computer or by any other person who sits for use the PC in question.
If we are looking for a way to create a protected account for minors who will use the PC, we invite you to read our guide If your child is always at the computer: how to control and limit it.
Conclusions
Using the Microsoft account on Windows 10 we will be able to synchronize our settings (as also seen in the guide on how Synchronize settings and data between Windows 10 PCs) and we will also be able to synchronize our personal files, using the cloud space offered by OneDrive (as seen in the guide Synchronize and upload folders to OneDrive without moving them).
Using the Microsoft account on Windows 10 we will also be able to save the license used on our computer (Product Key) and reuse it on another PC, as long as the license allows it; we talked about this topic in the article How to transfer a Windows 10 license to a new computer.
If we want to let friends or relatives use our computer, we invite you to read our in-depth analysis on How to make friends and guests use your PC separately and securely.
Related posts:
 How to access Steam games without an internet connection
  How to view FPS with Xbox Game Bar in Windows 10: Steps Made Easy
  Hacked account? How to check and remedy
  How to make video calls from WhatsApp Web
  How to increase the RAM memory of a desktop or laptop + Tips and Tricks
  How to organize your YouTube subscriptions into categories
+ Tips and Tricks
How to organize your YouTube subscriptions into categories
+ Tips and Tricks


