


Windows needs your current credentials on Windows 11/10
Many Windows users have reported problems with Windows repeatedly asking for their credentials. When the correct credentials are entered, the error message shown below is displayed.
Windows needs your current credentials
Even when the user locks the system and unlocks it with the correct credential, the error continues to appear. Generally, this happens when the user unlocks the system with a pin. But this PIN was created with an old password, not the password that is currently used. Other causes of this problem are:
- Corrupt system files.
- Incorrect policies in Group Policy Editor.
- User account not verified.
In this article, let’s discuss different ways to fix the problem. Windows needs your current credentials error in Windows.
Solution 1: change group policy
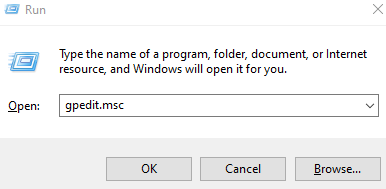
Step 1: Open the Run terminal with Windows + R keys
Step 2: Write gpedit.msc and hit Pay in
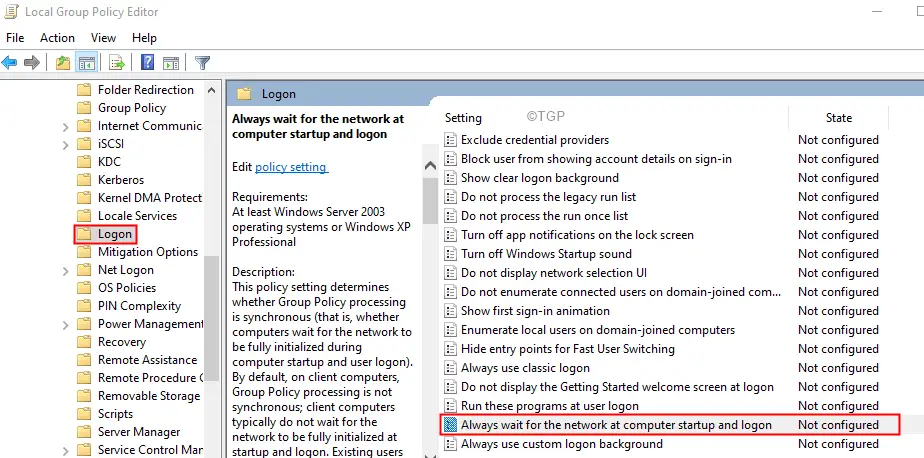
Step 3: In the Local Group Policy Editor, navigate to the location below from the left side and double-click the selection to expand it.
Computer Configuration > Administrative Templates > System > Logon
Step 4: From the right side, scroll down and double click Always wait for the network to start and log in option.
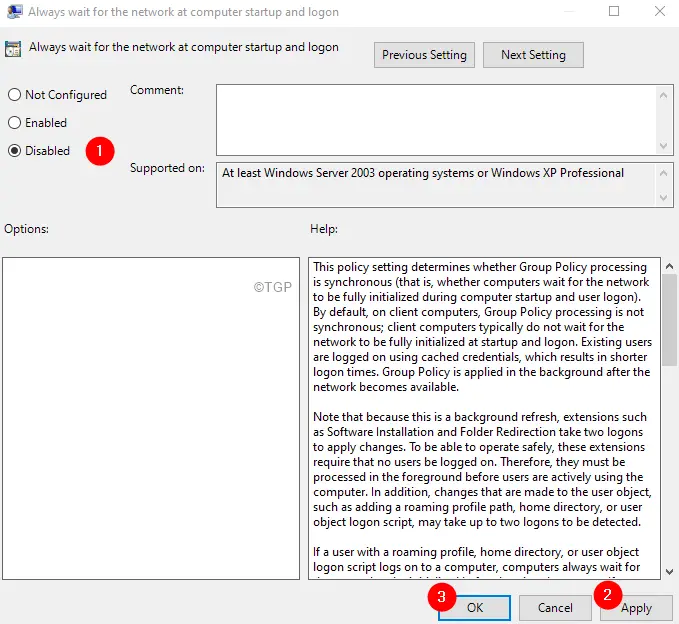
Step 5: In the window that appears, check the Deactivate option to disable settings.
Step 6: click Request and then click the OK button.
Step 7: reboot your system. Check if the error has been resolved. If not, try the next solution.
Solution 2: verify the user
For domain users, this is when you can log in using any machine in your organization. When you are not required to use a single machine for your user account, verifying the user account has helped. To do so, follow the steps below:
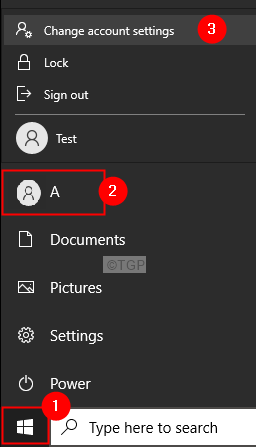
Step 1: Click the Start Symbol.
Step 2: From the far left side, click on your User account.
Step 3: click Change account settings.
Step 4: Now in the Verify your identity section to sync passwords across all your devices, click To check.
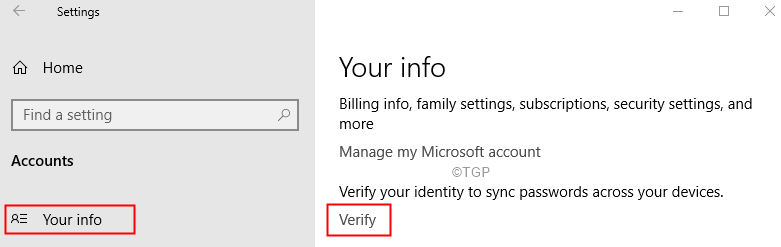
Step 5: Follow the instructions on the screen and complete the process.
Solution 3: remove and re-add all credential manager credentials
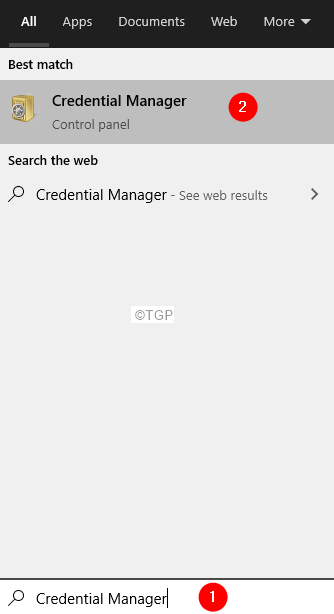
Step 1: In the search bar next to the start symbol, type Credential Manager
Step 2: Click the Credential Manager
Step 3: select Windows credentials

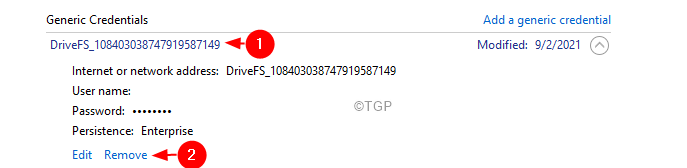
Step 4: In the window that appears, you will see a list of credentials.
Step 5: Remove all credentials.
Step 6: To delete a credential, click on the credential name in the list. You will see the option expand showing the options.
Step 7: Click the Remove.
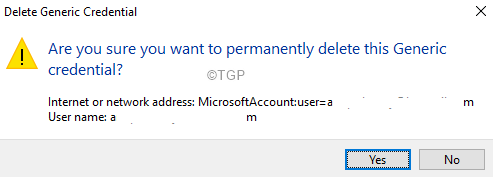
Step 8: In the confirmation dialog, click And.
Solution 4: Upgrade to Windows Pro
Many users have reported that after upgrading their system from Windows 10 Home to Windows 10 Professional Edition, they were able to solve this problem. Here is a product key that can be used to activate Windows 10 Pro Edition in the trial version.
Step 1: Open the Run dialog box.
Step 2: Enter the following command and press Pay in.
ms-settings:activation

Step 3: In the window that appears, click the Change the product key.
Step 4: You will be asked to enter a product key, enter any of the following keys
Step 5: Click the next button.
Step 6: Follow the onscreen instructions and complete until you see the Start update option.
Step 7: Click the Start update option and wait until the system is completely updated.
You will now be upgrading to Windows 10 Pro. But please note that this is a trial version only and must be activated with a genuine Windows key.
Solution 5: perform a full system scan
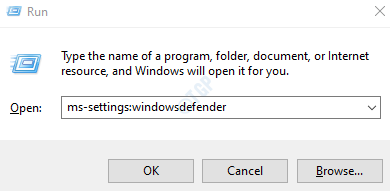
Step 1: Open the Run Dialog Box (Windows + R)
Step 2: Write ms-settings: windowsdefender, and Press OK.
Step 3: In Settings -> Update & Security -> Security window that opens, click Protection against viruses and threats

Step 4: From the window that appears, click Scan options
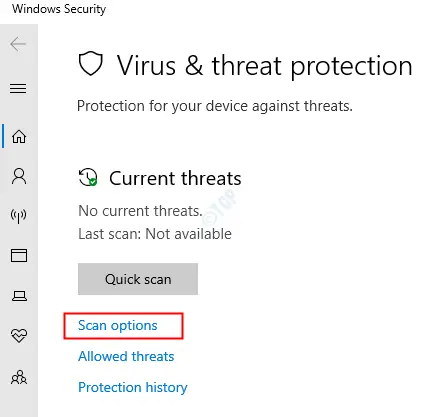
Step 5: In the window that appears, click Complete analisis and click Scan now.

Step 6: After the scan is done, check for threats and remove them from the system.
Step 7: reboot your system.
Solution 6: clean boot your system
Step 1: Open the Run dialog box.
Step 2: Write msconfig and hit Pay in

Step 3: in the General tab, choose Selective start
Step 4: make sure Charging system services and Load startup items are checked.

Step 5: Go to Services tab
Step 6: check Hide all Microsoft services and then click Disable all button
Step 7: click Request and then click OK

Step 8: restart your computer.
Solution 7: perform a system restore
If none of the steps above help you, you can go back to your previous system restore point (if you have created one before).
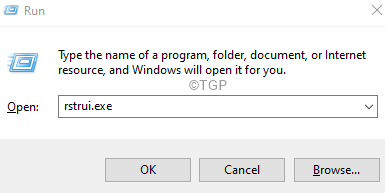
Step 1: Open the Run dialog using Windows + R
Step 2: Write rstrui.exe and press OK
Step 3: In the System Restore window, click Next.
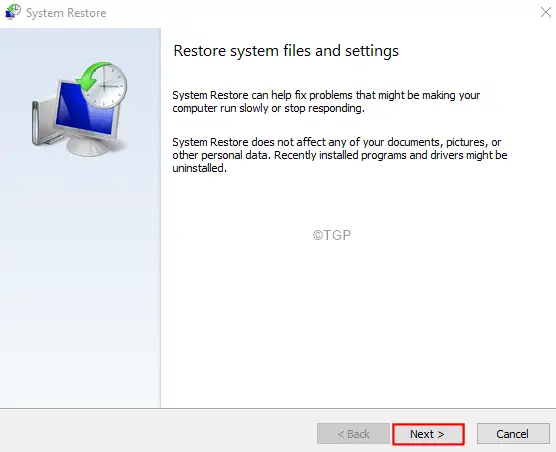
Step 4: in the window that appears, select restore point you want to go back to and click Next.
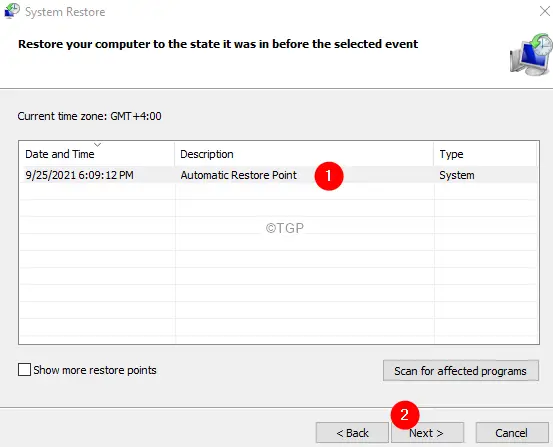
Step 5: Follow the instructions on the screen and wait for the system to restore. Please note that this can be time consuming.
That is all
We hope this was informative. Please comment and let us know if any of the above fixes have helped resolve the issue.
Thank you for reading.
Related posts:
 How to access Steam games without an internet connection
  How to view FPS with Xbox Game Bar in Windows 10: Steps Made Easy
  Hacked account? How to check and remedy
  How to make video calls from WhatsApp Web
  How to increase the RAM memory of a desktop or laptop + Tips and Tricks
  How to organize your YouTube subscriptions into categories
+ Tips and Tricks
How to organize your YouTube subscriptions into categories
+ Tips and Tricks


