


Find out if System Restore is enabled on Windows 11 devices
System Restore is a built-in backup and restore feature of the Windows operating system. It is part of Microsoft’s Windows 11 operating system and can be used to restore the system to a previous state, provided that the shadow copies were created in the past.
System Restore is useful in certain situations, for example, to roll back Windows updates or resolve critical system problems that did not exist previously.
System Restore may not be enabled by default on Windows 11 PCs. It is a good idea to check the feature to see if it is enabled or not. Users who regularly use third-party backup software, for example Paragon Backup, to create system backups, may have less need for the feature.
Note: System Restore can also be managed from the command line.
Check if System Restore is enabled in Windows 11

On Windows 10 devices, you can open Advanced System Settings which is part of the Control Panel. Microsoft removed the link from Control Panel, which means users have to go through the Settings app to find out if System Restore is enabled.
This is how you do it:
- Open the Start menu and select the Settings app.
- Open system if not already open.
- Select About, an option at the bottom of the System Settings page.
- Activate the “System protection” link on the page that opens.
Windows 11 opens the System Properties window, a classic Windows that has not yet been migrated to the Settings app.
Check the Protection Settings in the window; If you see “Disabled” next to the main drive or other drives, then System Restore is not enabled. You will also notice that the System Restore button on the page is also not active, which means that you cannot use it to restore the system to a previous state.
How to enable and configure System Restore in Windows 11
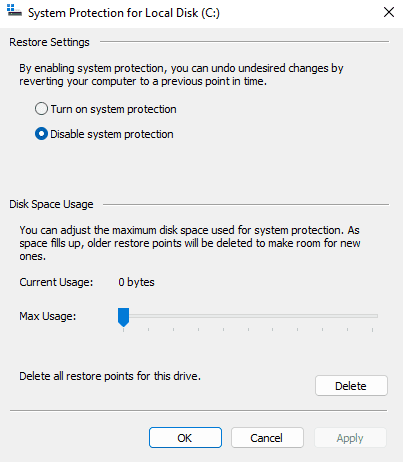
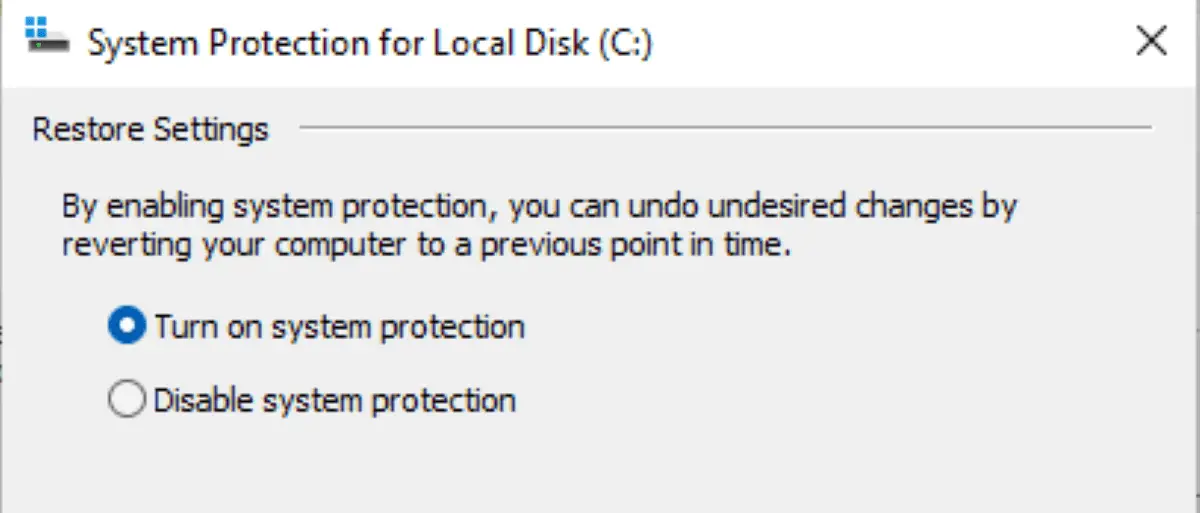
Select the Configure button in the window after making sure that the main drive, drive c: normally, is selected, to activate System Restore or change settings. The page that opens shows three main options:
- Enable or disable System Restore toggling between “Turn on system protection” and “Turn off system protection.”
- Change the percentage of disk space that System Restore can use for its functionality.
- Delete all restore points from the drive.
Repeat the process for other units if desired. Once powered on, you can use the create button to create a new system restore snapshot right away.
Windows 11 will automatically create snapshots if System Restore is enabled, for example when updates are installed.
You can use the option to create manual system restore points regularly.
Closing words
System Restore is a useful feature of Windows 11 and earlier versions of Windows. It is not clear why it is not enabled by default, at least on some systems. One explanation is the required storage space it uses when it is enabled.
The solution is not perfect. While it works well when it comes to installing updates, it can usually fail in other situations, for example accidental deletion of system files or malware attacks.
Now you: Do you use System Restore?
advertising
Related posts:
 How to access Steam games without an internet connection
  How to view FPS with Xbox Game Bar in Windows 10: Steps Made Easy
  Hacked account? How to check and remedy
  How to make video calls from WhatsApp Web
  How to increase the RAM memory of a desktop or laptop + Tips and Tricks
  How to organize your YouTube subscriptions into categories
+ Tips and Tricks
How to organize your YouTube subscriptions into categories
+ Tips and Tricks


