


How to add users to Jira boards
Jira is a popular task management tool used in multiple industries. It’s exceptionally popular in IT and designed for use with the Agile framework, but if you know how to use and organize things in Jira, you can use it in almost any field.
Jira boards
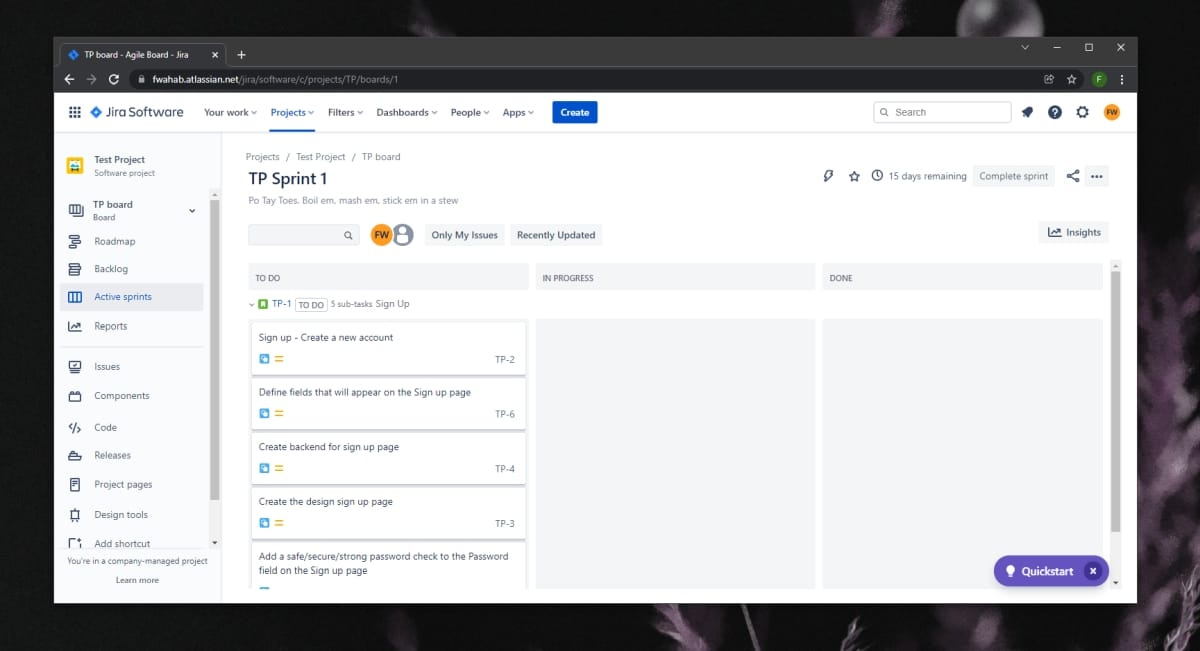
A Jira board shows you the items or problems created in a project. Every project you create in Jira comes with a ready-made board; however, you can create additional dashboards that display items or issues specific to the current project. For example, you can create a dashboard that displays all the items related to a particular feature that is being developed.
You can invite other users to a Jira board; however, it is important to first understand how permissions work when it comes to a Jira dashboard. A single Jira account or website can have multiple projects. Each project will have its own boards. When you invite a user to a Jira board, you can invite them with permissions that give them access to all of Jira. This means that they will be able to access all of the Jira boards for all the projects that have been created on the Jira site.
You can also invite users to a single project and they will only have access to the boards created under that particular project.
Add users to Jira boards
Now that you know how permissions work when adding users to a Jira dashboard, you can start adding users. Make sure you have the correct admin level permissions to add / invite users to a Jira website, project, and dashboard.
- Open your Jira website and sign in.
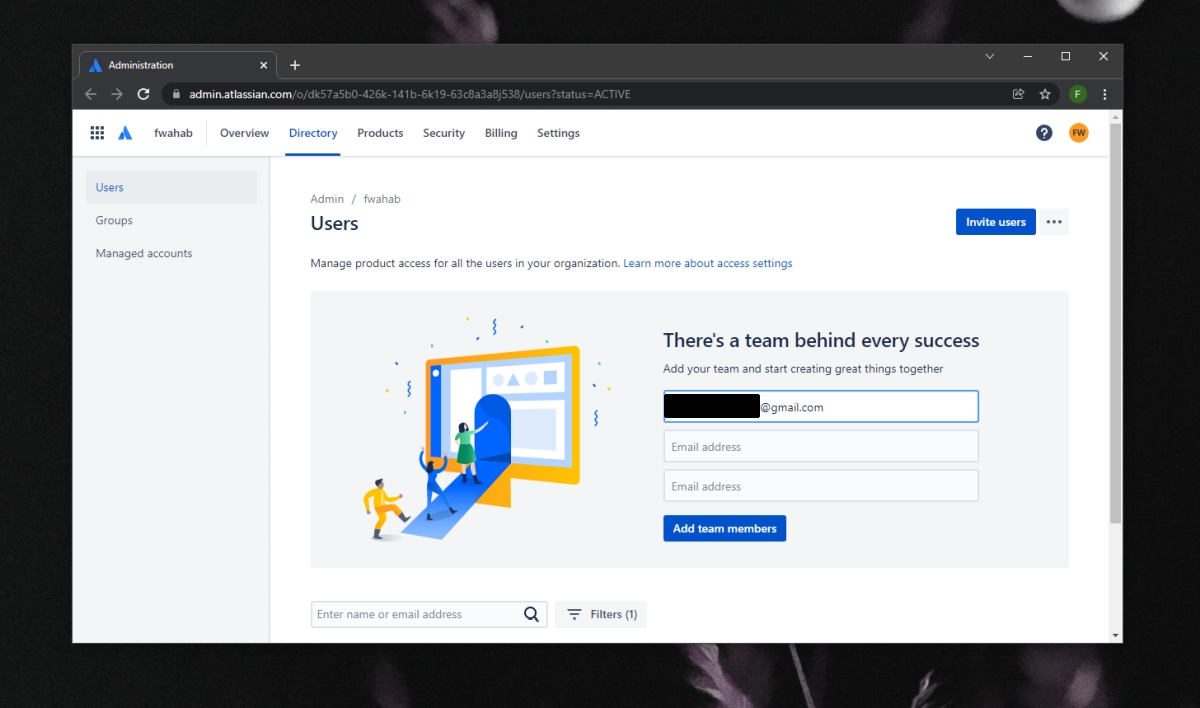
- At the top right, click the gear button and select User Management from the menu.
- Enter the email address of the user you want to invite.
- Click Add Members.
An invitation will be sent to the email you entered. The user must click the invitation, set up their Jira account, and join the project. Once they join the project, they will be able to see the Jira boards below it.
User permissions in Jira
The process for inviting users to a project in Jira does not include a step where permissions are defined. To manage permissions, that is, which projects and subsequently which boards a user will have access to, you need to understand how they are defined.
Jira comes with predefined ‘Groups’. You can access these groups from the left column on the User Management page. Groups already have their own set of permissions configured. To grant a user a set of permissions, you must add them to the correct group. You can also create custom groups with a custom set of permissions.
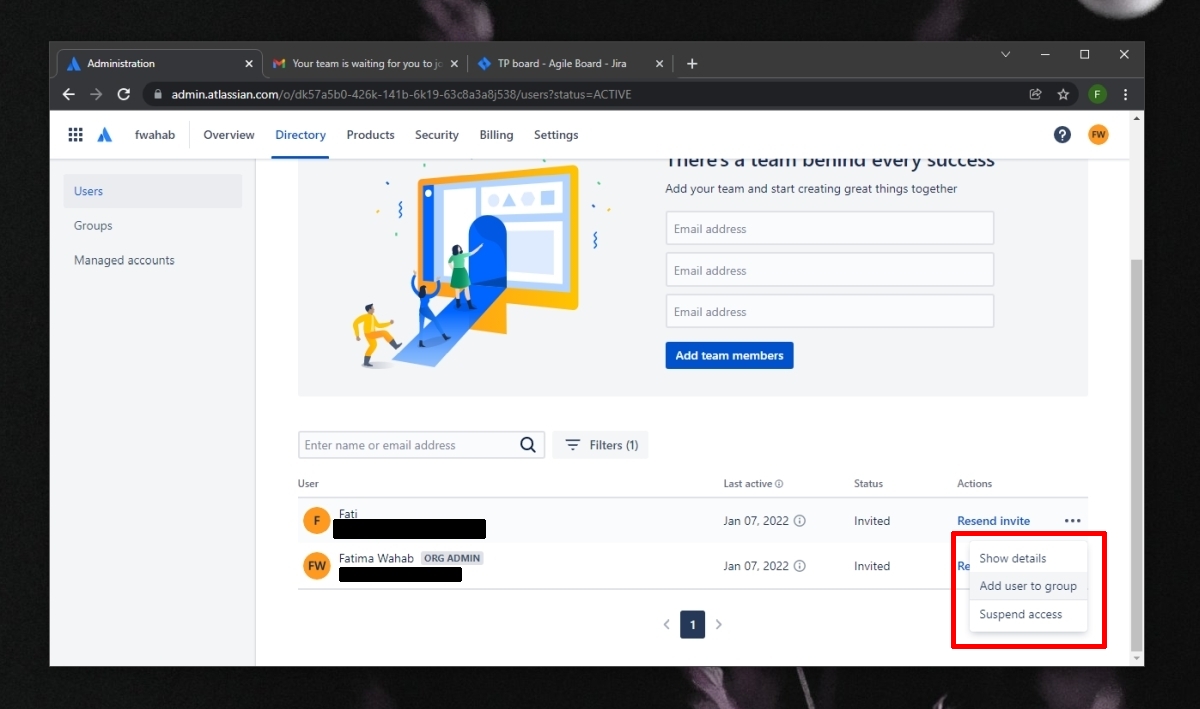
- Click the gear button at the top right of Jira and select User Management.
- Scroll down to the list of users.
- Click the more options button next to a user and select Add to group.
- Select the group to which you want to add the user.
Once a user is added to a group, their permission and access to the Jira site will update.
Related posts:
 How to access Steam games without an internet connection
  How to view FPS with Xbox Game Bar in Windows 10: Steps Made Easy
  Hacked account? How to check and remedy
  How to make video calls from WhatsApp Web
  How to increase the RAM memory of a desktop or laptop + Tips and Tricks
  How to organize your YouTube subscriptions into categories
+ Tips and Tricks
How to organize your YouTube subscriptions into categories
+ Tips and Tricks


