


How to Create or Delete a Windows 10 User Account in PowerShell?
–
what they use for the windows operating system, It is not a mystery that we can choose to create other user accounts on the computer so that a person can use an account other than ours and have their own applications and have greater privacy, both us and the other person. And with the updates that have arrived in Windows 10 we can do much more.
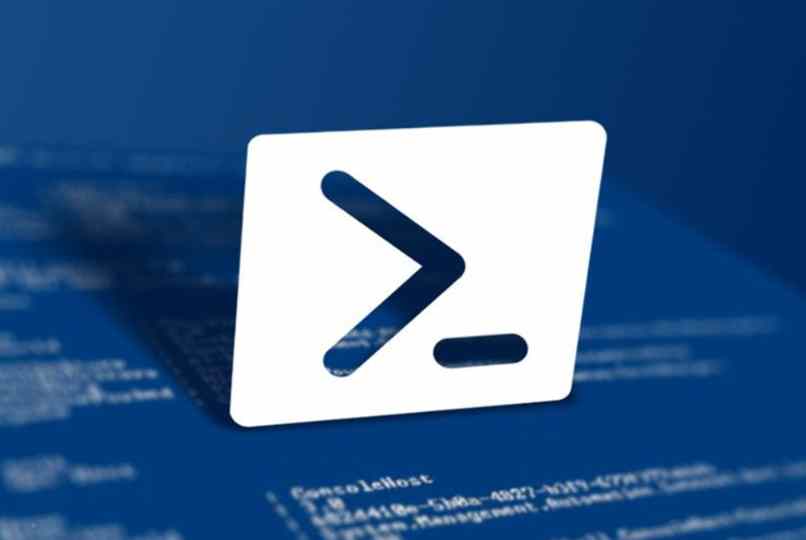
With the addition of the app powershell command lines for the creation and deletion of user accounts in Windows, it gives us the facility to do it more easily and more dynamically. It is a very different way of doing things, and if you want to learn how to do it, here we bring you the guide to make it possible
What are local user accounts in Windows?
When we proceed to create a user account extra on our computer Windows system, you have to make a decision about the type of account that is being created. In this way, you can restrict some areas to the created account or you can give a certain level of authority to said account.
With these different accounts you can Do what you wantyou can have your main account being the administrator who has all the control, and have a standard user account for visitors who want to use your computer, in case you don’t want them to be seeing your private files
Like invited
The first type of account that can be created on a Windows computer, it’s a guest account. This account is used more for temporary users or for the moment to use the computer, it is more for those people who only need to be in a browser or play specific games. In addition to this, this type of account is subject to limitations provided by the admin user who implements these restrictions.
Being an Administrator
This is the type of account that is already default in the system when we log in to Windows 10 and at the time of being iInstalled Windows on the computer. With this type of account, you will have the possibility to do anything in the system with full access to all folders, services, among other parameters.
This is the one that practically dominates the whole system, there is no ability to lock, it cannot be removed from the system, but if it is, the ability to be disabled and also to be renamed is required in that case. In addition to all this, with this account it will be possible to create other accounts and with it, see how much access you will have
integrated administrator
But an account is found that is above account parameters but it has only slightly more access, it’s the so-called built-in Administrator account. This is an inactive system account, and when used it will not require any system permissions to run any programs.
How to create or delete user accounts in PowerShell?
When we started to create a new user account, we have several options that we must fill in for it to be created, one of the most important data is the name of the account and the type of account that it will be when it is created. Although, when a new account is created, it is by default a standard or guest user account.
In such a way that it will always be like this, the account you are creating the others will always be the administrator and the demos will be the guests. After this, after creating other user accounts in Windows we can start to adapt the restrictions that said user account will have.
delete as administrator
The process of deleting an account as an administrator using command lines in PowerShell is very simple. Firstly, you will need to right click and run PowerShell as administrator. After you have done this, you will have to put the command ‘Remove-LocalUser -Name ‘usuario’
With this command, you can delete the accounts extras that are on the computer. When you use this in the ‘user’ field you will put the name of the user you want to delete. After this, you will have to wait a moment for the program to run and restart the computer to finish the process.
Create by running as administrator
The process of creating an account through command lines in PowerShell is easy. To do this, we will have to open PowerShell as administrator, right-click and run as administrator. Then you will have to use a command for this account to be created
- New-LocalUser -Name ‘username’ -Description ‘Account description’ –NoPassword
After putting the command, the account will have been successfully created, it will be up to us to start with the account configuration manually. This account is being created automatically as a guest user account. Then at the end of the process, restart the computer to complete the process.
How to connect with a Microsoft account?
If you don’t have a way to connect to your Microsoft account, you can access it from the settings of Windows. For this, you will have to go first to home and then go to Confirmation, from here you will have to go to accounts and choose ‘Your account’. Here you log in with any Microsoft account, be it Outlook, Xbox, OneDrive, Skype and among others
Where does the user data stay and how to delete it?
All the data that a user has in his account, they will be saved in the folder ‘Users’ that we can find in the local disk of the computer system. And we can delete it by accessing it from the local disk and start deleting the files that are there. But it is more advisable not to do it, since the files that are found are of great importance for the system itself.
Related posts:
 How to access Steam games without an internet connection
  How to view FPS with Xbox Game Bar in Windows 10: Steps Made Easy
  Hacked account? How to check and remedy
  How to make video calls from WhatsApp Web
  How to increase the RAM memory of a desktop or laptop + Tips and Tricks
  How to organize your YouTube subscriptions into categories
+ Tips and Tricks
How to organize your YouTube subscriptions into categories
+ Tips and Tricks


