


How to Exit and Delete an Instagram Group From the Application or Website?
–
Currently, most people in the world use social networks to communicate, entertain and inform themselves. One of the most popular in the world, without a doubt, is the social network Instagram. Although most users know how to use this application in a general way, there is some information that you probably did not know, but that we will share with you in this post.
The information that you will be able to browse in this space has to do specifically with Instagram groups, the ways of sharing photos and videos is somewhat different in regards to the way of sharing in Facebook groups. Keep reading and you will have access to all the information you need to stop participating in any group in which you do not want to be.
Will members be notified when leaving the Instagram group?
This is one of the most common questions regarding people who want to eliminate a group to which they belong, because on many occasions you can feel some embarrassment when refuse to stay in a group virtual through this social network.
When leaving an Instagram group, the notification will be made general, through the chat in which all the members are. The notice will not reach each of the members privately.
What is the procedure to leave a group on Instagram?
After knowing the data that was mentioned above, you need to know what the procedure is to leave a group in this social network. The first step you need to take is to sign in to your account, either through the app or the website. Subsequently, you must go to the message section, to select the one you want to abandon.
After that, you must select the option ”abandon”, to later confirm that this is the action you want to perform. At the end of this process, you will not receive any messages that reach that group.
From the mobile app
It is important to mention that all these steps can be followed from the mobile application, because it provides all the options necessary for you to fulfill the aforementioned objective. To leave an Instagram group on a mobile device, you must follow these steps:
- Sign in to your private Instagram account.
- Click on the icon that has the shape of an ‘airplane’ which will take you to the courier service.
- Once here, long press on the chat you want to leave and then go to more detail.
- We click on ‘Leave chat’.
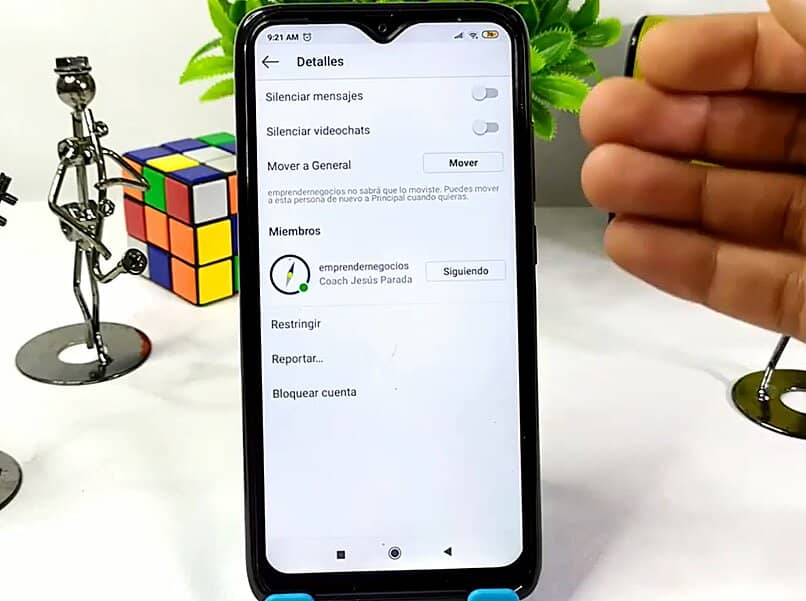
Another detail you should know about this procedure using the web application, it has to do with the fact that the button that is pressed to access this option is a kind of ”I”. After selecting this option, several buttons appear on the screen, among which is the ”leave chat” button.
With the official website
This very important procedure can also be carried out from the official website. It should be noted that in both cases, exactly the same steps must be followed to be able to delete an Instagram group that is hosted in personal messages. Therefore, the steps mentioned above on mobile devices apply to computers.
How can you remove a group from your chats in Instagram Direct?
In addition to the steps mentioned above, which are used to delete a group on Instagram, you can also it is essential that you know how to remove said group from your chats, in case you want it.
After entering your account in this social network, the next step you must take is to touch the upper right part of the news section, to later press the conversation in the group that you have left previously. When performing this action, several options will appear on the screen, one of them is to ”delete”.
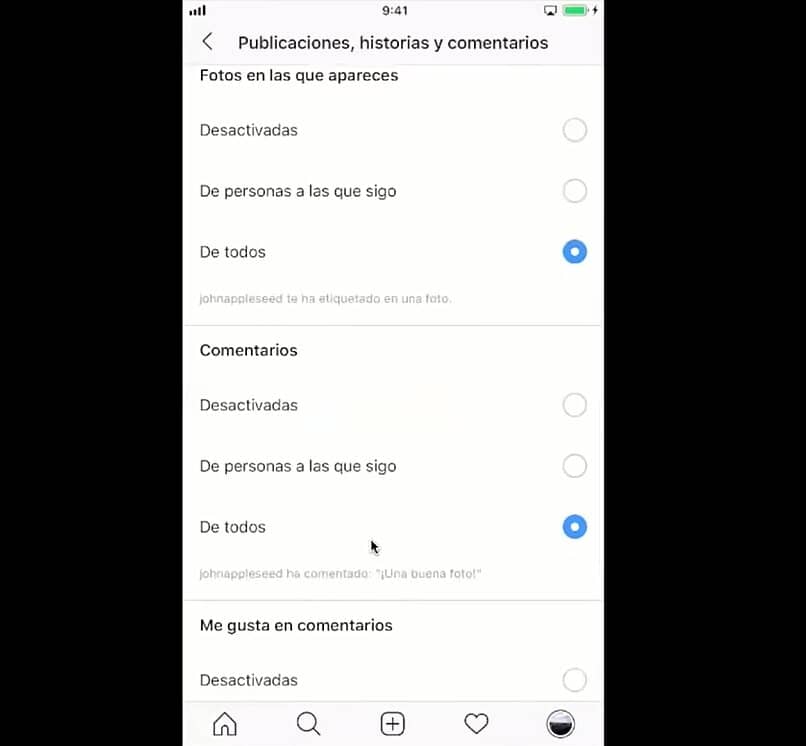
In addition to this, requests to join can also be disabled for any type of group. To perform this action, you must go to the configuration, to later press the ”notifications” button and finally deactivate these requests in the direct messages section.
With the mobile app
As you have seen, this process is quite simple. It should be noted that all These steps can be followed using the mobile application, so you can delete your Instagram chats whenever you want, no matter where you are. The steps to follow to remove a group from your chats on Instagram are:
- Click on the paper plane or on ‘Courier services’.
- Go to the group you want to delete and hold it down for a few seconds with your finger.
- Tap the group name at the top.
- Scroll down where you will find a button that says ‘Quit Chat’ and then ‘Quit‘ to confirm.
Using the website
Removing a group from your direct chats can be quite useful for you can get in your conversationsOnly those that you consider important to you.
In addition to being able to perform this action with the application, from your mobile device, you can also it is possible to do it using the website from any device that does not have the App. The method to delete a group from your chats is the same as the mobile phone.
Is there a way to re-enter the Instagram group?
Although this option can be so useful when you want to use it, there is also the possibility of deleting an Instagram group by mistake. In such cases, the following question may arise: Is there a way to get back to the Instagram group? Soon, we will clarify your doubt.
After leaving an Instagram group, you will not be able to return on your own. To join a group chat again, the person who manages it will have to include you for the second time and that way you can continue interacting with the other members.
Related posts:
 How to access Steam games without an internet connection
  How to view FPS with Xbox Game Bar in Windows 10: Steps Made Easy
  Hacked account? How to check and remedy
  How to make video calls from WhatsApp Web
  How to increase the RAM memory of a desktop or laptop + Tips and Tricks
  How to organize your YouTube subscriptions into categories
+ Tips and Tricks
How to organize your YouTube subscriptions into categories
+ Tips and Tricks


