


How to turn off activity history in Windows 11
Activity History is an amazing feature of Windows 11, which keeps track of almost everything you do on your system, such as the websites you browse, the applications you use, the files you open, etc. The activity history is usually stored on your local machine and can be viewed by the administrator. If you have a Microsoft account linked to your account and that same Microsoft account is used on other devices as well, your activity history will be shared across all those devices to make sure you feel like you are working on one machine rather than many. Activity history is a great feature and many Windows users find it very useful.
But do we all like invasions of privacy and store all of our activities somewhere for others to see? Read on to learn how you can easily turn off the Activity History feature in Windows 11.
Method 1: disable activity history from the settings app
Paso 1: Press Win + me keys together to launch the Settings app.
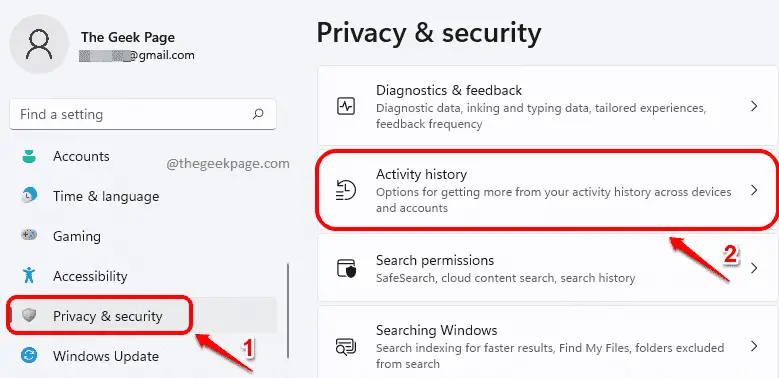
In the left window pane, click the Privacy & Security tab, and in the right window pane, click Activity history.
Paso 2: On the next page, scroll down and look for the box corresponding to Store my activity history on this device.
Make sure this check box is rampant.

That is all. Your activity history has now been successfully disabled.
Method 2: turn off activity history through local group policy editor
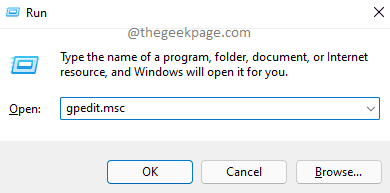
Paso 1: Start the To run window by pressing the Win y R keys together.
to write gpedit.msc and hit the Get into key to launch Local Group Policy Editor.
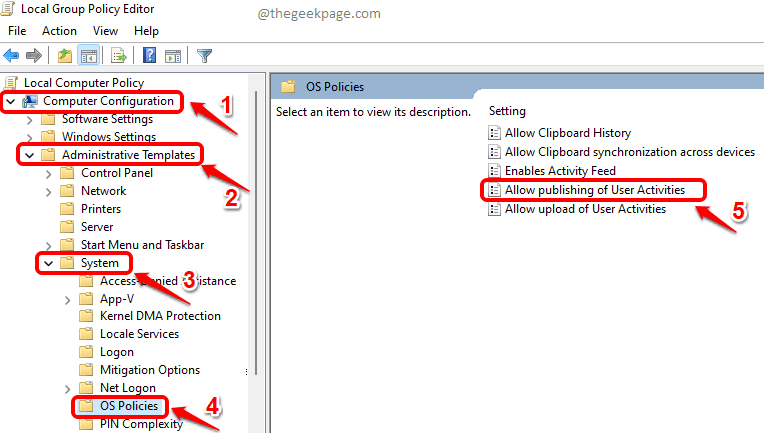
Paso 2: In the Local Group Policy Editor window, browse to the next folder by double clicking each folder along the way.
Computer Configuration --> Administrative Templates --> System --> OS Policies
After that, on the right side of the operating system policies, click on settings Allow posting of user activities.
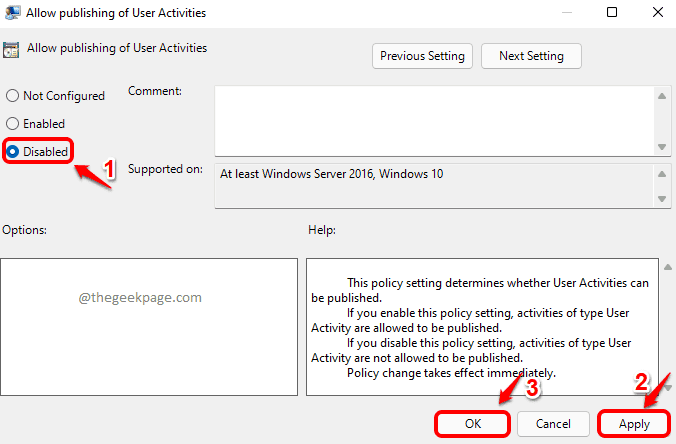
Paso 3: As below, choose the radio button corresponding to Disabled, catch Request button, and then the OK button.
Method 3: Turn off Activity History from Registry Editor
It is highly recommended to keep a backup of your registry settings before making any changes, as registry settings are very important to the operation of Windows.
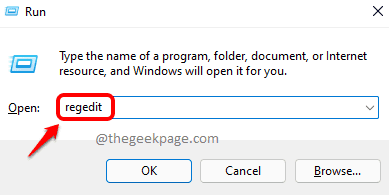
Step 1: press the keys Win + R ttogether to launch the To run window. to write regedit and hit the Get into wrench.
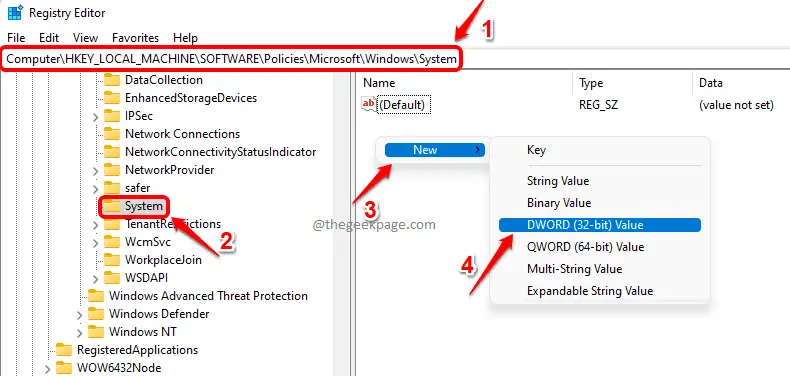
Paso 2: In the navigation bar of the registry editor, copy get the next url and hit Get into wrench.
ComputerHKEY_LOCAL_MACHINESOFTWAREPoliciesMicrosoftWindowsSystem
Now make sure System The folder is selected by clicking on it.
On the right side of the window, right click on an empty space, click on New and then click Valor DWORD (32 bits).
Paso 3: The right button of the mouse about him Newly created DWORD value and then click the Rename option.
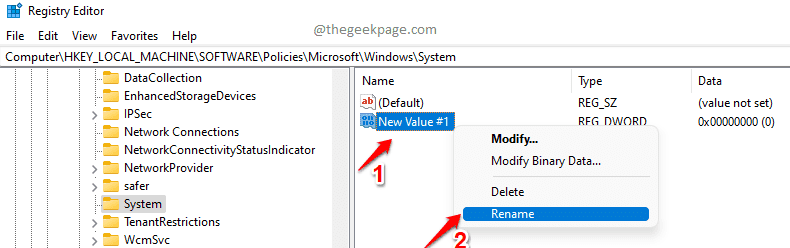
Paso 4: Provide the newly created DWORD value Name What PublishUserActivities.
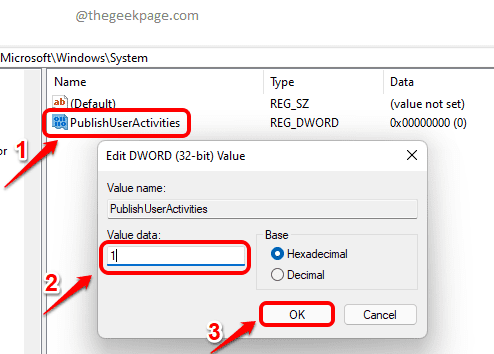
Once renamed, double click upon PublishUserActivities for Edit that. At Value data field, give value as 1 and hit the OK button.
That is all. Activity history should now be disabled on your system. Hope you found the article useful.
Related posts:
 How to access Steam games without an internet connection
  How to view FPS with Xbox Game Bar in Windows 10: Steps Made Easy
  Hacked account? How to check and remedy
  How to make video calls from WhatsApp Web
  How to increase the RAM memory of a desktop or laptop + Tips and Tricks
  How to organize your YouTube subscriptions into categories
+ Tips and Tricks
How to organize your YouTube subscriptions into categories
+ Tips and Tricks


