


How to fix AMD error 1603 in Windows 11, 10
While installing the latest software for your new AMD Radeon card, you may see this error message “Error 1603 – Radeon™ Software Installation has encountered a general error and cannot continue” has stopped the installation process. This can happen due to almost any reason, but in most cases, the main culprit has been identified as conflict between software and graphics driver. There are quite a few fixes that you can implement to find a quick and easy resolution.
alternate solution –
1. Completely disable or uninstall the antivirus package you are using. After, restart the system and try to install the package again.
2. Check if there is a pending Windows update on your system.
Solution 1 – Download and use the latest version of the Radeon Software Package
You can download and install the latest version of the package from Radeon Software.
Camino 1 –
1. At first, go to the official AMD Driver and Support page.
2. Then tap on “DOWNLOAD NOW” to download the latest version of Automatically detect and install updates for Radeon Graphics.
3. Once you are done, go to the location of the downloaded utility.
4. Then, double click in the downloaded Radeon Tool.
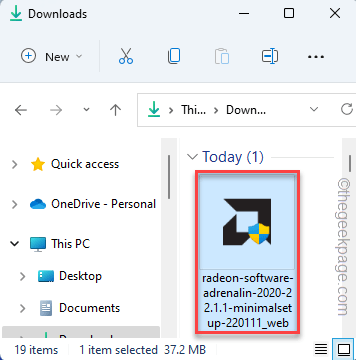
Simply follow the on-screen instructions as the Radeon Tool will automatically analyze your computer’s configuration and download any necessary drivers.
Install the drivers and then, restart the system. Check if you are still facing error code 1603 while doing it.
Track 2 –
If you encounter the same error while running the automatic detection tool, you can download the latest driver for your graphics card from the website.
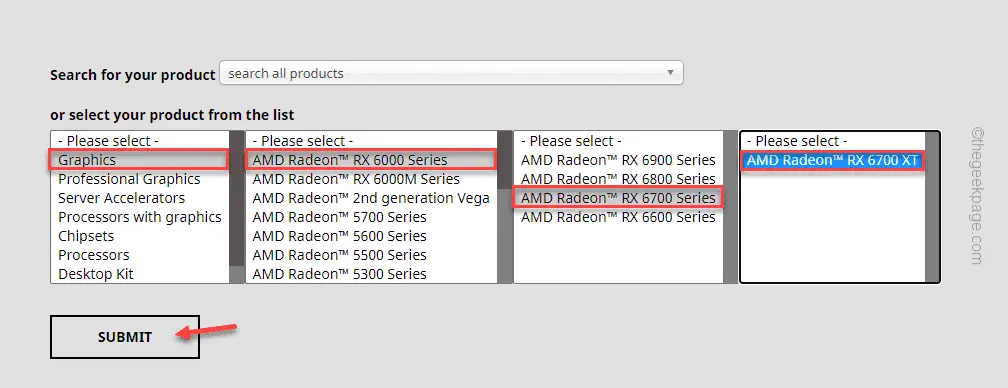
1. At first, open the AMD Driver and Support page, again.
2. Then scroll down to the section to choose your graphics card specifications.
Select all specification categories based on your system specifications.
3. Once you’re done, tap «Deliver” to continue.
4. Now, you will be given the driver options based on the operating version you are using.
5. Simply expand the section you prefer and tap «Descargar” to download the driver software.
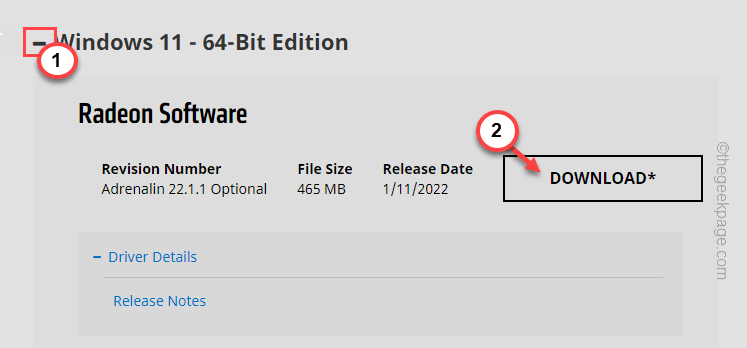
Wait until the download process is complete.
6. After that, double click in the downloaded file.

Again, follow the instructions on the screen and complete the installation process.
This should help you resolve the issue.
Solution 2 – Use the AMD Cleanup Tool
If you are unable to install the AMD driver at all, we recommend that you use the official AMD cleanup tool to remove the current driver files, registries, and driver store from your machine.
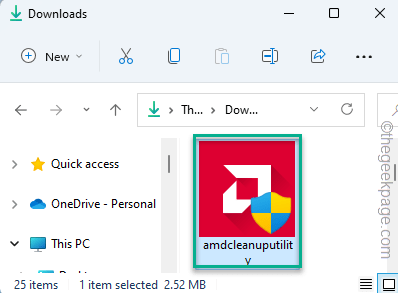
1. First of all, download the AMD Cleanup Tool on your system.
2. After downloading, go to the location where you downloaded the AMD Cleanup Tool.
3. Then, double click about him “AMDCleanupUtility” tool to run it.
4. You will get a message to restart your computer in safe mode.
5. Simply touch «Yes” to do it.
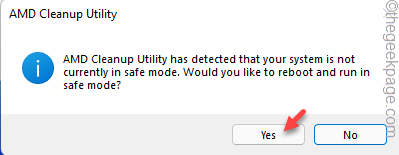
This will reboot your device into safe mode. Sign in with your account credentials.
6. After that, you will see a warning message on your screen. Just touch «OK” to proceed.
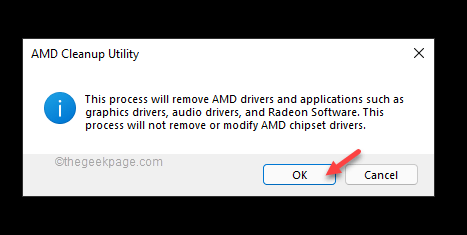
In this way, AMD Cleanup Utility will start to remove all drivers, applications and utilities from your device.
Once you’re done, you need to reboot your device once to not only boot from safe mode, but also for this change to take effect.
Once the device has rebooted, you can download and install the latest driver by following any of the methods below. Solution 1.
Solution 3: Restore default location values
Restoring the default location for default system drives may fix the problem.
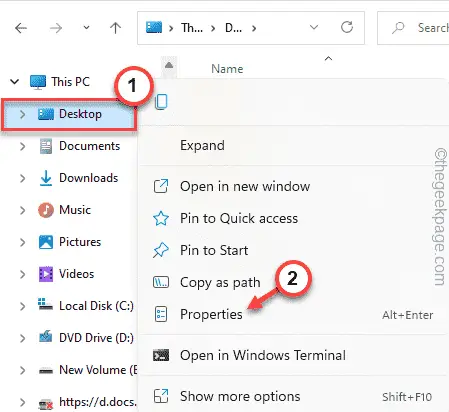
1. At first, open File Explorer.
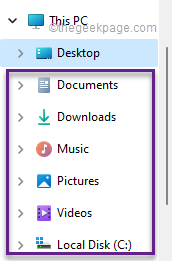
2. On the left panel, you will find the list of dedicated folders like Desktop, Downloads, Documents, Pictures, etc.
3. Now, right-click on “Desk” and then click “Properties“.
4. After that, go to “Location” on the Properties tab.
5. Then touch “restore default” to restore default settings.
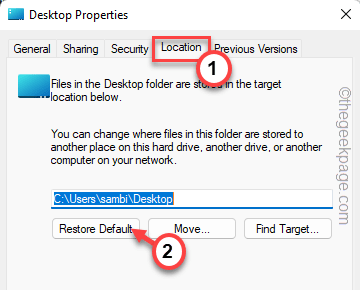
5. Finally, tap on “Request” Y “OK“.
6. Now, repeat the same process for all other drive locations (such as Downloads, Documents, Pictures, etc.)
Again try to install AMD drivers on your system.
Solution 4: Use the DDU
If the issue persists despite using the AMD Cleanup Utility, you can use the Display Driver Uninstaller to do the same more efficiently.
Step 1: Download the driver
1. Open AMD Driver and Support.
2. Then scroll down to the section to choose your graphics card specifications.
Again, choose all of your controller specs on the same page.
3. Finally, tap on “Deliver“.
4. Here you will see the list of drivers according to the version of Windows.
5. Now, expand the section you need and then click «Descargar” to download the driver software according to your Windows.
6. Now, download the Display Driver Uninstaller.
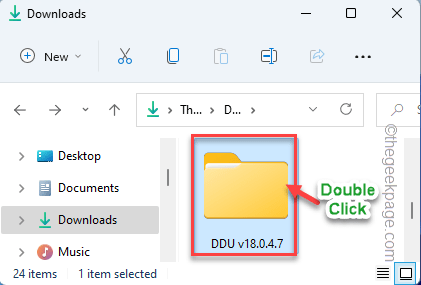
7. Once you go to the location of the DDU file.
8. Solo, extract the “DDU v18.0.4.7” somewhere on your system that you can access later.
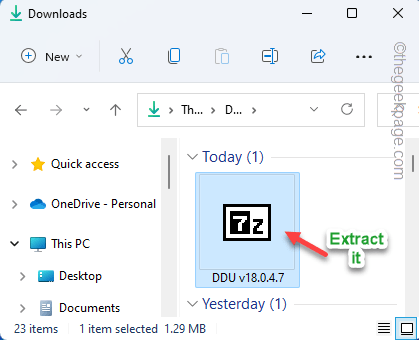
After that, close the browser window.
Step 2 – Boot into SAFE MODE
Now, you should boot into the safe mode.
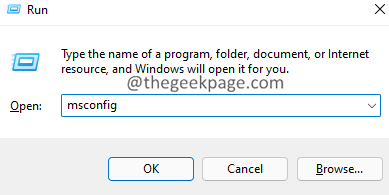
1. At first, press the button Tecla de Windows+R keys together.
2. Then type “msconfig” and hit Get into.
3. When System Configuration opens, go to «world” tab.
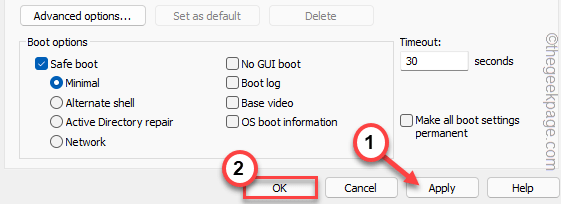
4. Here alone cheque the “secure boot» option.
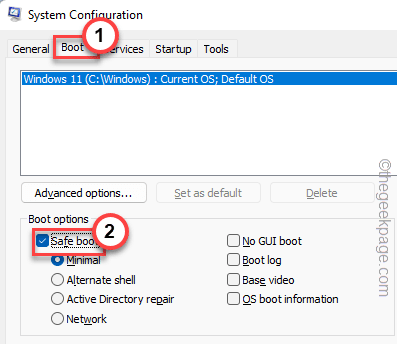
5. Finally, tap on “Request” Y “OK” to save the changes.
6. You will immediately be prompted to reboot your device. Tap on “Restart” to reboot the device.
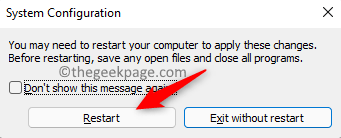
Just wait while your system boots into the safe mode.
Step 3: Run DDU
1. Now, navigate to the folder where you have extracted the DDU files.
2. Solo, double click about him “DDU v18.0.4.7” to open the folder.
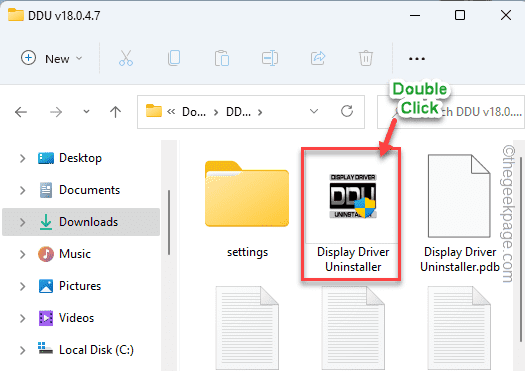
3. Then touch the button “Screen Drivers Uninstaller» To open it.
4. When the Display Driver Uninstaller window opens, change the setting to “GPU“.
5. After that, set it to the “AMD” from the dropdown list.
6. Then touch “Clean and restart” to clean the system and reboot your system.
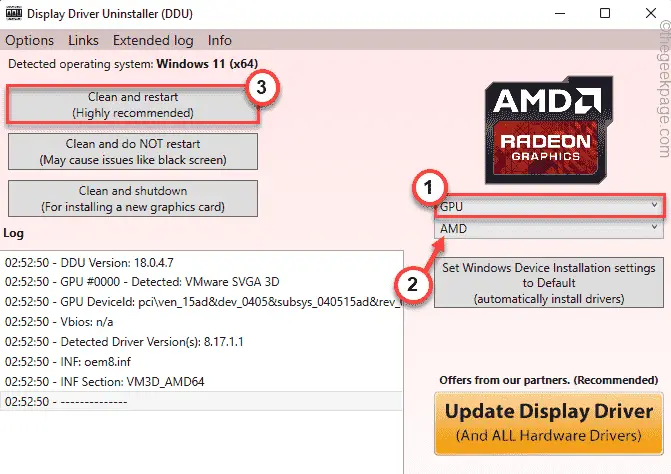
This should completely wipe out the AMD drivers, registry files from your computer.
Step 4: Install the driver
1. Now once your system restarts, go to the location where you downloaded the driver.
2. Then, double click in the driver file and follow the instructions on the screen.
Then follow the instructions on the screen and complete the driver installation process.
Restart the system once you are done.
Your problem should be solved.
Solution 5 – Run SFC, DISM scans
You can run the SFC and DISM scan to check if this is due to a missing system file/registry.
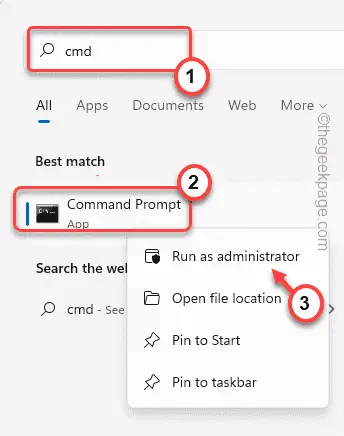
1. At first, just type «cmd” in the search box.
2. Then right click “Symbol of the system” and touch “Execute as an administrator” to access it.
3. Now, put this command in the terminal and press Get into.
DISM.exe /Online /Cleanup-image /Restorehealth
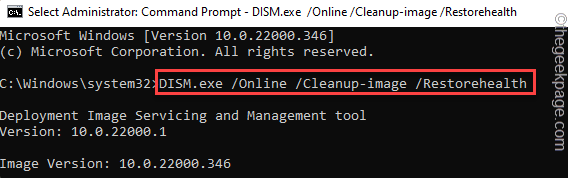
Windows will run a DISM check.
4. Once you are done, catch this command and press Get into to run an SFC scan.
sfc /scannow
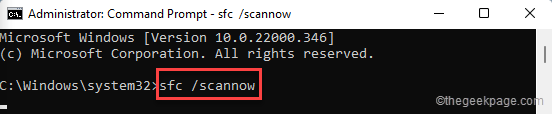
After that, close the command prompt terminal and reboot.
You should be able to install the driver without any further problems.
Related posts:
 How to access Steam games without an internet connection
  How to view FPS with Xbox Game Bar in Windows 10: Steps Made Easy
  Hacked account? How to check and remedy
  How to make video calls from WhatsApp Web
  How to increase the RAM memory of a desktop or laptop + Tips and Tricks
  How to organize your YouTube subscriptions into categories
+ Tips and Tricks
How to organize your YouTube subscriptions into categories
+ Tips and Tricks


