


How to Fix Error Code 0x8007007f in Windows 11 [Solved]
Windows 11 is the improved and best update for Windows 10 users from Microsoft around June 2021. They released the final version of Windows 11 for everyone in October 2021. Many of the Windows users reported that when they were trying to update their system to Windows 11 final version, they get error code 0x8007007f saying something went wrong and cannot continue with the full installation. If you are also facing this same problem and cannot upgrade to Windows 11 due to this error code, don’t worry. We have found few possibilities and solutions in this post, which will surely help you to update your system operating system to Windows 11.
Solution 1: running the Windows Setup Wizard file as an administrator
Step 1: Download the Windows Installation Wizard file by clicking the link shown below.
https://go.microsoft.com/fwlink/?linkid=2171764
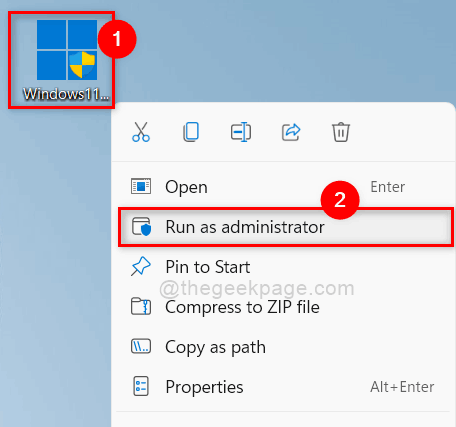
Step 2: Then, right-click on the downloaded Windows Setup Wizard file.
Step 3: select Execute as an administrator in the context menu as shown below.
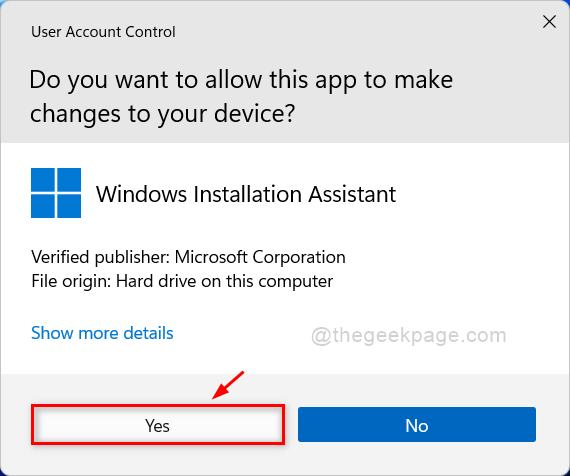
Step 4: Then click Yes in the UAC prompt window as shown below.
Step 5: Follow the instructions on the screen to complete the installation process.
Hope this was helpful and resolved the issue.
Solution 2: reboot your system
Sometimes there may be the possibility that other background services or applications are interfering with the installation process. So restarting the system can kill all the background apps and after your system starts, immediately start the Windows 11 installation process.
Step 1: Close all open windows and folders on your system.
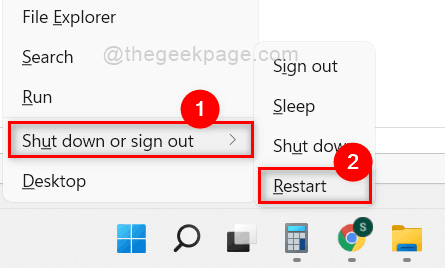
Step 2: Then press Windows + X keys to view the Home button context menu list.
Step 3: hover your mouse over Shut down or log out option, and then select Restart from the list as shown in the following picture.
Step 4: Once done, try installing Windows 11 on your system.
Hope this has solved your problem. If not, try our other solutions explained below.
Solution 3: clean the disk and remove junk files
Step 1: Press Windows key on your keyboard and type disk cleaning.
Step 2: select the disk cleaning application from the search results as shown in the image below.

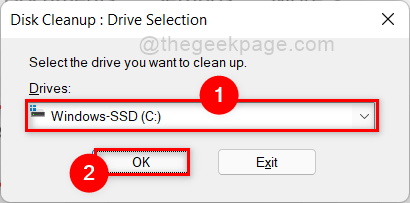
Step 3: Then select C: drive in the drive selection window and click OK button as shown below.
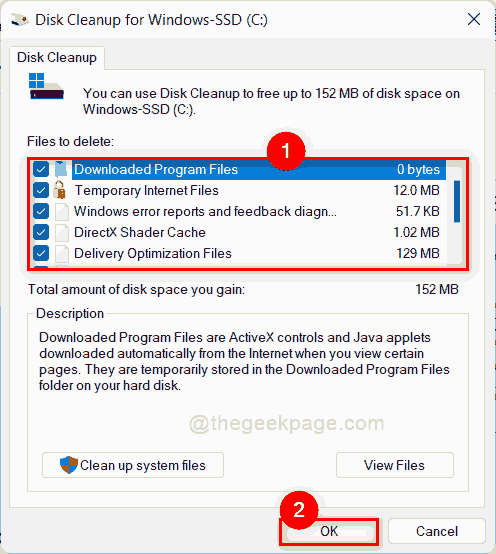
Step 4: In the next window, select all the files you want to delete by clicking all the checkboxes as shown in the following screenshot.
Step 5: Then click OK button to delete all junk files.
Step 6: After all the files have been removed, try to upgrade the Windows operating system to Windows 11 and check whether the error persists or not.
That’s it.
Solution 4: keep your graphics driver up-to-date
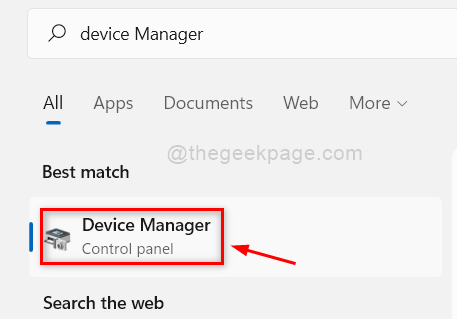
Step 1: Press Windows key on your keyboard and type device administrator.
Step 2: select the Device administrator application of search results as shown below.
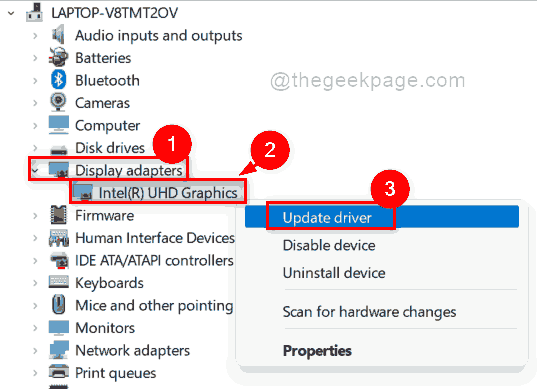
Step 3: select Display adapters and click it to expand it in the device manager window.
Step 4: Then, right-click on the graphics card available under Display adapters (for example: Intel UHD Graphics Card).
Step 5: click Update driver from the context menu as shown in the following screenshot.
Step 6: click Search for drivers automatically option in the window as shown below.

Step 7: Then follow the instructions on the screen to update the graphics driver.
Step 8: close the Device Manager window.
Now try updating your system to Windows 11 and see if the problem is resolved.
Hope this has solved your problem.
Solution 5: Run a system file verification scan
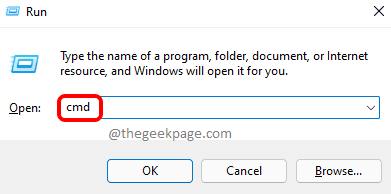
Step 1: Press Windows + R keys together on your keyboard to open To run dialog box.
Step 2: Write cmd in the run dialog box and press the CTRL + SHIFT + Enter keys together to open Symbol of the system What management.
Step 3: Then click Yes in the UAC message to continue.
Step 4: Then write sfc / scannow at the command prompt and press the Get into to start the scan check.
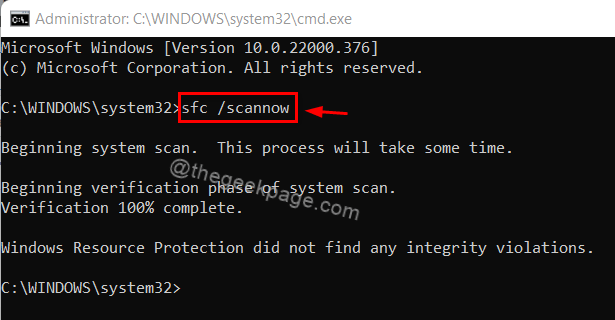
Step 5: Close the command prompt window.
Step 6: After the file scan verification is done, try to check if the problem persists.
Hope this solves the problem.
Solution 6: make sure Secure Boot and TPM 2.0 on your system are enabled
How to check the status of the secure boot status on your system
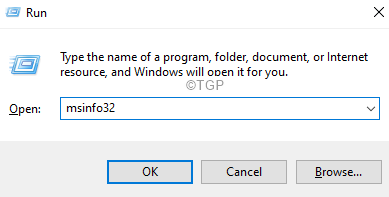
Step 1: Press Windows + R keys together on your keyboard to open To run dialog box.
Step 2: Write msinfo32 in the run dialog box and press the Get into keys together to open System information.
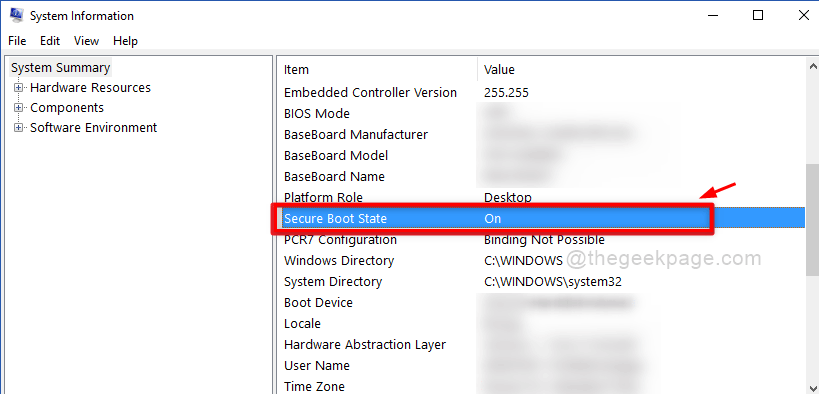
Step 3: In the system information window, look for the secure boot status item on the right side of the window.
Step 4: This should display as About if it is enabled as below screenshot shown.
Step 5: If it is not enabled, please refer to this article How to enable secure boot state in Windows 11.
How to check the status of TPM 2.0 on your system
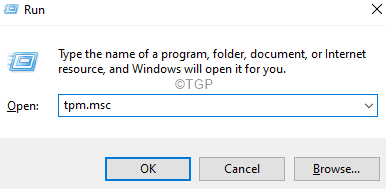
Step 1: Press Windows + R keys together on your keyboard to open To run dialog box.
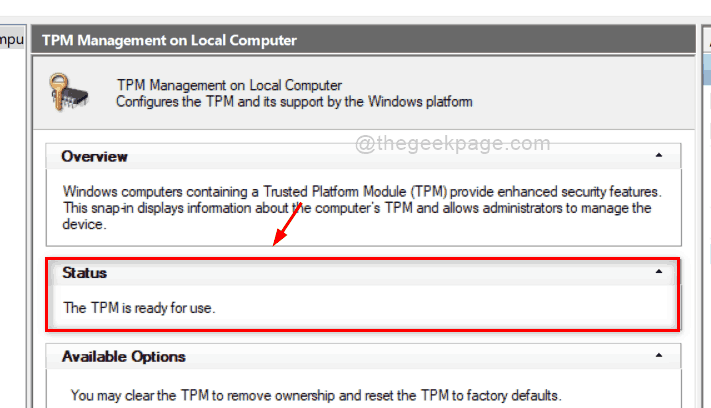
Step 2: Then write tpm.msc in the run box and press Enter key to open Trust Platform Module Management on your system.
Step 3: Check the TPM status in the Status section, as shown in the following image.
Step 4: if it appears The TPM is ready to use then it is enabled.
Step 5: If not, check out this article How to enable TPM 2.0 on your system.
Step 6: After making sure both TPM and Secure Boot state are enabled, try to check if the problem persists.
Hope this solves your problem.
Solution 7: change user account control settings on your system
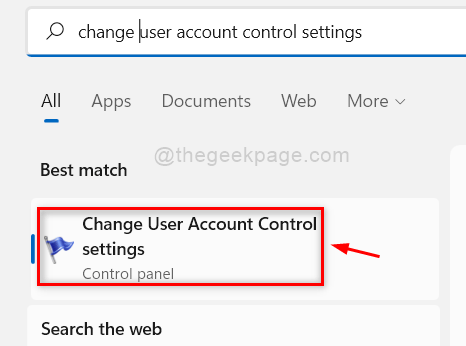
Step 1: Press Windows key on the keyboard and type change the control parameters of your user account.
Step 2: Then press the Get into to open the user account control settings window.
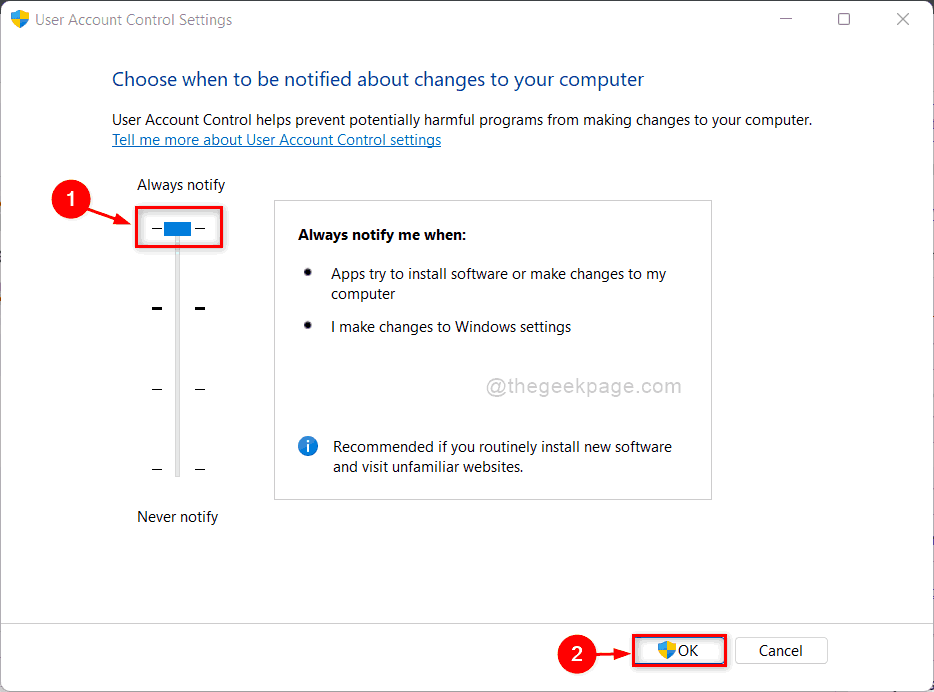
Step 3: Drag the Always notify option to the highest position as shown in the screenshot below.
Step 4: Then click OK button and click Yes in the UAC message to continue.
Step 5: Once done, check if the error code still appears when you try to upgrade to Windows 11.
That’s it.
I hope this article is informative and useful.
Let us know in the comment section below.
Thank you for reading!
Related posts:
 How to access Steam games without an internet connection
  How to view FPS with Xbox Game Bar in Windows 10: Steps Made Easy
  Hacked account? How to check and remedy
  How to make video calls from WhatsApp Web
  How to increase the RAM memory of a desktop or laptop + Tips and Tricks
  How to organize your YouTube subscriptions into categories
+ Tips and Tricks
How to organize your YouTube subscriptions into categories
+ Tips and Tricks


