


How to fix pointer flickering problem in Windows 11
Mouse pointer flickering too much on your new Windows 11? A handful of users have reported facing a similar type of problem on their system and it is evident that it occurs after upgrading to Windows 11. This problem occurs only once in a while and there are some quick resolutions you can use to solve this problem.
Solution 1: restart the Windows Explorer process
The easiest way to fix the problem is to restart Windows Explorer on your computer.
1. At first, press the Windows key + E keys together. This will open File Explorer. Just minimize it.
2. Then press the Windows key and X keys together.
3. Then touch «Task Manager”To access the Task Manager on your computer.
4. When the Task Manager opens, right-click on the «Windows Explorer«And it touches»Restart“.
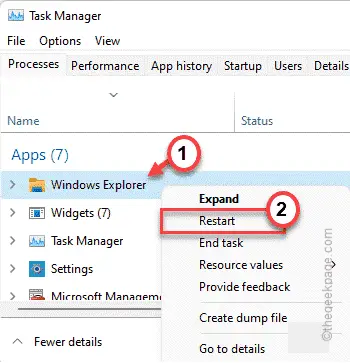
This will restart Windows Explorer and fix the cursor flickering problem on your computer.
Solution 2: disconnect and reconnect the display controller
Sometimes the screen itself can cause the cursor flickering problem. Follow these steps to fix this problem.
1. First, disconnect the display from your computer.
2. Then wait about a minute.
3. Then reconnect the display to your system one more time and check if this stops.
This should bring the cursor back to normal again.
Solution 3: uninstall drivers
A misconfigured display and / or mouse driver can cause the pointer to flicker.
1. At first, press the Tecla de Windows + R keys together.
2. Then write «devmgmt.msc«And hit Get into to open Device Manager on your computer.

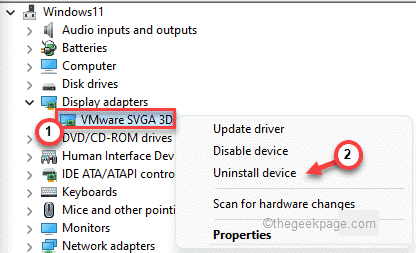
3. In the Device Manager window, expand the «Display adapters” section.
4. Then, right-click on the display adapter and tap «Uninstall device”To uninstall it.
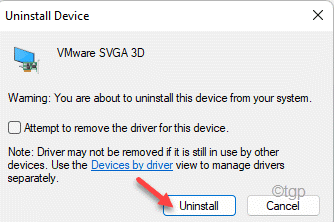
5. Then touch «Uninstall”To uninstall the device from your computer.
If you want to install a new display driver for your device, you can download it from the display driver manufacturer’s website and install it easily. After installing the driver, follow these steps.
6. Open the Device Manager window, if it is not already open.
7. Now expand the «Mice and other pointing devices” section.
8. Then, right-click the mouse and tap «Uninstall device”To uninstall it from your computer.
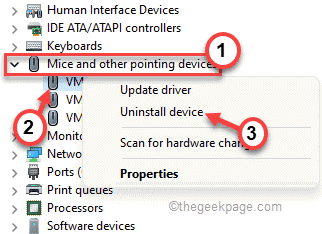
9. Again, touch «Uninstall“To confirm the action.

After uninstalling the mouse device, you may not be able to use the mouse briefly. press the Alt + F4 keys together to close Device Manager.
Then press the Alt + F4 keys and restart the computer.

After rebooting the system,
Solution 4 – Clean boot your device
If a third-party application is causing this problem on your computer, a clean boot of your system should work.
1. At first, press the Tecla de Windows + R keys together.
2. Then type this command and press the Get into wrench.
msconfig
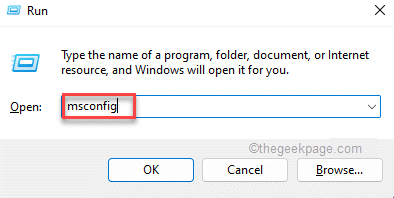
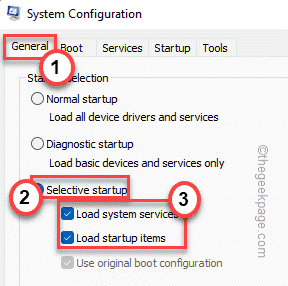
3. Simply click on «General” tab.
4. After that, go to the General section, click on the «Selective start up«Option a cheque that.
5. Now you can finally cheque the “Charging system services»Option.
6. After that, go to the «Services” section.
7. Next, you have to cheque the “Hide all Microsoft services” box.
8. You will notice that only third party applications are selected. Then click on «Disable all“.
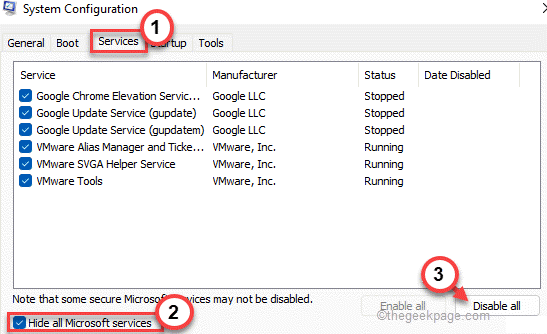
This will stop all services that affect the pointer flicker problem.
9. Next, you have to go to the «Start up” section.
10. Here, you must touch the «Open Task Manager“.
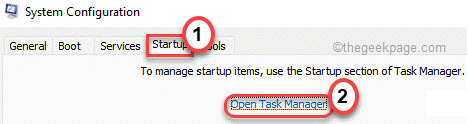
The Task Manager will open.
11. Here, you will see all the services that can start automatically.
12. Then right-click on the service and tap «Deactivate“.
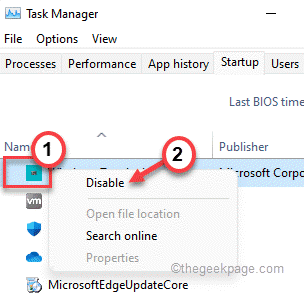
When you have disabled all unnecessary application startup, close the Task Manager window.
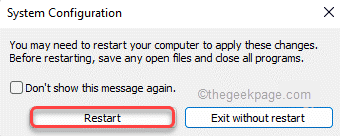
13. Simply click on «Request«And then in»OK“.

The system setup will ask you to reboot the system.
14. Simply touch «Restart”To restart your system immediately.
When your computer starts up, check if the mouse pointer keeps flashing or not.
Related posts:
 How to access Steam games without an internet connection
  How to view FPS with Xbox Game Bar in Windows 10: Steps Made Easy
  Hacked account? How to check and remedy
  How to make video calls from WhatsApp Web
  How to increase the RAM memory of a desktop or laptop + Tips and Tricks
  How to organize your YouTube subscriptions into categories
+ Tips and Tricks
How to organize your YouTube subscriptions into categories
+ Tips and Tricks


