


How to fix System32 folder keeps popping up on startup in Windows 11
When you start your system, you sometimes get a System 32 error that stops your work flow. When you receive this error, the System 32 folder is unintentionally opened in File Explorer. System 32 is a folder that is present inside the Windows folder and contains all the important information and settings for the operating system to function properly. This folder essentially stores all the «.Dll» and «.exe» records. This error mainly occurs when some files are missing or may be damaged. The files get corrupted when you install a third party application on your system and this interferes with the functioning of the system and causes the System 32 error. If you are also facing the same System 32 error, this article walks you through the different fixes that can be used to resolve the error.
Solution 1: clean boot your system
Step 1: Press Win + R keys to open the to run window.
Step 2: Press msconfig and hit Get into.
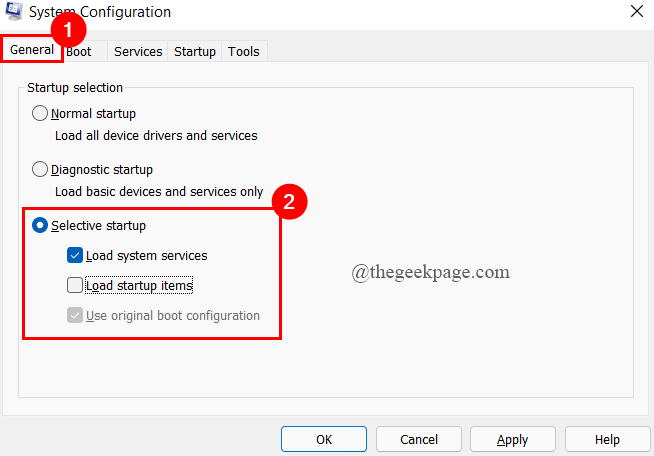
Step 3: Now under the General tab, click the radio button for Selective start.
Paso 4: Mark off The box of Load start times and Cheque the boxes of both Charging system services and Use the original boot configuration.
Step 5: Now under the Services tab, cheque The box of Hide all Microsoft services.
Step 6: click Disable all and click Request.

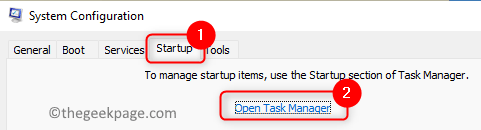
Step 7: Next, under the Start up tab, click Open Task Manager.
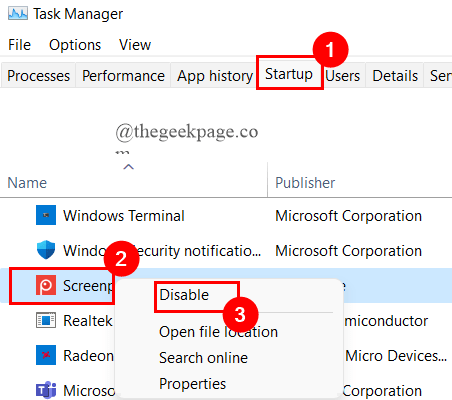
Paso 8: The right button of the mouse in each and each task present under the Start up tab, and click Deactivate.
Step 9: Reboot your system and see if the error is resolved.
Otherwise, go to the next solution.
Solution 2: create a restore point
Step 1: in the taskbar search, writes Restore and click Create a restore point.

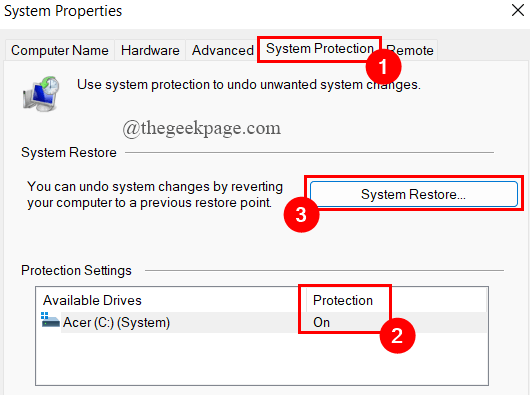
Step 2: Under the System Protection tab, click on System restore.
Step 3: make sure Protection is activated below Protection settings.
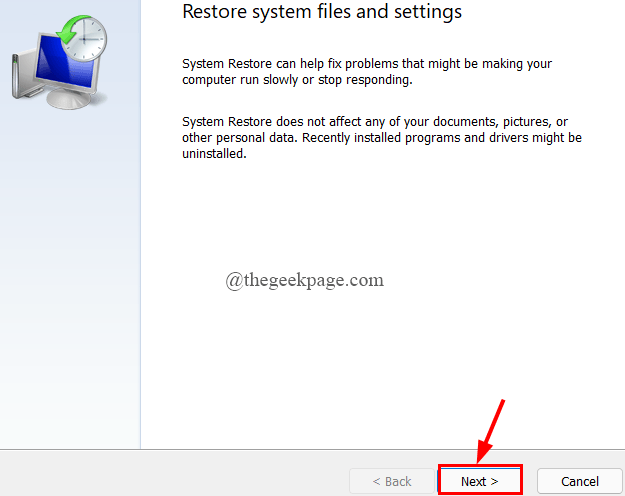
Step 4: Now, a system restore window pops up, click on Next.
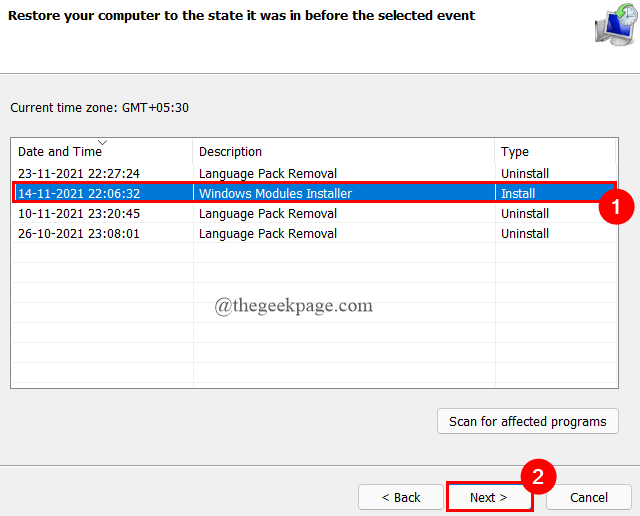
Step 5: select the restore point you want.
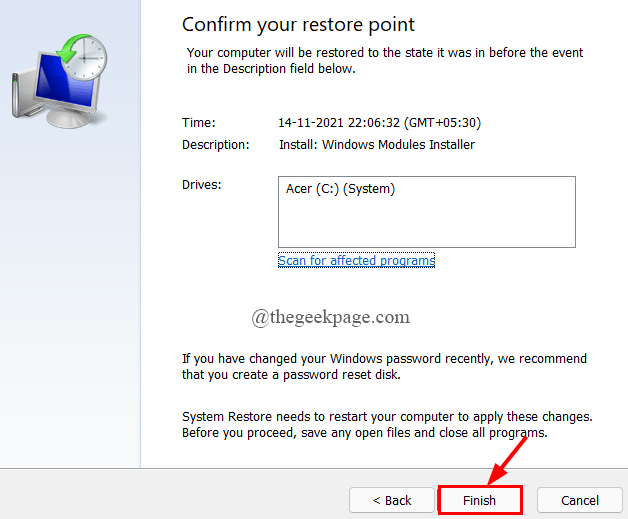
Step 6: click End up in the window that you see.
Step 7: A request window opens, requesting permission, click And.
Step 8: Restart your system and check if the error is resolved.
Solution 3: run the system file checker scan
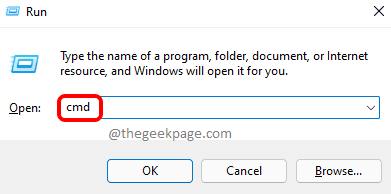
Step 1: Press Win + R keys to open the run window.
Step 2: Write cmd and press Shfit + Cltr + Enter keys to open like Administration.
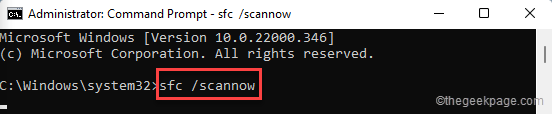
Step 3: Type the command below and hit Enter.
sfc /scannow
- When you get the message that says “Windows Resource Protection found no integrity violation”, this says that no files on the system are damaged or corrupted. The problem you are having may be due to other reasons.
- When you get the message that says “Windows Resource Protection found corrupted files and successfully repaired them”. This tells us that damaged or corrupted system files were found and repaired.
- When you get the message that says “Windows Resource Protection found corrupted files but could not repair some of them”. This tells us that the command was unable to repair the corrupt files even though it found them.
Step 4: After running the above command and the problem persists, you need to run DISM Restore Health to repair the damage.
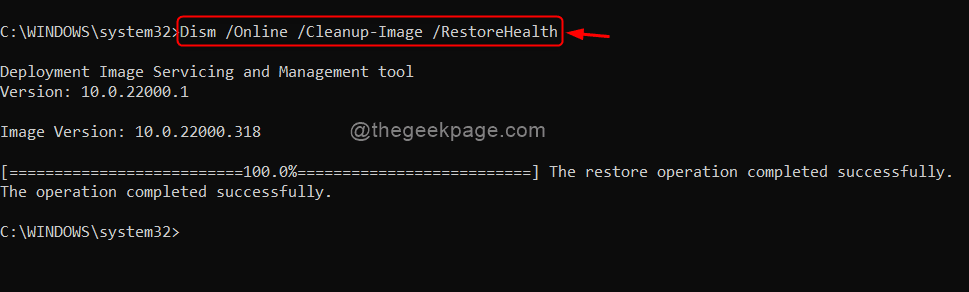
Step 5: Type the command below and press Get into.
Dism /Online /Cleanup-Image /RestoreHealth
Step 6: It will start the command operation and try to fix your problem.
Step 7: Once the operation is complete, you will get the message saying “The restoration operation was completed successfully.”
NOTE: Sometimes the trade hangs at 20%. Please wait a while for the process to complete.
Step 8: Write Departure and close the command prompt.
Step 9: Restart your system to see if the error is gone.
That is all.
I hope the article is informative and useful.
Thank you for reading.
Related posts:
 How to access Steam games without an internet connection
  How to view FPS with Xbox Game Bar in Windows 10: Steps Made Easy
  Hacked account? How to check and remedy
  How to make video calls from WhatsApp Web
  How to increase the RAM memory of a desktop or laptop + Tips and Tricks
  How to organize your YouTube subscriptions into categories
+ Tips and Tricks
How to organize your YouTube subscriptions into categories
+ Tips and Tricks


