


How to Install ‘PowerShell 7’ on my Windows 10 PC? – Complete Tutorial
–
It is generally known that in the Windows 10 operating system there are multiple add-ons and updates, these can be installed in different ways. It is a very important point to take into account, since you can carry out the method that suits you best, according to your needs.
That is why, to download PowerShell on your Windows 10 Computer You can choose one of the options that we will explain later. To do this you must follow a simple procedure to learn how to do it, in different ways.
What methods can you use to install PowerShell 7 on your Windows 10 computer?
If it is Windows 10, we must know that in this we can install add-ons in different ways, and in the case of PowerShell 7 is no exceptionyou just have to take into account certain parameters to follow, and choose the installation method that seems easiest and most practical to you.
To do this you must follow the steps explained below. Take a look at the XPS Viewer installation procedure using the Using PowerShell in Windows 10.
From ‘MSI’ package installation
First of all, we must go to the official page to download the plugin. Once there we must look for the correct package according to the specifications of our Windows 10, either MSI for 64 Bit or for 32 Bit. Taking this into account, the only thing we will do is click on the option compatible with our operating system.
Once you do this, a window will appear in which you will have to choose the location where you want the file to be downloaded. Having downloaded the file, we proceed to click on it, click on ‘Run’, when you do this a window will be displayed, then you have to click on ‘Next’ you just have to wait a moment until the installation is finished.
Using the ‘ZIP’ package
The ‘ZIP’ format is in question a way of compress a file, and for PowerShell it is also applicable in this case, but to install from this format, certain parameters must be followed, they are not complicated, but you must follow them to the letter; Read on and see how the process is.
This installation method is a little different, so please pay attention to the following details. Once we have descargado PowerShell ZIPwhat we will do is unzip the ZIP file, once this step is done.
We must execute the file, by clicking on the icon, you must press the ‘Run’ option then click ‘Next’ and finally you just have to wait a few seconds until the system finishes installing the add-on.

How to install PowerShell from the command line on your Windows 10?
There are several ways to install plugins on the Windows 10 operating systemand one of them is using the CMD command screen.
For this we must follow a series of steps to achieve installing PowerShell, Read on to learn how to do it so you don’t die trying. If you need to create or delete a user account in Windows 10 using PowerShell, check out these tips and learn how to do it.
Properties to control installation options
If we are a little more experienced in the field of computing, we can carry out the installation by doing the following. Must go to the start of Windows 10 and locate ourselves in the option called ‘Windows PowerShell’, press right click and select the option ‘Run as administrator’, doing this will display a blue screen.
Once this is done, we will enter the following commandiex & { $(irm https://aka.ms/install-powershell.ps1) } -UseMSI’ ‘, then we press enter on the keyboard, we wait a moment, and we will see that the installer of said plugin will start, only You must click on ‘Run’ then select the option that says ‘Next’, and that’s it.
How to silently install PowerShell on your Windows 10 PC?
To proceed with this simple procedure, what we must do is locate the PowerShell file already downloaded, once this is done, we proceed to click on the executablewhen we do this a box will appear where we will select where it says ‘Execute’, then we must click on the option that says ‘Next’, and we proceed to wait a few minutes.
Keep in mind that this process takes more or less time, depending on the power as far as hardware is concernedthat we have on our PC.
How to install PowerShell on your Windows 10 PC from the Microsoft Store?
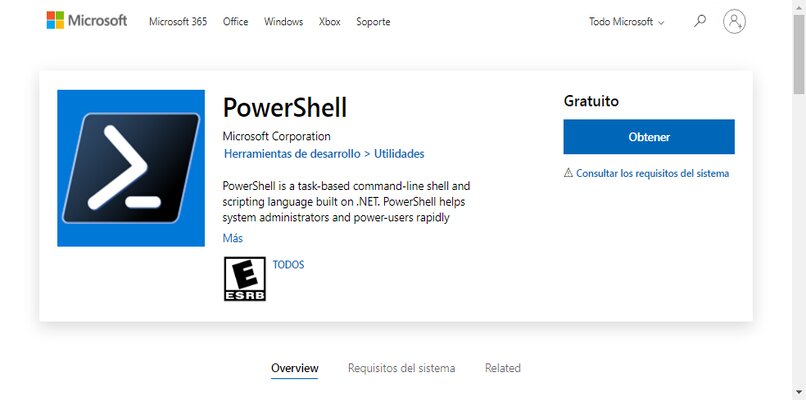
The Microsoft store is a tool that provides many benefits, since, entering it, we can find various important applications and programs, such as eThe case of the PowerShell plug-in. That is why you should be attentive to the installation process; You just have to follow the corresponding steps, explained below.
The PowerShell plugin is also available in the Microsoft Store, which is a very positive point, since, when installing from this medium, the plugin will update automatically in conjunction with other Windows 10 system files and plugins.
Once on the official page, you must click on the option that says ‘Get’, Once this step is done, all you have to do is wait for the download to finish. Once finished, you will have the plugin ready to be used.
Related posts:
 How to access Steam games without an internet connection
  How to view FPS with Xbox Game Bar in Windows 10: Steps Made Easy
  Hacked account? How to check and remedy
  How to make video calls from WhatsApp Web
  How to increase the RAM memory of a desktop or laptop + Tips and Tricks
  How to organize your YouTube subscriptions into categories
+ Tips and Tricks
How to organize your YouTube subscriptions into categories
+ Tips and Tricks


