


How to install the Unity Technologies editor on Linux
Long ago we published that Unity Technologies was laying the groundwork for its publisher to be officially supported by Linux. The engine was something else, because most developers tend to cross-compile from Windows or macOS and then test on Linux. Although the engine has supported Linux correctly for eons, that did not serve to appease the criticism of those who preferred to use the Open Source system for development.
The process to support the editor on Linux took a long time due to some hiccups and the fact that Unity Technologies was not in a rush. The excessive “patience” of the company reached the point that some began to wonder if one day the publisher would come to Linux for real or if, on the contrary, it would end up being discontinued before seeing the light as a stable release.
Fortunately, the years of waiting have been worth it and Linux users can finally download the Unity editor (not to be confused with the desktop from Canonical, which has nothing to do with it) from the official website in a normal way, performing a Similar process to Windows and macOS users. Because of that, we are going to take the opportunity to explain how to put it into operation.
Downloading Unity Hub to proceed to install the editor
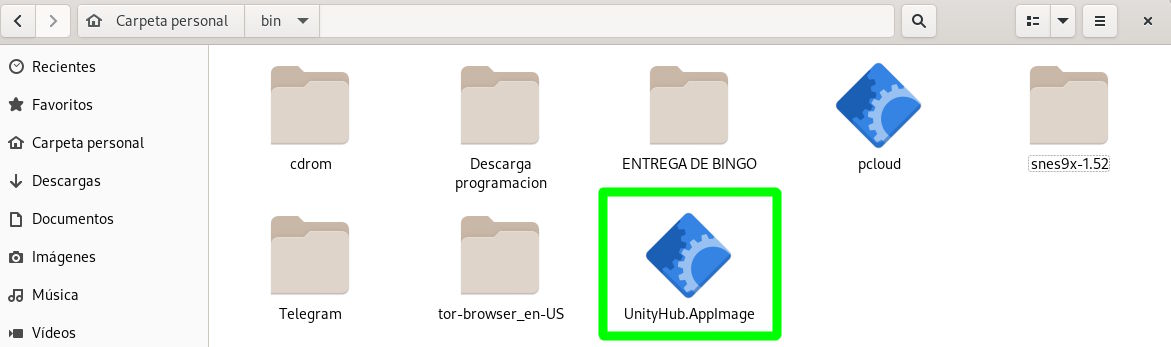
To install the Unity editor for Linux you have to download the hub first, which for the Open Source system is available in the format AppImage. The good thing about betting on AppImage is that you gain abstraction with respect to the distribution, and it is worth mentioning that this server has been able to start the editor in Fedora 34 Workstation (working is something else, because I don’t know anything about video game development ).
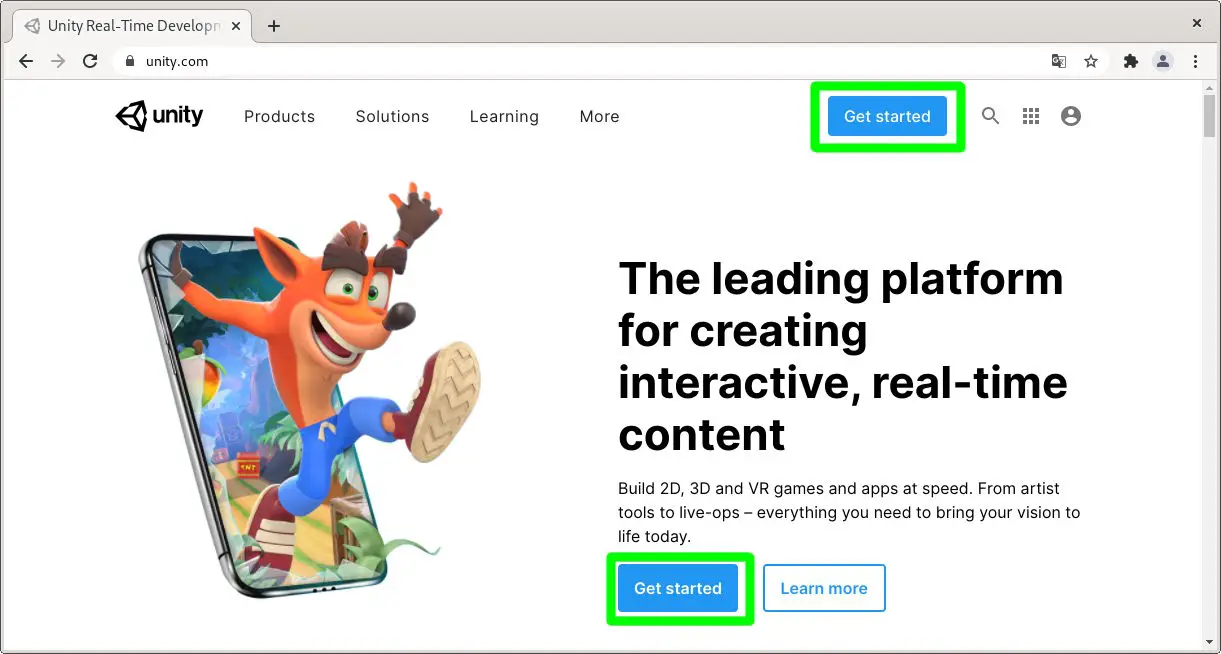
For download the Unity Hub (from now on, Unity Hub) you have to go to the Unity Technologies website and click on the “Get Started” button.
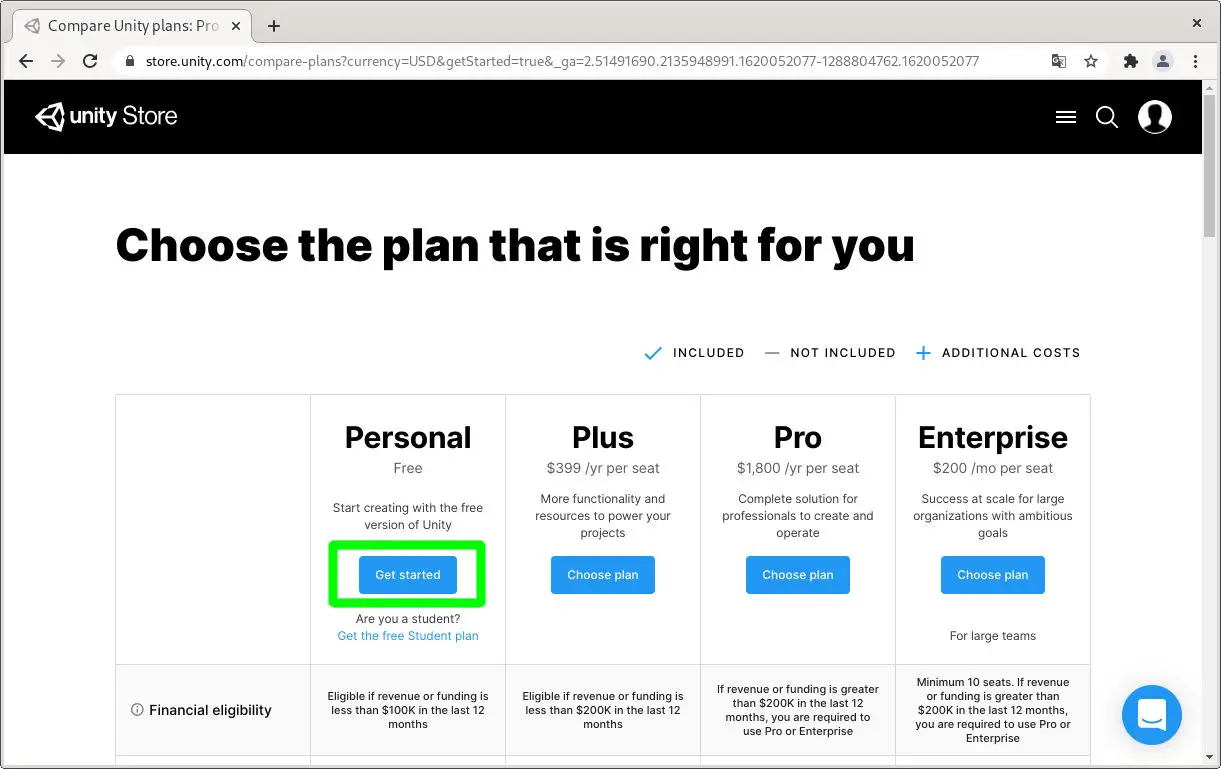
The second step is to select a license plan to use the Unity editor. Here we will assume that the intention is to use it as a hobby and to learn, so his is select Personal plan.
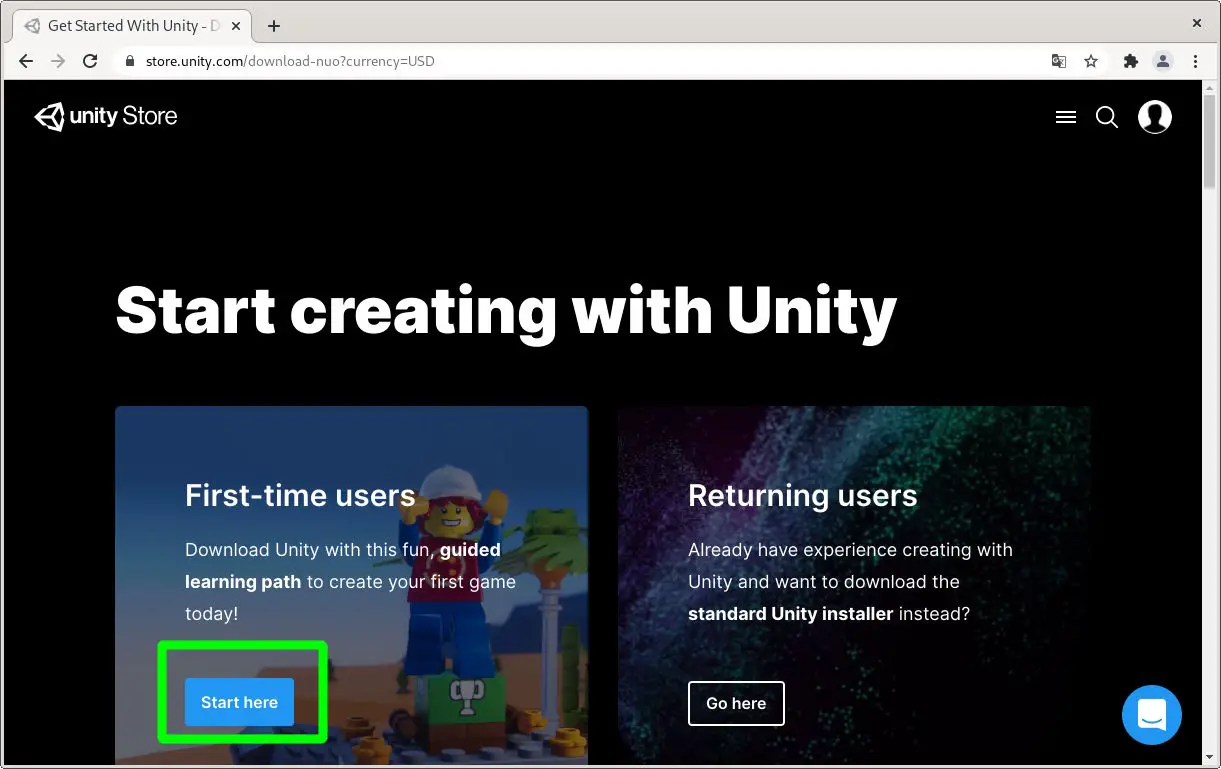
In the third step you have to do click once more on a button, more specifically the one that will allow you to use Unity for the first time.
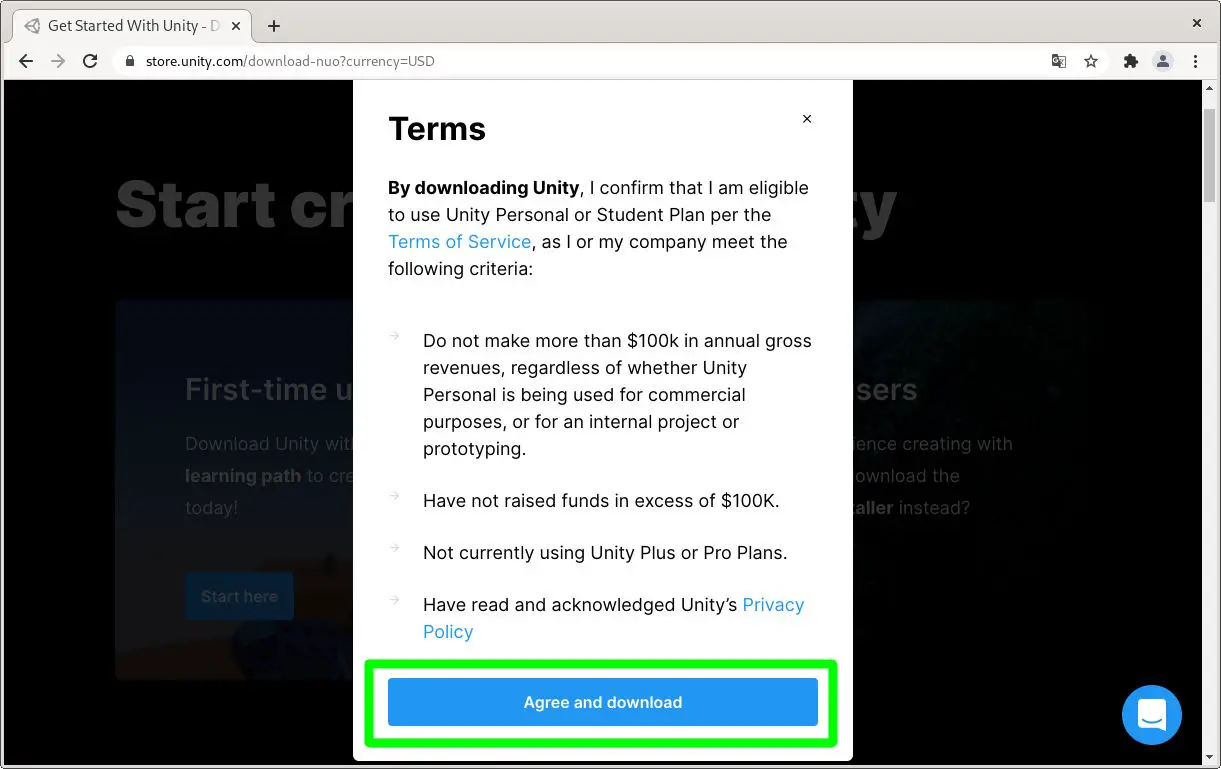
And how could it be otherwise, we accept the terms of use to proceed to the Unity Hub download.
How to get started with Unity Hub
Once the Unity Hub AppImage package has been downloaded, what you need to do is grant you execute permissions, which with Nautilus / Files (GNOME), Dolphin (KDE Plasma) and other file managers can be done from the file properties, although in extreme cases you can use the command that appears below the following two images.
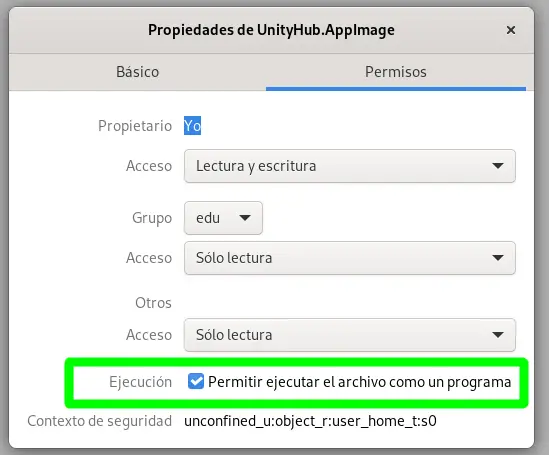
chmod a+x UnityHub.AppImage
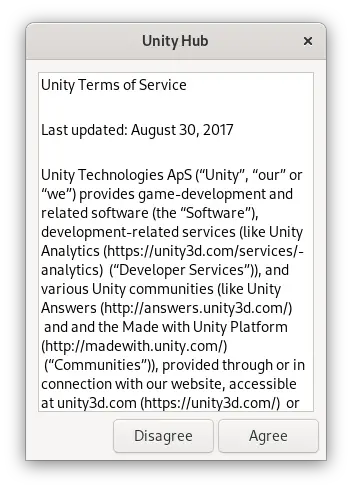
After assigning the permissions, you just have to do double click on the file “UnityHub.AppImage” and accept the terms of use that appear first.
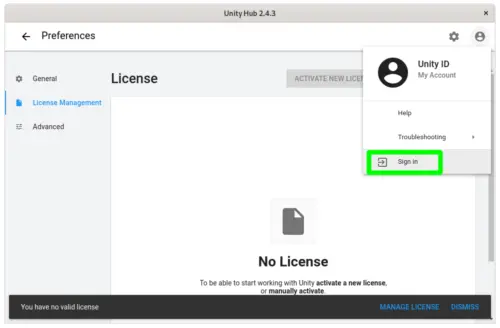
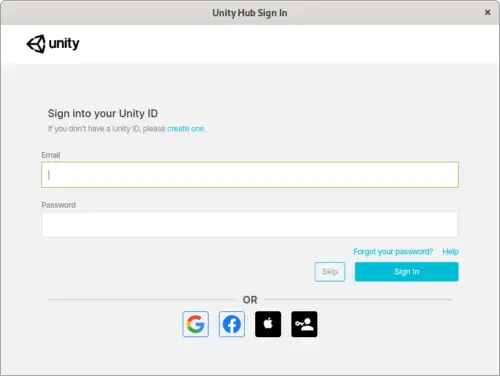
After starting Unity Hub you have to log in with a Unity Technologies account to activate the personal use license.
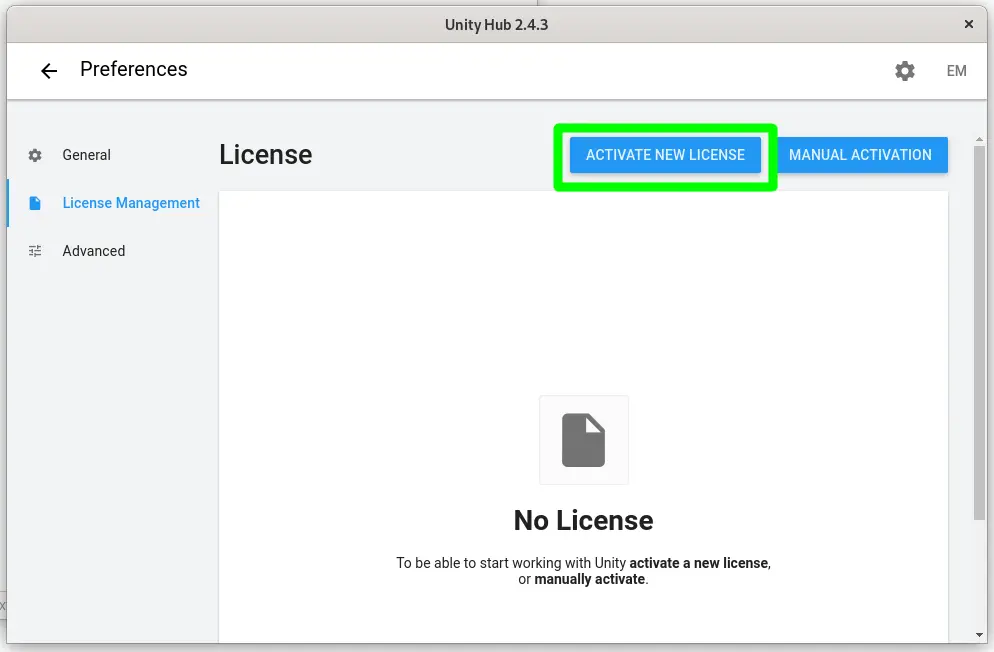
After logging in, click on the button “Activate New License”To begin activating the Unity personal license and being able to use the editor as a hobby.
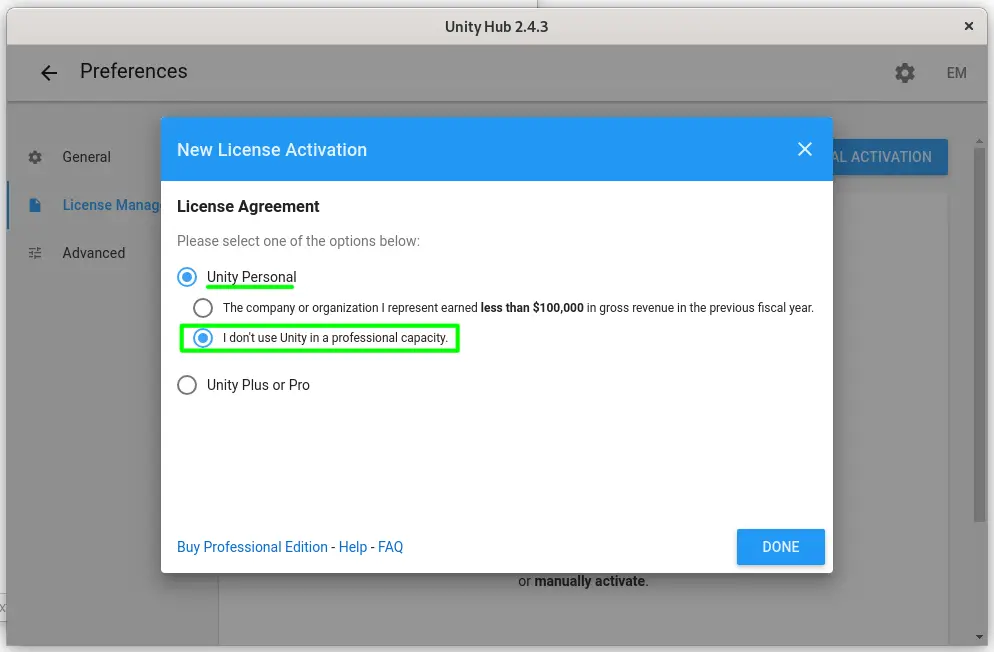
When activating the license, select “I don’t use Unity in a professional capacity”.
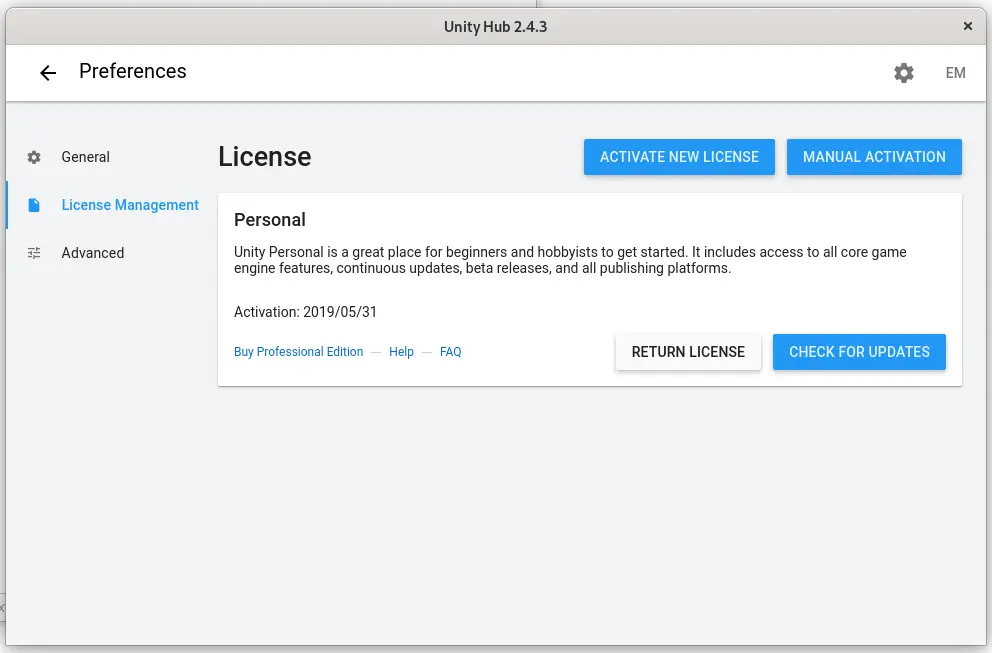
After completing the aforementioned steps, the Unity personal license should already be activated, which should allow the download and subsequent launch of the editor.
Getting the Unity editor up and running on Linux
After a somewhat complex process of downloading and activating the license, we finally come to the most interesting part of this tutorial: running the Unity editor on Linux.
The first thing to do in Unity Hub is to go to the section “General”And then select the location of the editors and the language, which we recommend putting in English by viewing the available ones.

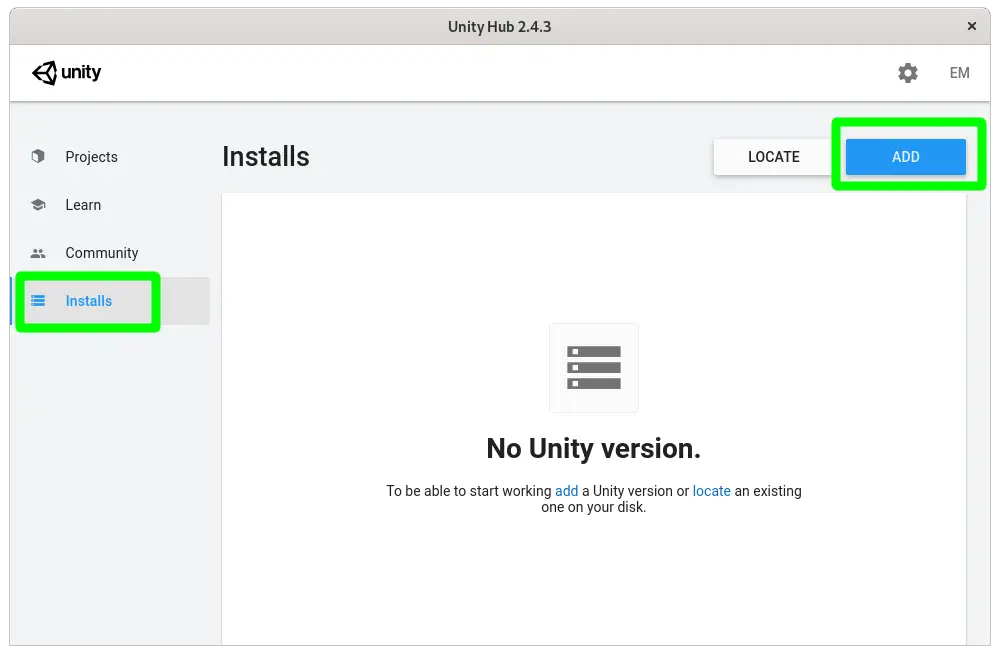
After entering the language and the location of the editors, the Unity Hub will display the section “Installs”, Which allows adding different versions of the editor that we are dealing with in this post. To start the installation process of an editor, click on the button “Add”.
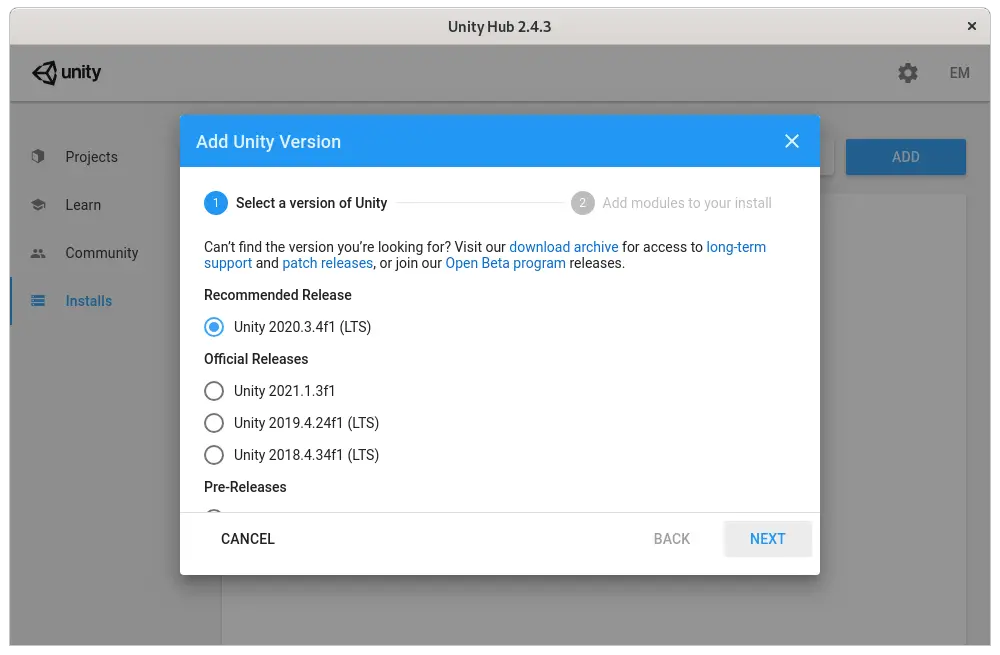
The user can choose between different versions of the editor of Unity available for Linux, although in our case we have limited ourselves to selecting the recommended one.
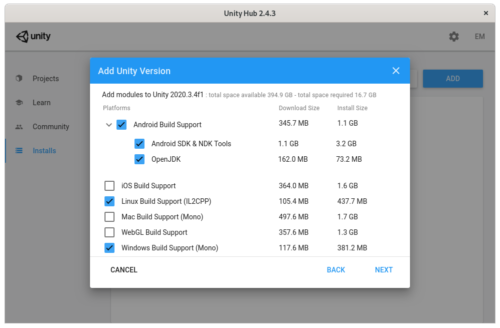
After indicating the version of the editor that you want to download first, you must select components that you want to use to be able to cross-compile to Windows, Android, macOS and / or iOS, in addition to the native compilation for GNU / Linux. More terms of use may appear to accept depending on what is selected.
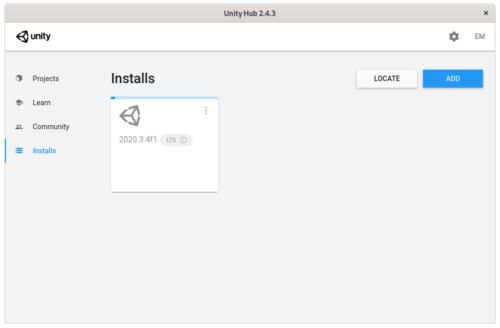
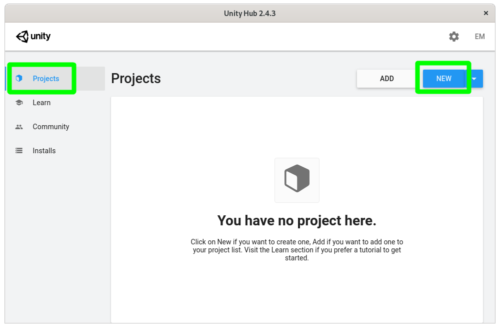
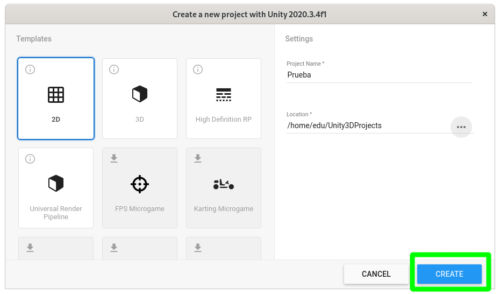
After downloading the selected Unity editor version, the new section “Projects”In Unity Hub. The user only has to click on the button “New“(With the drop-down you can select the version of the editor, very useful if you are using several versions) and then choose the type of project to finish by clicking on the” Create “button.
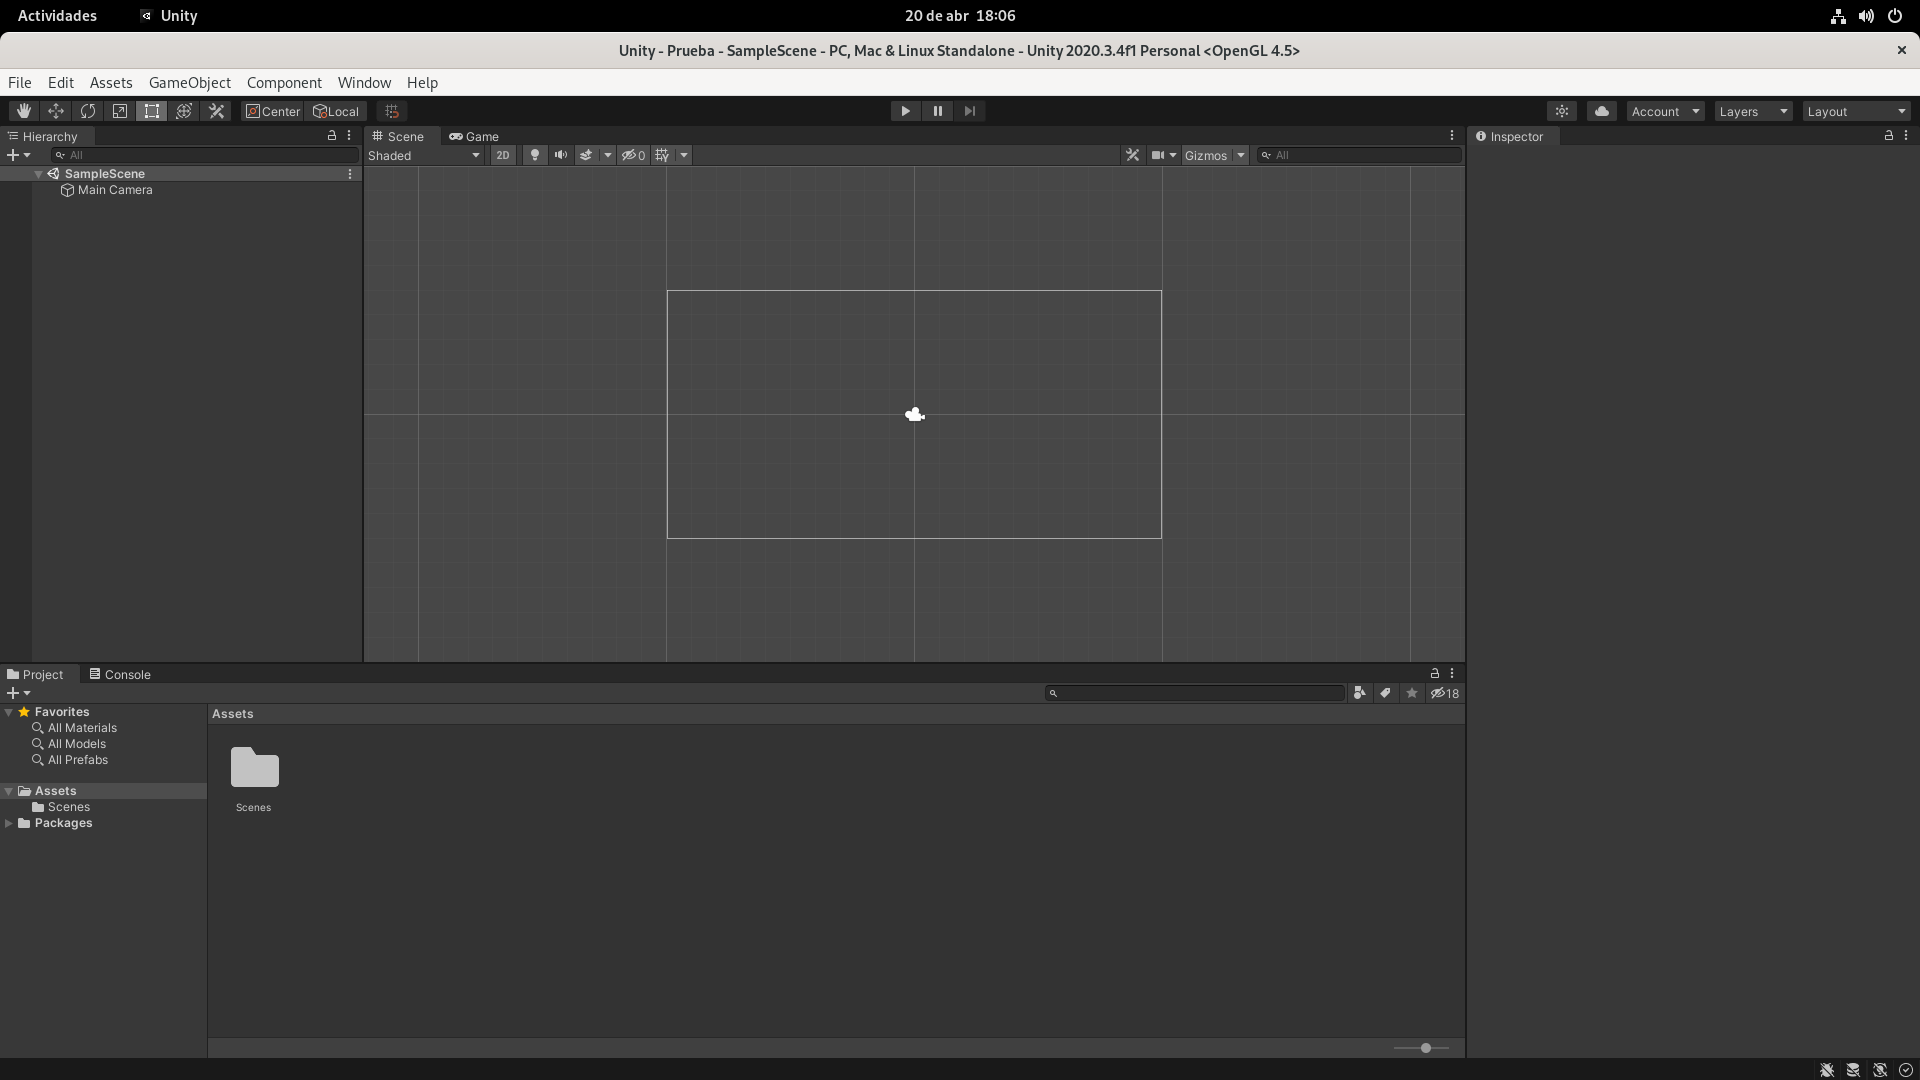
And if everything has gone according to plan, the Unity editor interface should appear normally, allowing the user to develop with it as they please (if they can do something that works).
conclusion
As we can see, and despite the fact that the number of steps to follow may be a bit excessive, putting the Unity editor for Linux to work is not difficult, and also now (and we assume that for a long time) it can be done following the official channels, which is a plus for GNU / Linux when it comes to using it for development.
However, and despite the fact that Unity is a standard within the industry (especially in the indie sector and mobile phones), this popular engine and its corresponding editor have a very important but is that they are proprietary.
Those who are interested in using a truly Open Source engine and editor should turn to other alternatives, the mighty Godot standing out among them.
Related posts:
 How to access Steam games without an internet connection
  How to view FPS with Xbox Game Bar in Windows 10: Steps Made Easy
  Hacked account? How to check and remedy
  How to make video calls from WhatsApp Web
  How to increase the RAM memory of a desktop or laptop + Tips and Tricks
  How to organize your YouTube subscriptions into categories
+ Tips and Tricks
How to organize your YouTube subscriptions into categories
+ Tips and Tricks


