


How to Modify the Volume of a Song with Audacity – Audio Editing
–
The world of music is a very wide field and it is increasing impressively every day, since new artists are being born all the time, all over the world. There is no better way to get started in entertainment than use tools like Audacity which You can download on its official website.
This has been in the music scene for many years. Many also use it as tool for audiovisual projects, since it allows you endless possibilities in terms of audio editing.
What are the steps to lower the volume in a song little by little with Audacity?
The Audacity program has multiple functions and tools, with which you can perform modifications to all kinds of songs or tracks. But if you want to decrease the volume to one of these, there is no need to complicate. Since it’s a simple procedure to do, just read on to learn about the different ways to do it.
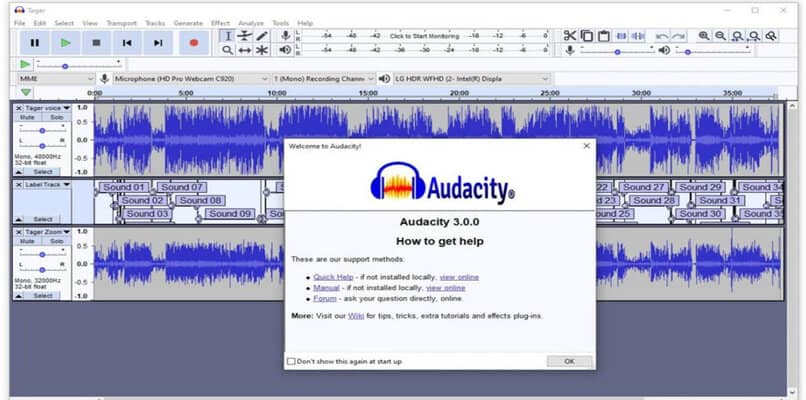
If you still don’t know what Audacity is and how it works, you can read this detailed explanation. So you don’t miss out on this amazing audio editing tool designed for artists and audiovisual editors. Let’s see the steps below.
If you want to use keyboard commands
To execute the respective modifications to our audio to lower the volume we will do the following. We open the Audacity program and we are located in the upper right part of the screen where is the speaker icon.
After clicking there, with our keyboard we gradually decrease the volume by pressing the left arrow key. We will do this repeatedly until reach the desired volume. Finally we reproduce the sound and verify that it has been correctly modified.
How to select the part to which you will apply the effect?
If we only want a snippet of our specific track is the one that decreases the volume, we must carry out the following procedure. To do this we will start the program and select the file option, which is located in the upper left part of the screen. A window will be displayed in which we will select the audio that we are going to use.
Taking into account the above, we will see a blue bar with irregular shapes, which will be our audio. We must locate the part where we want to download the audio and we will left click while we keep it pressed until the point where we want to decrease the volume.
Then we are going to select the ‘Effect’ option that we can find in the toolbar at the top and then we will click on ‘Amplify’. Doing this will open a window in which there are a bar that we can manipulate from left to right. In this case we are going to move it to the left side, which is to lower the volume and finally press ‘Accept’.
Where is this effect located in Audacity?
There are different ways to lower the volume in Audacity We will explain what they are and how to use them. The first is to use the surround tool, this option can be found in the toolbar. It has an icon with two arrows, one pointing up and the other down, and in the middle of these two there is a blue line. To use it you must go to the track, hold down and lower the pointer.
The compression effect is found where the ‘Effect’ section is. In the panel we select ‘Compression’ and in the horizontal bar of ‘Threshold’. We will lower the volume, moving the cursor to the left.
Likewise, the level effect is found in the ‘Effect’ option. This has the following characteristics: ‘Degree of leveling’ and ‘Noise threshold’. In both we can choose how much we want to modify the audio volume.
To export the song
Once we have made the modifications to our audio, it is time to save and export. For this we are going to go to the option that says ‘File’ which is in the upper left. Then we will press where it says ‘Save project’ and click on accept. Then we choose where we want this file to be stored and click ‘Save’.
To export our audio file in the same way we We locate where it says ‘File’ and click on ‘Export’. Several options will be displayed there in which you must choose the format you want to give your audio, such as MP3 WAV and OGG.
Having this clear, select the one that suits you best and then click on ‘Save’. After doing this a pop-up window will open in which you can put the name of the artist, track name, among other things. But this is optional, you can omit it if you wish. If you want, you can do this procedure from your mobile with other alternatives to Audacity for Android.
What happens to the original song you had before turning down the volume with Audacity?
If we ask ourselves what happens in case we don’t want to lose the original audio that we used in Audacity there is an answer for that. The first thing you have to keep in mind is that the program will save your file independently of the original. This creates a new one with the modifications you made to it and therefore the original audio remains intact.
If you want to know how to extract Mp3 audio from a video using VLC Media Player, you can follow these tips and learn how to do it. It is very useful to know this information in case you want modify this audio with Audacity.
Related posts:
 How to access Steam games without an internet connection
  How to view FPS with Xbox Game Bar in Windows 10: Steps Made Easy
  Hacked account? How to check and remedy
  How to make video calls from WhatsApp Web
  How to increase the RAM memory of a desktop or laptop + Tips and Tricks
  How to organize your YouTube subscriptions into categories
+ Tips and Tricks
How to organize your YouTube subscriptions into categories
+ Tips and Tricks


