


How to quickly activate virtual machines in Ubuntu with Quickemu
Virtualization in Ubuntu is one of its strengths. However, setting up a virtual machine as a new user can be tedious and confusing. That’s where Quickemu comes in. Take advantage of the power of QEMU in the Linux kernel and automatically activate virtual machines quickly. Here we show you how to use it on your Ubuntu system.
Before we start
In this guide, we focus on how to use Quickemu on Ubuntu Linux. That being said, this app is not just for Ubuntu. If you want to use Quickemu on another Linux operating system, the source code is available and you can compile it by following the instructions on the project’s Github page.
Also, if you use an Ubuntu Linux based operating system such as Elementary OS, Zorin OS, Peppermint, Linux Mint, etc. then feel free to follow this guide like the instructions below as they should work on your operating system.
Quickemu installation
Unfortunately, the Quickemu application does not come pre-installed on Ubuntu or any other Ubuntu-like operating system. However, it’s incredibly easy to get down to business thanks to the developer-provided PPA.
To start the installation, you must open a terminal window. You can open a terminal window on Ubuntu desktop press Ctrl + Alt + T on the keyboard. Or search for “Terminal” in the Ubuntu application menu and run it that way.
With the terminal window open and ready to use, you will need to add the official Quickemu PPA. To do that, use the add-apt-repository command below.
sudo apt-add-repository ppa:flexiondotorg/quickemu
With the PPA added to your Ubuntu computer, run the apt upgrade command. Running an update will update the Ubuntu software sources and configure the PPA.
sudo apt update
With the updated Ubuntu software sources, you will be able to install the Quickemu application on your Ubuntu system using the apt install command below.
sudo apt install quickemu
Quickemu Quickgui
Quickemu is an excellent terminal tool. However, it can be a bit complex, and if you are a new user trying to get a virtual machine up and running, the last thing you want to do is worry about the terminal.
Fortunately, Quickemu has a graphical user interface application called Quickgui. This tool allows you to do everything that you would within the terminal application, but with an elegant and easy-to-use GUI.
To install Quickemu Quickgui on your Ubuntu Linux PC, launch a terminal window. You can start a terminal window on the Ubuntu desktop by pressing Ctrl + Alt + T on the keyboard or by searching for “Terminal” in the application menu.
With the terminal window open, use the add-apt-repository command to add Quickgui PPA to your Ubuntu system. Then run the apt upgrade command to update software sources in Ubuntu.
sudo add-apt-repository ppa:yannick-mauray/quickgui

sudo apt update
With everything up to date, you can install the Quickgui application on your system using the apt install command.
sudo apt install quickgui
How to use Quickemu on Ubuntu
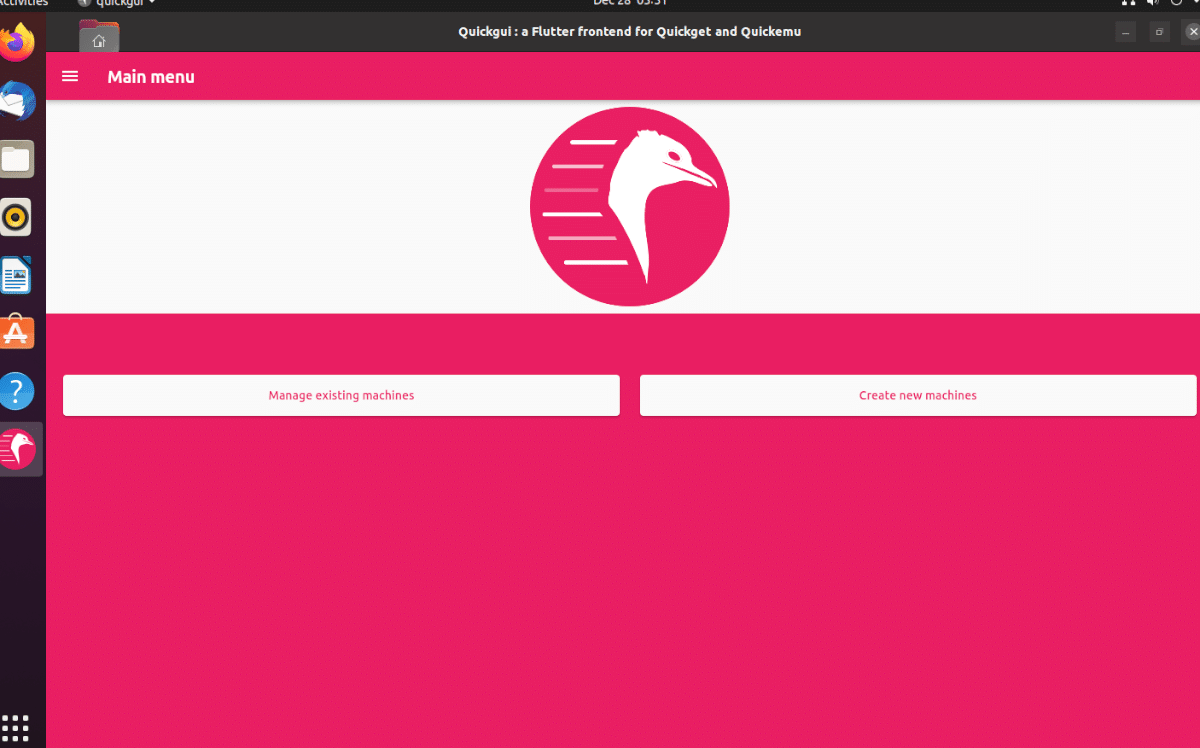
To use Quickemu on the Ubuntu desktop, start by launching the Quickgui application from the application menu. Once the app is open, follow the step-by-step instructions below.
Paso 1: Inside Quickgui, find the “Create New Machines” button and click on it with your mouse. When you select this button, you will see a window with 3 buttons. Click the “Select” button in the “Operating system” section.
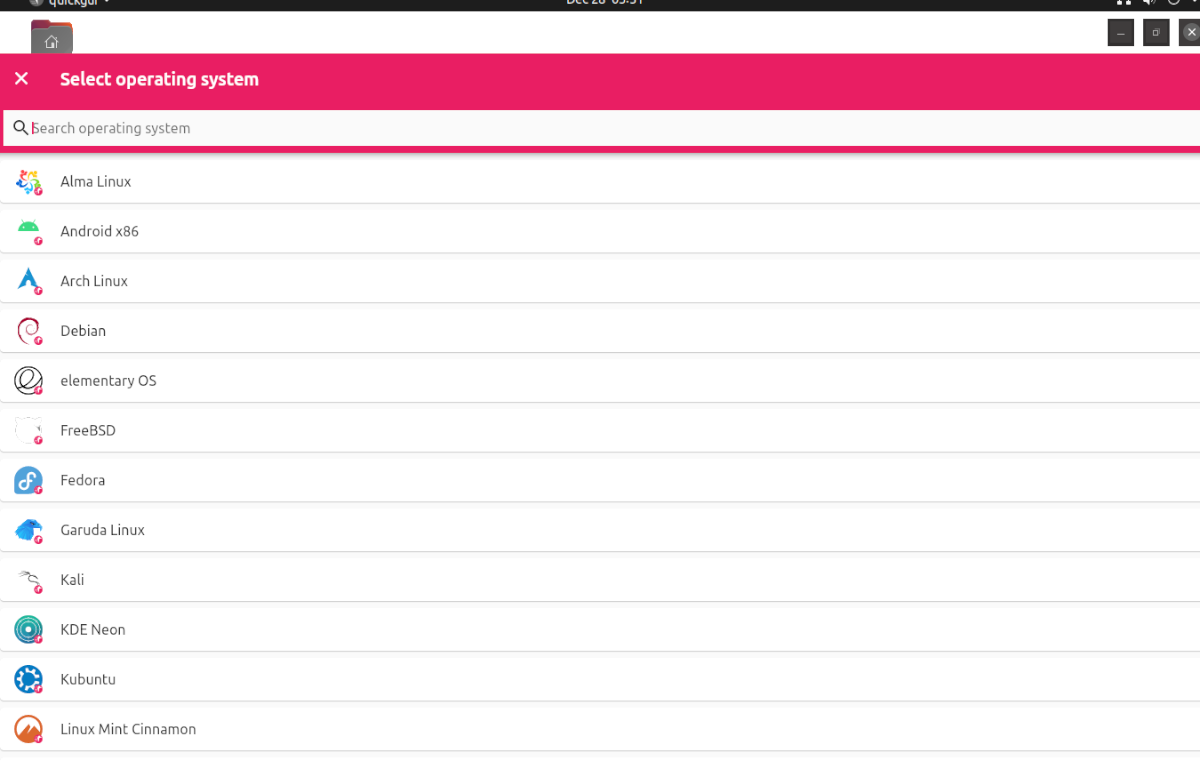
Paso 2: After clicking the “Select” button, a pop-up window will appear. In this pop-up window, you will see a drop-down menu with different operating systems to choose from. Find the operating system you want to run in a virtual machine and click on it.
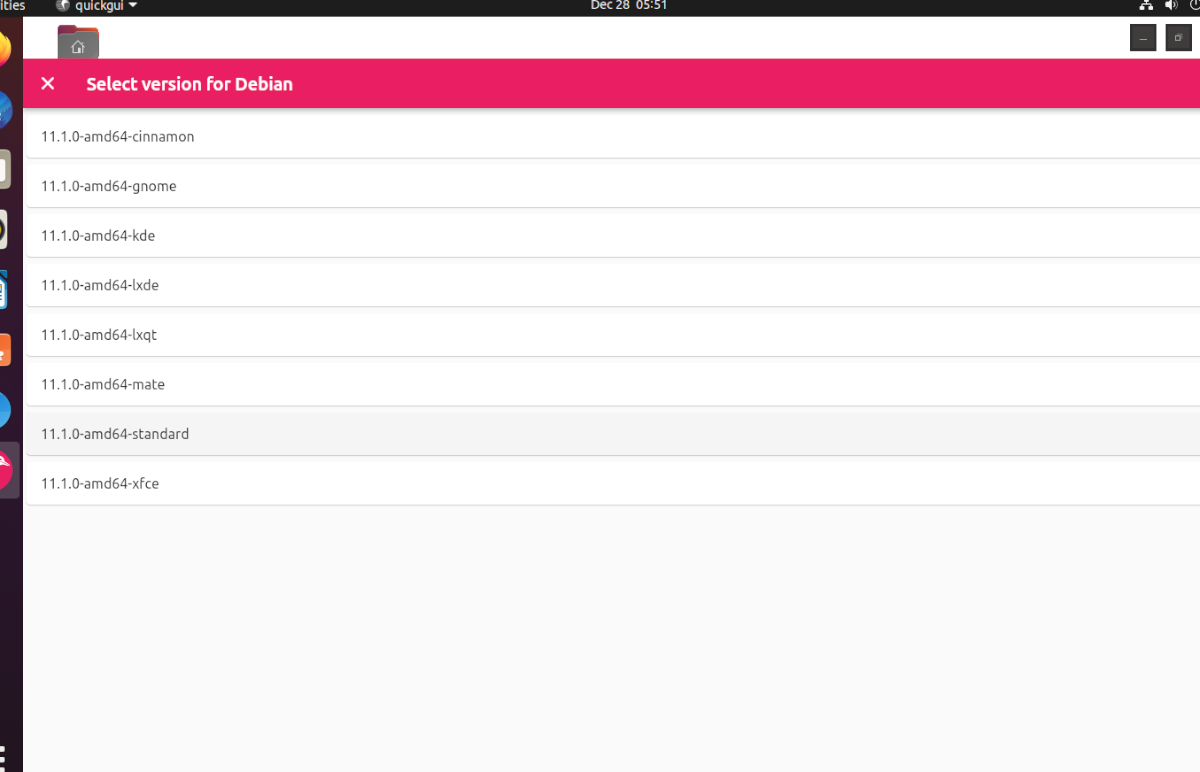
Paso 3: After you have chosen the operating system, you need to choose the version. In the “Version” section, find the “Select” button and click on it with the mouse. Selecting this button will allow you to choose the version of the operating system.
Stage 4: When you have selected your operating system version, find the “Download” section and click the “Download” button. Selecting this button will download your QEMU virtual machine to your computer.
Please note that the download process may take a little time as virtual machines are not small. Sit back and let Quickgui download your operating system.
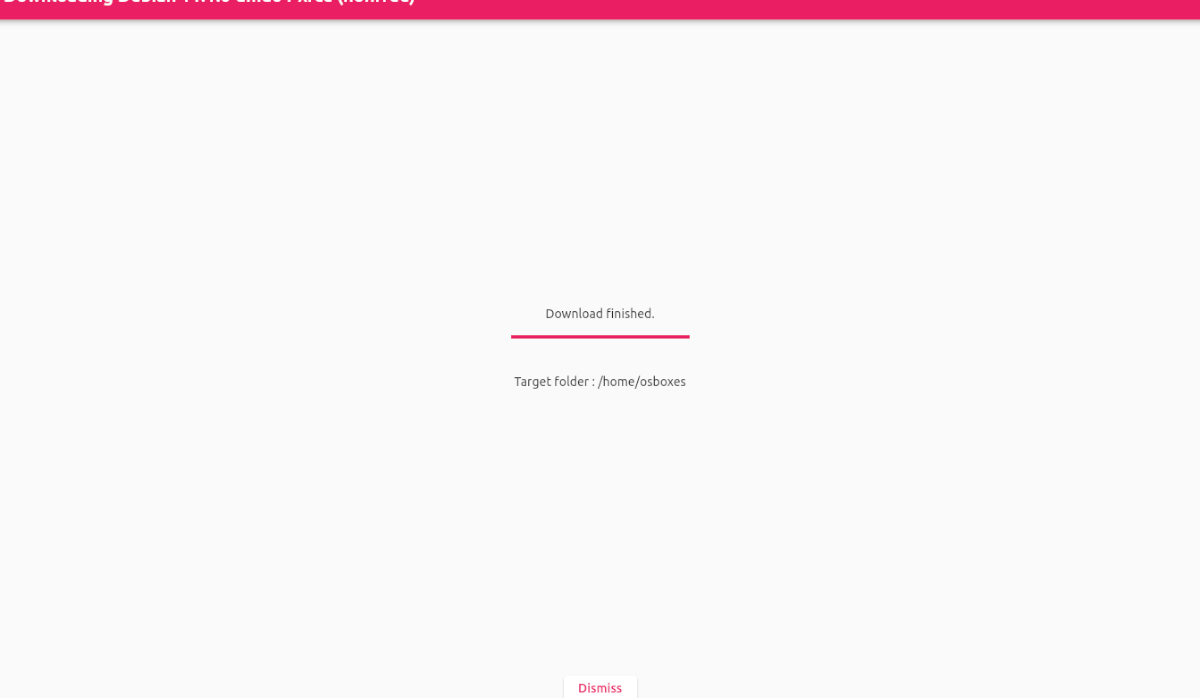
Paso 5: When the download is complete, find the “Dismiss” button and click on it to close the download area. Then click the “X” button in the download area to return to Quickgui’s main menu.
Once in Quickgui’s main menu, click on “Manage Existing Machines” and select the play button next to your downloaded virtual machine to start it. It is easy!
Delete virtual machines
Do you need to delete a virtual machine from Quickgui? Here’s how to do it. First, start the application. Then select the “Manage Existing Machines” button. Then, click on the trash can icon next to your VM to delete it.
Related posts:
 How to access Steam games without an internet connection
  How to view FPS with Xbox Game Bar in Windows 10: Steps Made Easy
  Hacked account? How to check and remedy
  How to make video calls from WhatsApp Web
  How to increase the RAM memory of a desktop or laptop + Tips and Tricks
  How to organize your YouTube subscriptions into categories
+ Tips and Tricks
How to organize your YouTube subscriptions into categories
+ Tips and Tricks


