


How to Remove Sound from a Video with the Help of CapCut – Professionally Edit
–
Every day is more common share moments, ideas and emotions through videos. Fortunately, it is no longer necessary to have extensive knowledge of video editing programs, or be tied to a desktop computer to generate quality videos.
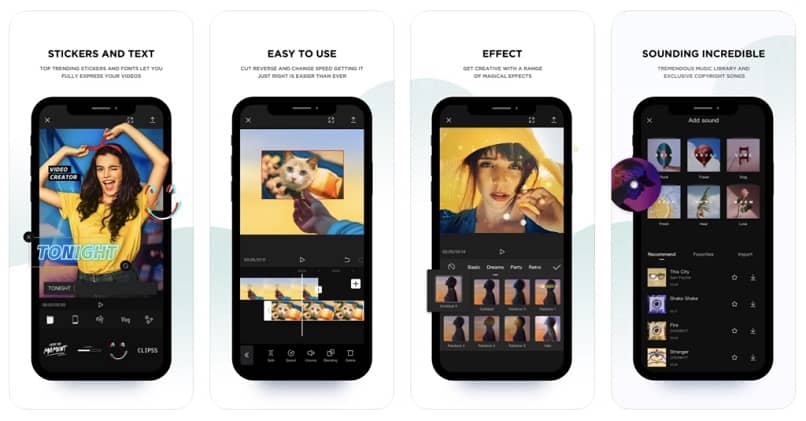
In this area, the CapCut app is one of the favorites, coming from the hand of TikTok and highlighted in the Top 10 from Google Play Store and Apple Store. Now, there are some doubts that may arise in your creative process, such as those considered below:
How to remove sound from a project or video in CapCut?
When you upload your video from the gallery of your phone it gives you the possibility to hide it whenever you want and at to select New project, the video will be displayed and you will be able to appreciate all the frames that compose it.
From that screen you have some basic playback buttonsn and at the bottom other editions such as Sounds, Effects, Extracted and Dubbing to place the voice directly to the video.
The interesting thing about this interface, and that you should always keep in mind when working on it, is that the bar options will change depending on the selected object, which can be the video itself, or some selected audio or music track.
So you should always be aware of what you want to edit to make a little touch and in this way have the correct options at hand and that your video is of quality.
Mute the audio
At the moment in which you have your video displayed on the screen you can see the button ‘Mute the clip’s audio‘with which you can silently play all the added video, and reactivate it if you wish. It is an interesting way to remove the source sound and place audios from the same CapCut gallery and in this way create more creative and original videos.
When you have the video selected (it must be enclosed in a white rectangle), you will have access to editing options in the bottom menu of the screen.
You will be able to see options to Divide, change the Speed, add Animations, Delete the selected, the background, and then you will see the button for ‘Extract audio‘, which separates it from the video and will be placed in a new entry (or row) in your panel. Once separated you can select it (it must be placed with a white border) and select the trash can to eliminate it.
How to add different audio to your video to get a professional result?
One of the great potentials of the CapCut app is its varied and modern sound base organized by theme like Travel, Vlog, Fresh, Warm, Beat, Love and Rock among others that will surely inspire you and give your video a more professional touch. You can also add audios extracted from TikTok videos or other videos in your gallery.
In the lower panel you can see options to work with each object: Edit, Audio, Text, Stickers among others. Precisely in the Audio panel you will find the Sounds option, which will display the gallery of the topics described above, as well as the possibility of Importing the audio of a video that you have on your device.
Once you have selected the one you like the most, give the More button and it will be added to your project, after which you will have to select the place where it will start playing and adjust it to the length of your video.
Throughout moment you can move the track by dragging it with your fingers to the position you want, zooming with your pincer fingers (or with one finger of each hand) to better manipulate the interface and its elements. If you are going to make cuts in the music, you can try to fade before finishing so that the end is not abrupt.
What is the process to save your new project to your gallery?
When you are satisfied with the look of your project, go to the topr right of your screen, at the up arrow icon to Export your project.
Once it reaches 100% you will have it available in your gallery and at once you can share the result on your social networks like Facebook, Instagram, Whatsapp or on your TikTok account if you have it, all in one step.
Related posts:
 How to access Steam games without an internet connection
  How to view FPS with Xbox Game Bar in Windows 10: Steps Made Easy
  Hacked account? How to check and remedy
  How to make video calls from WhatsApp Web
  How to increase the RAM memory of a desktop or laptop + Tips and Tricks
  How to organize your YouTube subscriptions into categories
+ Tips and Tricks
How to organize your YouTube subscriptions into categories
+ Tips and Tricks


