


How to take a screenshot on iPad
This article explains three ways to take a screenshot on iPad and where to find those screenshots afterwards.
If you have an iPad with a Home button, like the iPad Air and older iPad Pro or iPad Mini, taking a screenshot is easy.
Grades: The instructions in this article apply to iPadOS 14 and earlier.
Press and release the button superior and the button welcome at the same time You will see the screen flash and hear the sound of the camera shutter.

The thumbnail appears in the lower left corner of the screen. You can tap on it to see it right away or wait until later, which we’ll explain below. If you choose to wait later, the thumbnail will disappear without you doing anything.
If you have an iPad that doesn’t have a home button like an iPad Pro or the new iPad Air, taking a screenshot is just as easy.
Press and release the button on the high and the buttonIt increased in volume (which is on the right side) at the same time. As with other iPad models, you’ll see the screen flicker and hear the camera sound.
Since iOS 15 you can use any volume button, you are not limited to just using the volume button.volume increase.

Tap to show the thumbnail right away or see our steps below to show it later on your photos.
View your iPad screenshot
If you take a screenshot on your iPad using the buttons described above and don’t see the thumbnail right away, don’t worry, the screenshot is automatically saved to your photos.
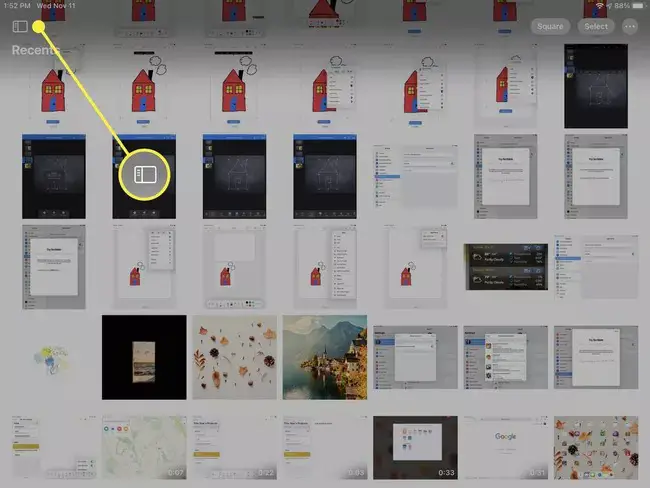
- Opened Photos in you iPad.
- Show left sidebar if hidden on button press Top Left Sidebar.
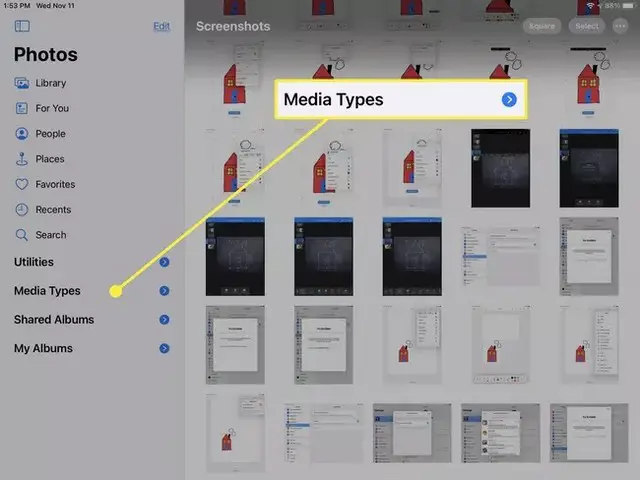
- tap to expand media types.
- Select catches screensaver.
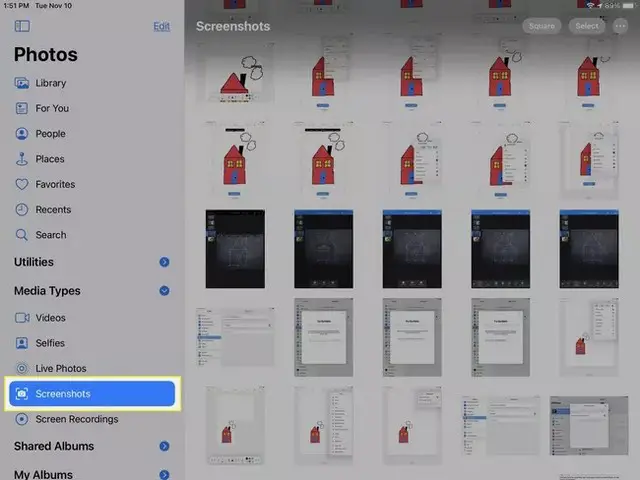
Your screenshots are treated like any other photo you take with your iPad’s camera. Select one to view it full screen. Then use the buttons at the top to share with a contact, edit it with the built-in tools, or mark it as a favorite.
Note: If you tap to view the thumbnail immediately, the screenshot will not be saved automatically. Done at the top left to save it.
Take screenshot on iPad using Apple Pencil
If you use an Apple Pencil with your iPad, you can also use it to capture a screenshot.
- Place your Apple Pencil in one of the corners lower of your iPad screen.
- Drag Apple Pencil up and the screen will shrink to a box.
- Drop your Apple Pencil to capture the photo. You will notice the screen flash briefly and hear the sound of the camera shutter.
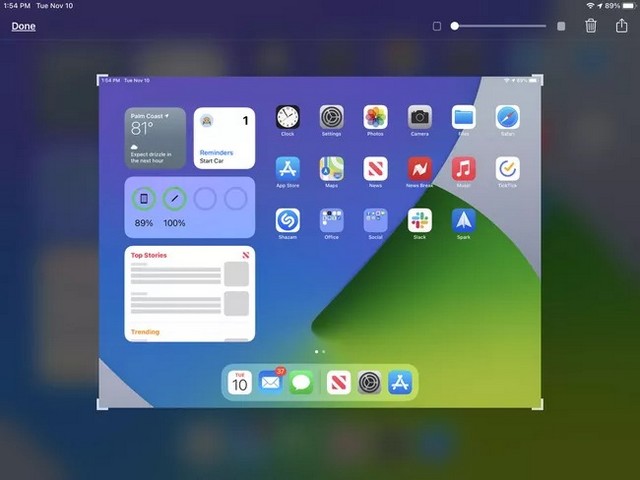
Your screenshot is in the foreground, where you can immediately annotate it with iPad’s markup tools at the bottom, share it, or save it.
To share the screenshot, press the button Share top right. Select a contact to send the screenshot to in Messages, or choose an app like Mail or Reminders.
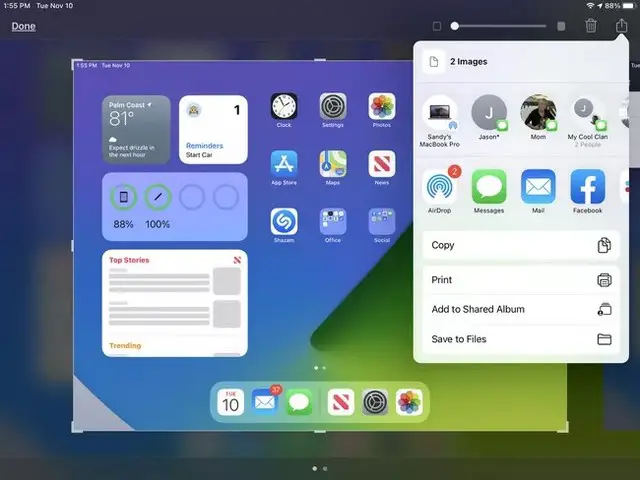
To save the screenshot to Photos or Files, touch Done at the top left and make your selection.

You can also share or save the screenshot with these methods after using the markup tools to include your annotations.
Conclution
Whatever the reason you take a screenshot on your iPad, you can see how easy it is to ask your friend which button to use, show your mom how to send a message, or save a photo of when you beat that hard level in your game. Screenshots make it easy.
If you have any questions or suggestions, let us know in the comments. Also refer to this guide if you want to learn how to record audio on iPad.
Related posts:
 How to access Steam games without an internet connection
  How to view FPS with Xbox Game Bar in Windows 10: Steps Made Easy
  Hacked account? How to check and remedy
  How to make video calls from WhatsApp Web
  How to increase the RAM memory of a desktop or laptop + Tips and Tricks
  How to organize your YouTube subscriptions into categories
+ Tips and Tricks
How to organize your YouTube subscriptions into categories
+ Tips and Tricks


