


How to disable display scaling on high DPI settings in Windows 11 or 10
The default screen scaling feature in Windows 10 or later is a core component of the Windows operating system. But sometimes this feature for some specific apps can cause compatibility issues, garbled texts, blurry signals and ultimately app crashes. It’s a huge headache if you’re working at 2160p or higher resolution. There are many ways to disable the default screen scaling feature in high DPI settings. We have chosen the best and detailed step-by-step instructions for each process.
COMMERCIAL
How to disable screen scaling feature in high DPI settings
There is a way where all you have to do is disable the high DPI scaling feature for individual apps and there is a way to disable it for all of Windows.
Disable high DPI settings for individual apps
Way – 1 Disable High DPI Individually
You should disable the high DPI scaling feature for conflicting applications only.
NOTE – For example, we have taken Adobe Photoshop CC 2015. We are going to disable high DPI settings for this application only.
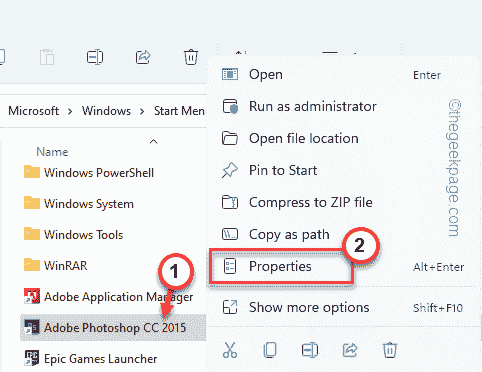
1. Press the Windows key and type “Adobe Photoshop“(In your case, just write the name of the application).
2. Then right click on the app and tap «Open file location“.
This should take you to the location of the executable file.
[If it does lead you to the shortcut file, right-click on the shortcut file again and tap on ‘Open File Location’.]
3. Once you have found the main executable file, right-click on it and tap «Properties“.
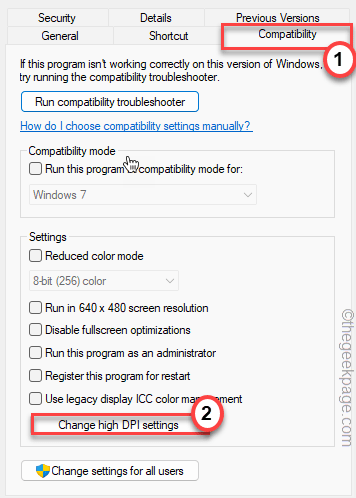
4. Then go to “Compatibility” section.
5. Here, tap on the “Change high DPI settings“.
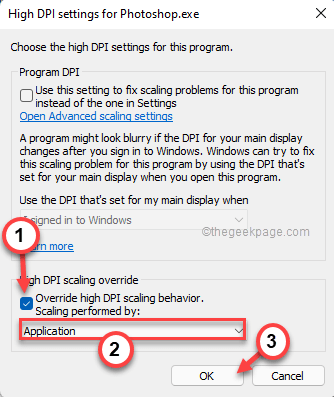
6. Next, go to the ‘High DPI Scaling Override’ setting.
7. Then just check the “Override high DPI scaling behavior. Scaling done by:” cash register.
8. Set the dropdown menu to “Request“.
[
There are three options para DPI scaling performers.
Application – Application will take precedence scaling the display itself.
System – This is the default Windows behavior.
System (Enhanced) – Using this feature allows Windows to enhance the menu and texts.
]
9. Finally, tap on “OK“.
10. Returning to the original Properties window, tap «Apply” and “OK“.

Once you’re done, open the app again and check the scaling behavior again.
Way 2 – Use Registry Editor
Apart from the scaling function, there is no definitive way to stop the high DPI scaling function. You can modify your registry and create a separate manifest file for the problematic application.
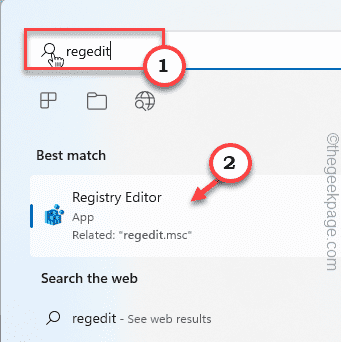
1. Write “regeditar” in the search bar.
2. Then tap on “registry editor” to access it.
NOTE –
You should always back up your registry before making any changes to your registry. Just follow these steps –
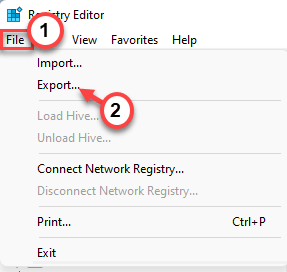
a. After opening the Registry Editor, tap «Proceedings” and “To export“.
B. Then give this backup a name and store it in a safe place.
You can use this backup to restore the registry if something goes wrong.
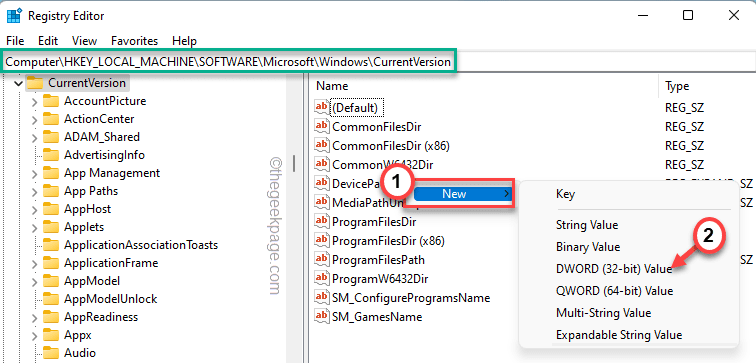
3. When Registry Editor opens, navigate like this:
HKEY_LOCAL_MACHINESOFTWAREMicrosoftWindowsCurrentVersion
4. Now in the right pane, right click on the space and tap «New>” and “Valor DWORD (32 bits)” to create a new value.
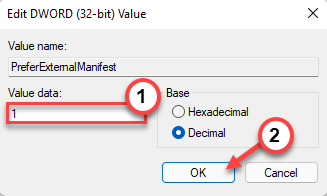
5. Then name this new value as «PreferExternalManifestPreferExternalManifest“.
6. Finally, double touch the value to set it.

7. Now, set the value to “1“.
8. Then click “OK” to save the changes.
Close Registry Editor.
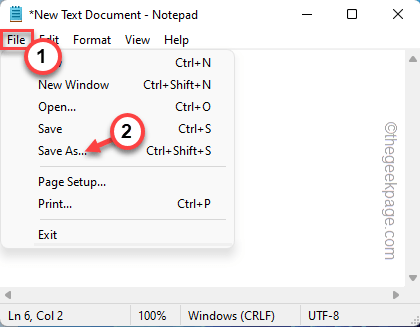
9. Open Notepad.
10. On the empty page of Notepad, copy and paste the following lines.
<?xml version="1.0" encoding="UTF-8" standalone="yes"?>
<assembly xmlns="urn:schemas-microsoft-com:asm.v1" manifestVersion="1.0" xmlns:asmv3="urn:schemas-microsoft-com:asm.v3">
<dependency>
<dependentAssembly>
<assemblyIdentity
type="win32"
name="Microsoft.Windows.Common-Controls"
version="6.0.0.0" processorArchitecture="*"
publicKeyToken="6595b64144ccf1df"
language="*">
</assemblyIdentity>
</dependentAssembly>
</dependency>
<dependency>
<dependentAssembly>
<assemblyIdentity
type="win32"
name="Microsoft.VC90.CRT"
version="9.0.21022.8"
processorArchitecture="amd64"
publicKeyToken="1fc8b3b9a1e18e3b">
</assemblyIdentity>
</dependentAssembly>
</dependency>
<trustInfo xmlns="urn:schemas-microsoft-com:asm.v3">
<security>
<requestedPrivileges>
<requestedExecutionLevel
level="asInvoker"
uiAccess="false"/>
</requestedPrivileges>
</security>
</trustInfo>
<asmv3:application>
<asmv3:windowsSettings xmlns="http://schemas.microsoft.com/SMI/2005/WindowsSettings">
<ms_windowsSettings:dpiAware xmlns:ms_windowsSettings= "http://schemas.microsoft.com/SMI/2005/WindowsSettings" >false</ms_windowsSettings:dpiAware>
</asmv3:windowsSettings>
</asmv3:application>
</assembly>
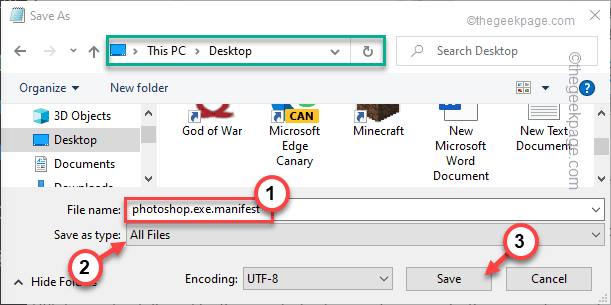
11. Now tap “Proceedings” and “Save as…“.
12. In the ‘File name:’ box, type the name of the executable file and add the ‘.mainfest” at the end of the notepad file name.
[
Example – Suppose, you are facing this issue with photoshop.exe. So, the name of this notepad file should be – “photoshop.exe.manifest“.
]
13. Set the ‘File Type:’ to “All the files“.
14. Next, navigate to the desktop.
15. Finally, touch “To save” to save the file.
After this, close the Notepad screen.
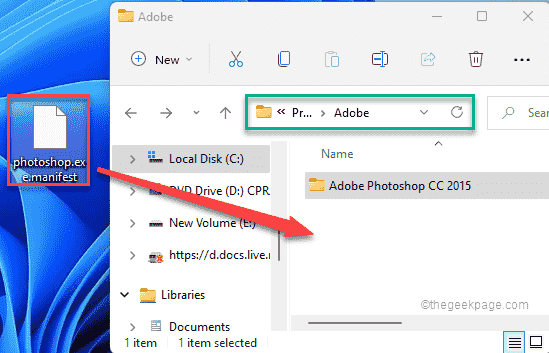
16. Finally, move this new manifest file to the root directory of the application you are facing this problem with.
[
Example – As in our case, we have to move the “photoshop.exe.manifest” file to the root folder of the photoshop.exe, that is –
C:Program FilesAdobe
]
After that, close File Explorer.
Now, try opening the app and check if the texts seem to be buried or not.
Way 3: Using the DPI Awareness Enabler
If you don’t like to generate a manifest file for every app that displays blurry texts, you can use the DPI Awareness Enabler.
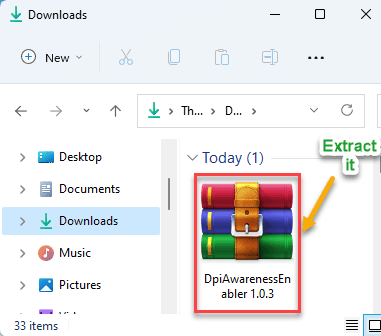
1. Download DPI Awareness Enabler.
2. When downloading, extract the “DPI Aware Enabler” proceedings.
3. Once extracted, the right button of the mouse about him “DpiAwarenessEnabler” app and touch “Execute as an administrator” to run the application.
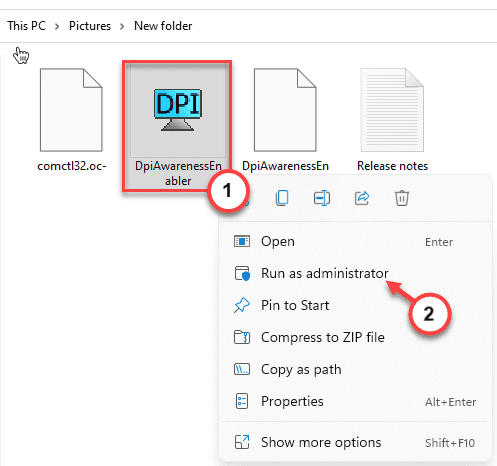
4. Let the app detect the list of all apps.
5. So, Select the app from the top box. Then drag the app from the top box to the bottom box.
This will disable the High DPI Devices feature for all apps present in the bottom box.
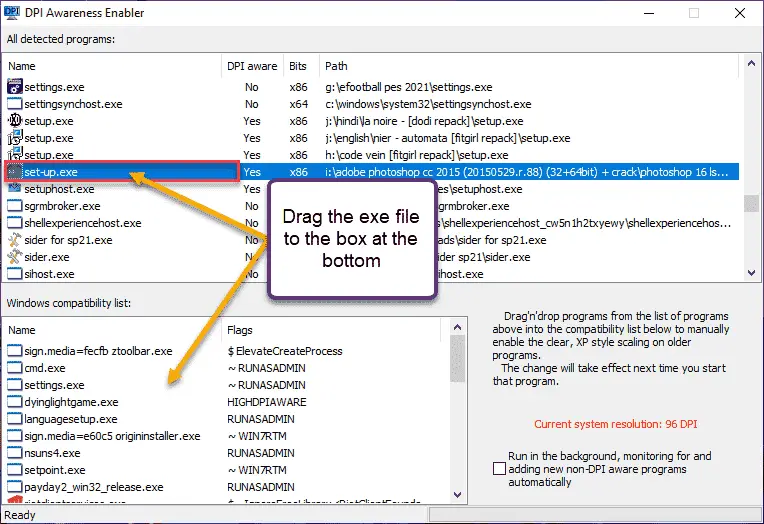
That’s it! So, in this way, you can easily disable the high DPI feature by simply dragging and dropping the exe file to the DpiAwarenessEnabler application.
Process 2 – Disable High DPI System Wide
There is another way in which you can disable high DPI settings on the entire system.
Way 1: Use Settings
1. At first, press the button Tecla de Windows+I keys together.
2. Then touch the button “System» settings.
3. After that, in the right pane, click on «Show» settings.
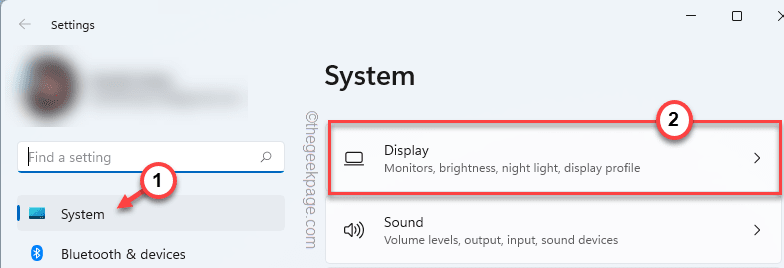
The display settings will be visible.
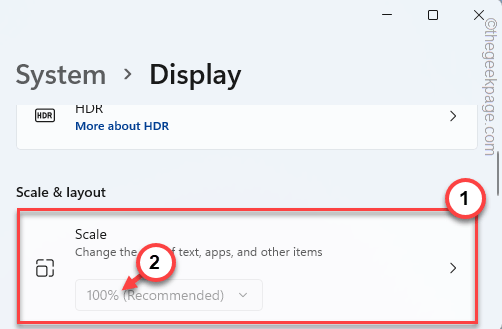
4. On the right side, tap the “Scale» option.*
5. Now, you can toggle the count from the drop down menu.
Launch the app on your system and check.
Your screen will turn off once and appear once more. Now minimize Settings and then launch the problematic app.
If this resolves the issue, you do not need to take any further steps.
*NOTE –
If you see that the dropdown is grayed out and you can’t scale it, follow these steps.
1. Tap the arrow button on the “Scale» settings.
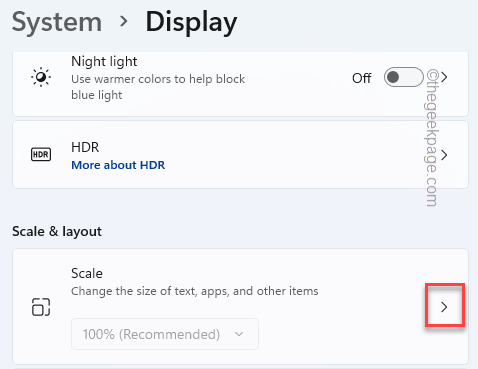
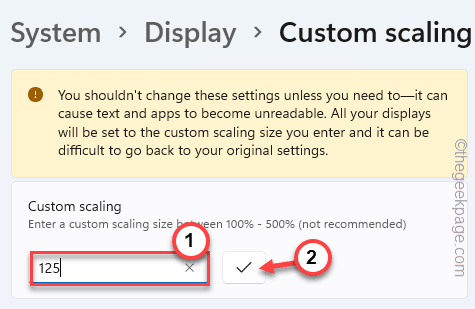
2. Here you will find the ‘Custom Scaling’ box.
You can write anything between 100-500. [Example – Suppose you want 125% scaling, just type “125” in the box. ]
3. Once you’re done, tap on the tick mark to apply the custom scale.
You must log out of your account to activate custom scaling.
4. Simply touch «log out now” to exit the machine.
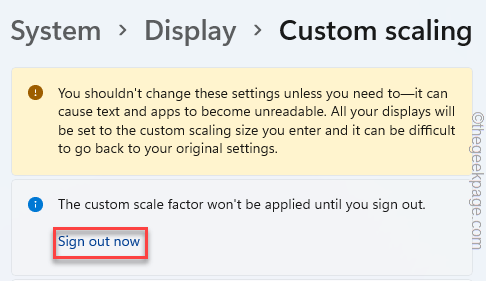
Your current account will be automatically logged out. You can simply log back into the system and try the app.
Related posts:
 How to access Steam games without an internet connection
  How to view FPS with Xbox Game Bar in Windows 10: Steps Made Easy
  Hacked account? How to check and remedy
  How to make video calls from WhatsApp Web
  How to increase the RAM memory of a desktop or laptop + Tips and Tricks
  How to organize your YouTube subscriptions into categories
+ Tips and Tricks
How to organize your YouTube subscriptions into categories
+ Tips and Tricks


