


How to Fix Bad Image Error 0xc0000020 in Windows 11/10
Many users have reported seeing an error. Bad image, error status 0xc0000020 while trying to open any application on your Windows PC. Depending on the application that generated the error, the error message indicates that a particular DLL file related to the application may not be designed to run on Windows, or it may have encountered a problem. Basically, this error is a result of corrupted system files that are necessary for the application to run.
The possible causes of this error state 0xc0000020 are
- Problems with the installation/uninstallation of the application
- Malware infection
- Problematic Windows Update
If you are facing this bad image error on your PC while launching any program then you are reading the right article. Here, we have detailed some methods that have been tried by other users facing this problem and have been successful in overcoming them.
Solution 1 – Run an SFC scan
1. Hit the Windows key and type symbol of the system in the search box.
2. The right button of the mouse about Symbol of the system in the search result and choose Execute as an administrator.
3. Type the following command and press Get into run.
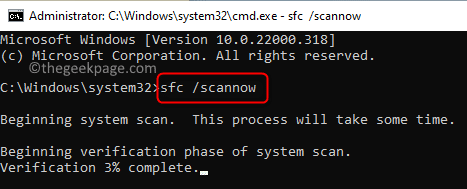
sfc /scannow
4. The scan starts checking system files and replaces those that are damaged. Wait for the scan to complete.
5. Once the scan is complete, try opening the app throwing the error to check if it is fixed.
Solution 2 – Perform a DISM scan
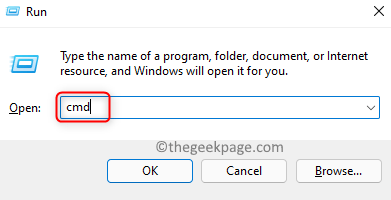
1. Press Windows Y R keys together on your keyboard to open To run.
2. Type cmd and press Ctrl + Mayús + Intro to open Command Prompt as Administrator.
3. Click Yes when the User Account Control permission requests.
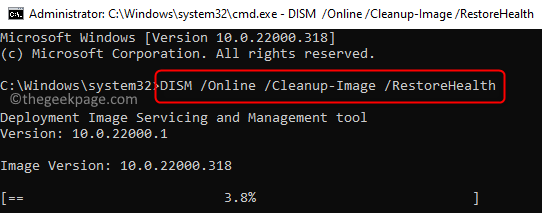
4. Enter the command and run it.
DISM /Online /Cleanup-Image /RestoreHealth
5. The scan may take some time to complete the repair process.
6. Restart your PC once the scan is complete. Check if the issue is resolved after startup.
Solution 3 – Re-register the DLL
As seen in the error message, a DLL file is to blame for this problem. Therefore, you can try to re-register the DLL seen in the error message to check if it resolves the issue.
1. Follow Steps 1 and 2 up to open Command Prompt as Administrator.
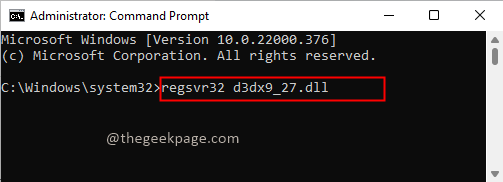
2. Type the following command and press Get into.
regsvr32 "path and filename of dll"Note: Replace “path and filename of dll” with the path and filename of the DLL seen in the error message.
3. You will see a message that the DLL file has been successfully registered.
4. Restart your system and check if the error is resolved when you launch the particular app.
Solution 4 – Reinstall the problematic app
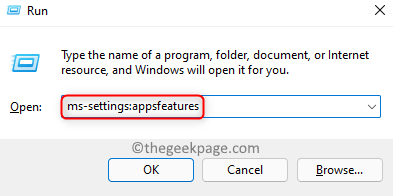
1. Just use the windows and r key combination to open To run.
2. Type ms-settings:applicationsfeatures to open Apps and features in Settings.
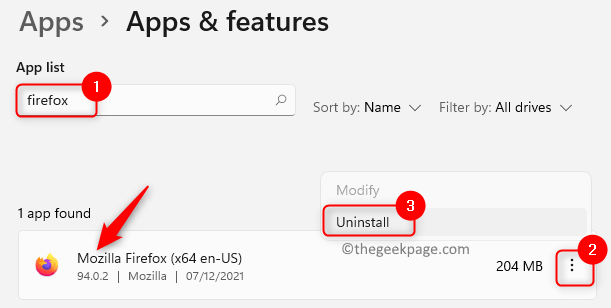
3. Locate the problematic app in the list of installed apps.
4. Click on the three vertical dots associated with the application and choose Uninstall.
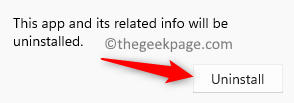
5. In the confirmation message, click uninstall again.
6. Wait for the uninstall to complete. Restart your computer.
7. Go to the download page of the particular app to get the installer. Complete the reinstallation of the application.
8. Launch the app once the installation is complete and check if it resolves the issue at hand.
Solution 5 – Uninstall recent Windows update
Users have noticed that Windows update sometimes causes system errors. If you see this error after a recent Windows update, check to see if uninstalling that update helps fix the problem.
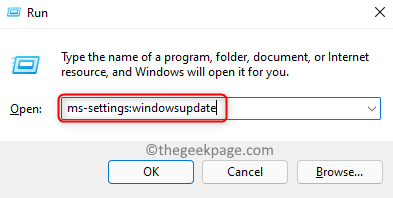
1. Open Ejecutar (Windows + R).
2. Type ms-settings: windows update to open windows update settings page.
3. Scroll down and click update history below More options.
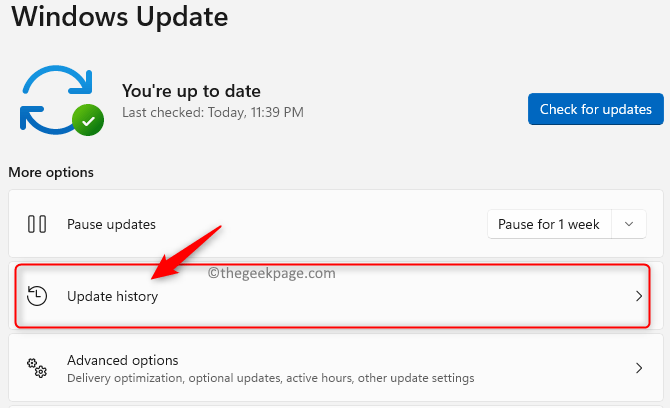
4. In the Related Settings section, choose the option Uninstall updates.
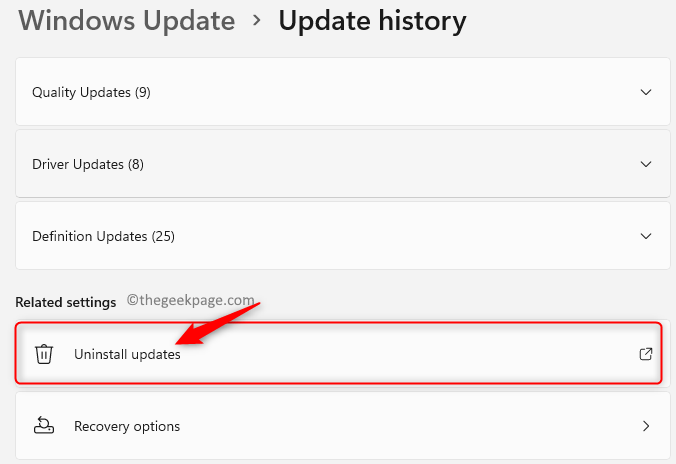
5. The right button of the mouse on the latest windows update in the list and select Uninstall.
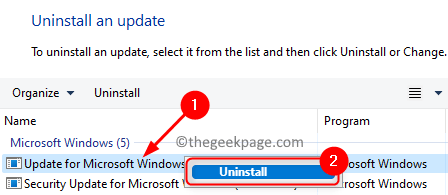
6. Restart your computer and check if the bad image error is resolved.
Solution 6 – Perform a system restore
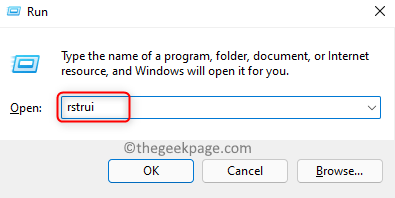
1. To open To run just use the Windows Y R keys simultaneously.
2. Type rstrui and hit Get into to open System restore.
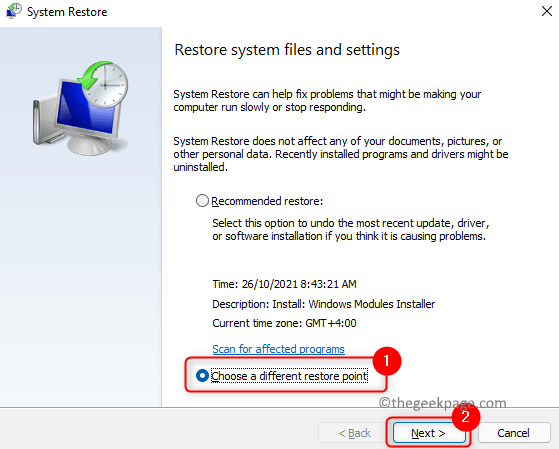
3. Select option Choose a different restore point and click Next.
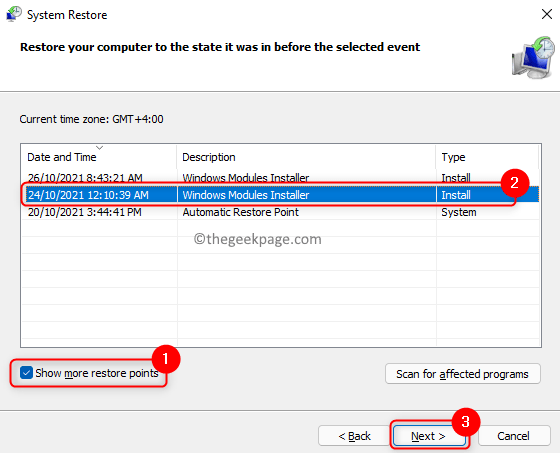
4. In the next window, cheque the box next to Show more restore points.
5. Then choose a restore point from the list. Click on Next.
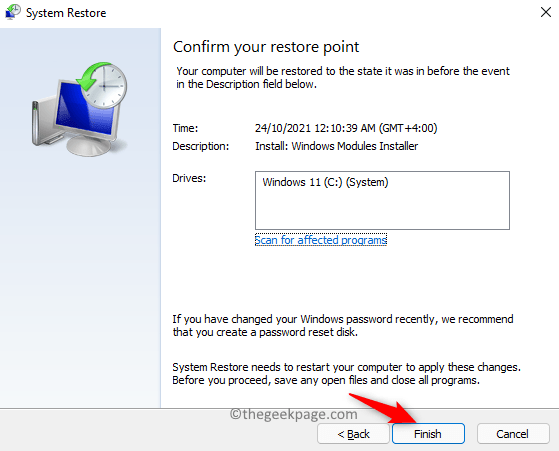
6. Review the system restore details in the window that appears.
7. Click End up to confirm and start the restore process.
8. Your system will reboot to restore it to a previously selected working state.
9. Upon reboot, you will see a message indicating the successful completion of the restore process.
10. Check if the error has been resolved.
Solution 7 – Reset Windows
If none of the above methods work for you, try performing a Windows reset to check if it resolved the issue. Follow the methods mentioned in this article to reset your Windows 11 PC.
Thank you for reading.
We hope this article helped you to fix Bad Image Error Status 0xc0000020 on your Windows PC. Let us know if this was informative and which solution worked for you in the comments.
Related posts:
 How to access Steam games without an internet connection
  How to view FPS with Xbox Game Bar in Windows 10: Steps Made Easy
  Hacked account? How to check and remedy
  How to make video calls from WhatsApp Web
  How to increase the RAM memory of a desktop or laptop + Tips and Tricks
  How to organize your YouTube subscriptions into categories
+ Tips and Tricks
How to organize your YouTube subscriptions into categories
+ Tips and Tricks


