


How to Fix Outlook Error Code 0x80042109 on Windows 11/10
Many Outlook users have reported that they have seen a problem sending and receiving emails. The complete error message is as follows:
Server Task ‘SMTP’ – Send Error Reported (0x80042109): “Outlook cannot connect to your outgoing email (SMTP) server. If you continue to receive this message, contact your server administrator or Internet Service Provider (ISP) ». . «
Mostly this error is seen when you are using MS Outlook (the desktop application) and even Outlook Web or Outlook on your phone. In this article, let’s look at different ways to fix this error. Before trying the following solutions, make sure your network is active and stable.
Solution 1: change the output port
Many ISPs require you to use their SMTP servers if you use port 25. So changing it to other default ports sometimes solves the problem.
Step 1: Open the MS Outlook application.
Step 2: click Proceedings from the top menu options.
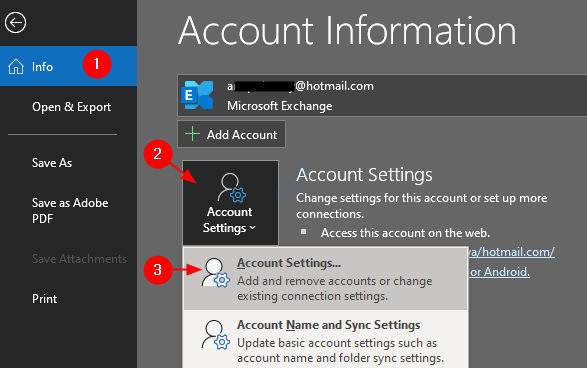
Step 3: in the window that appears, below the Information tab, click the account settings
Step 4: Click the account settings in the pop-up context menu.
Step 5: in the account settings window that opens, click the account required and then press Change As shown below.

Step 6: In the Change Account window, click the More settings button.
Step 7: in the Internet email settings window that opens, click the Outgoing server tab.
Paso 8: Check the box corresponding to My outgoing server (SMTP) requires authentication.
Step 9: Now, tick upon Use the same settings as my incoming mail server.
Step 10: Now, click in the called tab Connection.
Paso 11: Tick upon Connect using my local area network (LAN)
Paso 12: Click upon the advanced tab.
Step 13: Configure the Incoming server (POP3) for 110.
Step 14: Configure the Outgoing server (SMTP) for 587.
Step 15: From Use the following type of encrypted connection drop down, choose TLS.
Step 16: Finally, click it’s okay.
Step 17: Close and reopen the Outlook application.
Step 18: Press the Send / Receive button.
Step 19: If you see the error again, open the Internet email settings window (Steps 1 to 7) and click the Advanced tab.
Step 20: Configure the Outgoing server (SMTP) for 465.
Step 21: From Use the following type of encrypted connection drop down, choose SSL.
Solution 2: delete and re-add the Outlook account
Step 1: Open the MS Outlook application.
Step 2: click Proceedings from the top menu options.

Step 3: in the window that appears, below the Information tab, click Account settings.
Step 4: click account settings in the pop-up context menu.
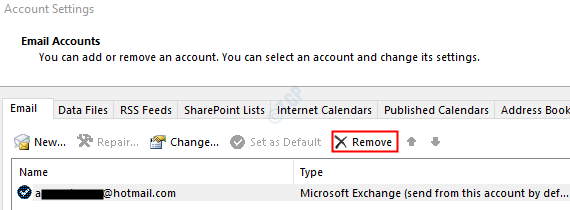
Step 5: in the account settings window that opens, click on the account you want to delete.
Step 6: Press Remove As shown below.
Step 7: Open MS Outlook application and click Proceedings Menu option.
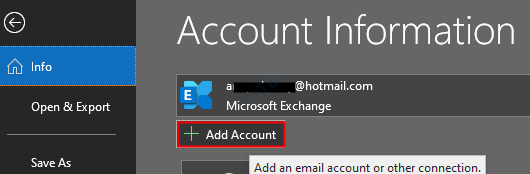
Step 8: in the Information tab, click Add Account button.
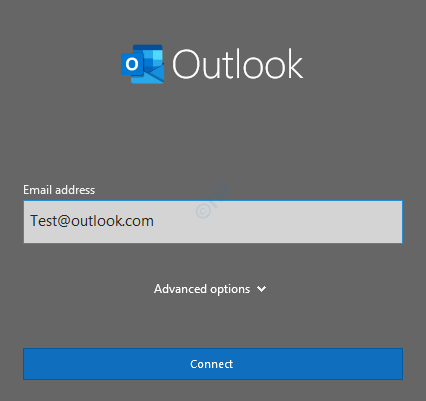
Step 9: Enter your email address and press Connect. Follow the instructions displayed to add the account again.
This will take some time to finish the configuration settings.
Step 8: click End up. Now you can see the download of emails.
Check if the problem is resolved. If not, try the next solution.
Solution 3: reconfigure Windows Firewall
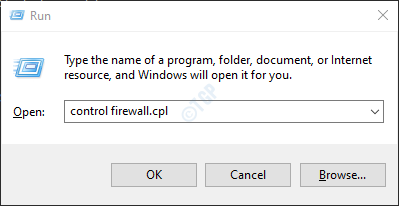
Step 1: Open the Run window using Windows + R
Step 2: Write control firewall.cpl, and press the Get into wrench
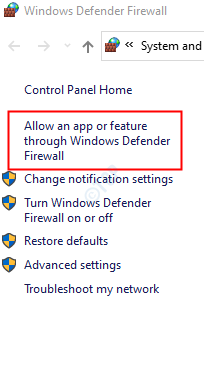
Step 3: On the left side menu, click the Allow an app or feature through Windows Defender Firewall option
Step 4: In the opening window, locate the processes. msimn.exe and Outlook.exe and enable them for both public and private networks.
Step 5: Finally, click it’s okay.
Step 6: reboot the system.
Check if the error goes away.
Solution 4: repair MS Office application
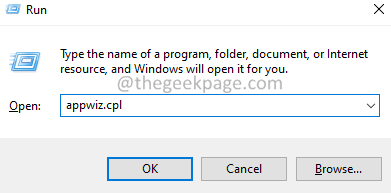
Step 1: Press and hold the buttons Windows + r together.
Step 2: In the Run window, type appwiz.cpl, and click the Enter password.
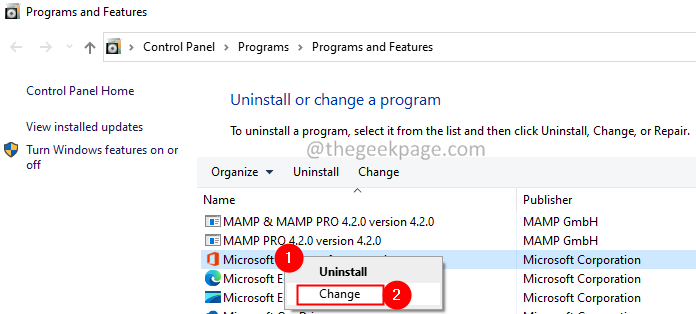
Step 3: In the Program and Features window that opens, locate Microsoft 365. Right click on it. and select Change.
Step 4: If the UAC appears asking for permissions, click And.
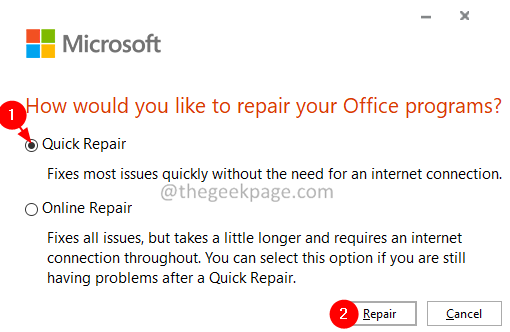
Step 5: In the dialog box that appears, click Quick repair.
Step 6: Click the Repair button.
Step 7: Follow the instructions displayed and repair the Office programs.
Step 8: If the problem is caused by a corrupted Office 365 application, this solution will resolve the problem.
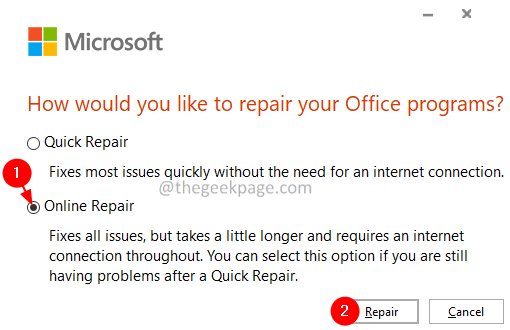
Step 9: Restart the application and check if the problem has been fixed. If not, try to choose Online repair (instead of Quick Repair as in Step 6) to repair Office applications.
Step 10: Restart the application and check if the error has been fixed.
Solution 5: Delete your Outlook app account from Outlook phone or web
If you see the error in MSOutlook (desktop) and you can send or receive the emails from Outlook Web or the Outlook app on your phone, try deleting the account from the mobile app and / or Outlook WebApp.
After deleting, when you try to send or receive the emails, you will see that the problem is resolved. I hope this helps.
That is all.
We hope this article has been informative. Please comment and let us know the solution that has helped you solve the problem.
Thank you for reading.
Related posts:
 How to access Steam games without an internet connection
  How to view FPS with Xbox Game Bar in Windows 10: Steps Made Easy
  Hacked account? How to check and remedy
  How to make video calls from WhatsApp Web
  How to increase the RAM memory of a desktop or laptop + Tips and Tricks
  How to organize your YouTube subscriptions into categories
+ Tips and Tricks
How to organize your YouTube subscriptions into categories
+ Tips and Tricks


