


How to install Chrome OS Flex on your Windows 11.10 PC
Older PCs and laptops have become a drag where resource constraints prevent them from upgrading or functioning in this new age ecosystem. So whether it’s an older PC or a laptop, it just sits in a corner and awaits its eventual demise. Well not anymore! Google has introduced a completely new cloud-based operating system called Chrome OS Flex, which can be installed on any third-party device like PC/Laptop or Macbooks. In this article, we are going to discuss how to create a bootable USB drive for Chrome OS Flex and install it on your old PCs to give it a new lease of life.
How to install Chrome OS Flex: a step-by-step guide
In the following article, we have mentioned the step-by-step approach to flash Chrome OS Flex to a drive, then plug it in and use it to finish installing Chrome OS flex on your PCs.
But before you rush into the main steps, there are some minimum requirements that you should make sure your old PC/laptop covers.
Minimum requirements –
1. Windows PC with Intel or AMD x86-64-bit processor.
2. Minimum of 4 GB of RAM.
3. Internal storage of 16 GB or more.
Additionally, you will need a USB drive with 8 GB or more of storage. As usual, all data on the drive will be deleted during the process, so please back up your data beforehand.
Google has specified which laptops or PCs are compatible with this list. You can check if your device is included in that list. Even if your device isn’t included, Chrome OS Flex is compatible with all devices that meet the minimum requirements.
NOTE –
This process formats and erases all data on the device you are installing on. Therefore, do not forget to back up your data before proceeding to install the operating system.
Step 1: Create the bootable drive
You have to flash Chrome OS Flex on a flash drive.
1. At first, go to the Chromebook Recovery Utility extensions page.
2. Once you get there, tap «Add to Chrome“.
3. To confirm this process, tap on “add extension“.

Wait for Chrome to download and add this extension to the browser.
4. Once you are done, tap on the puzzle icon on the right side of the address bar and then click on «Chromebook Recovery Utility“.

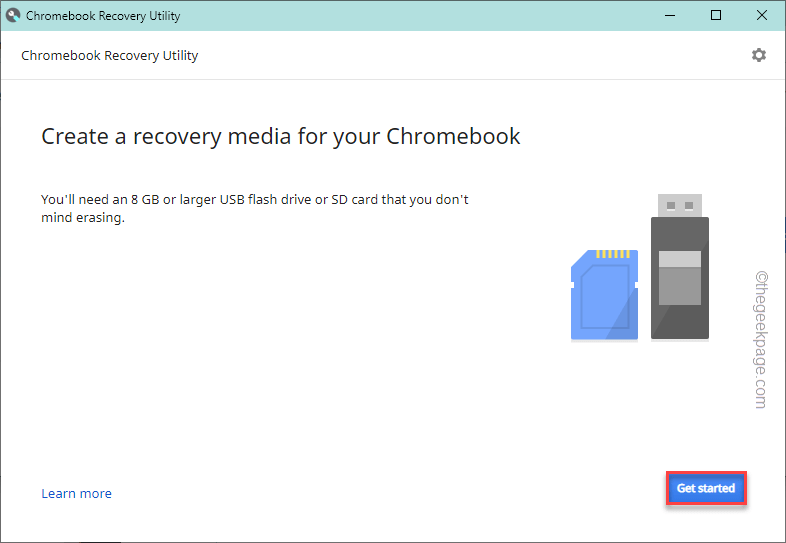
The Chromebook Recovery Utility will open.
5. Tap on “Begin“.
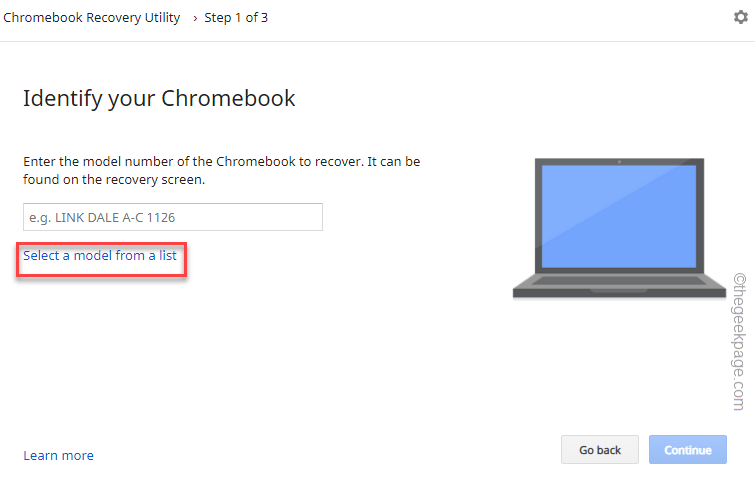
6. Now on the Chromebook Recovery Utility page, tap on “Select a model from a list“.
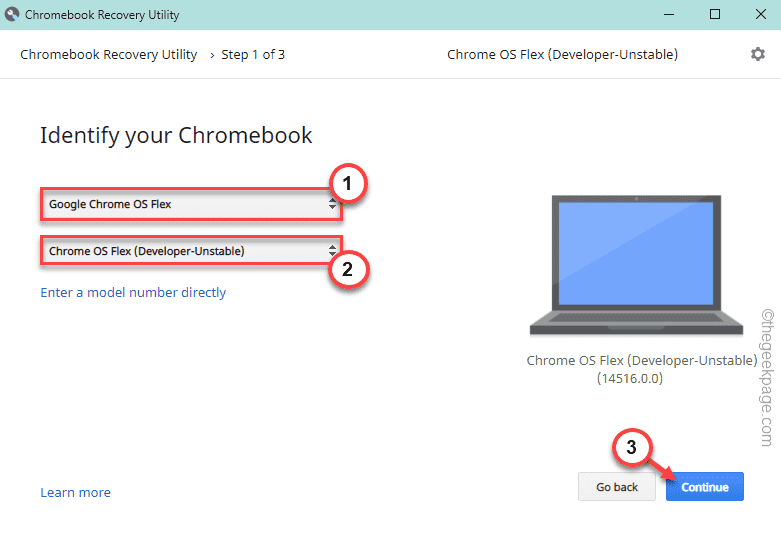
7. In the next step, tap on the first dropdown menu to select the manufacturer and choose «Sistema operativo Google Chrome Flex“.
8. Then set the second dropdown option to «Chrome OS Flex (developer-unstable)“.
9. Finally, tap on “Continue“.
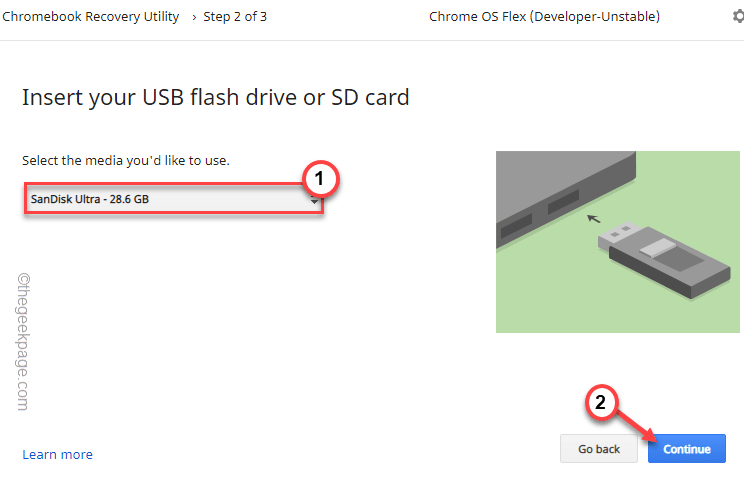
10. Now plug in your USB drive.
11. Next, select your USB drive from the dropdown list and tap «Continue“.
12. In the final step, tap «Create now” to create the flash drive.
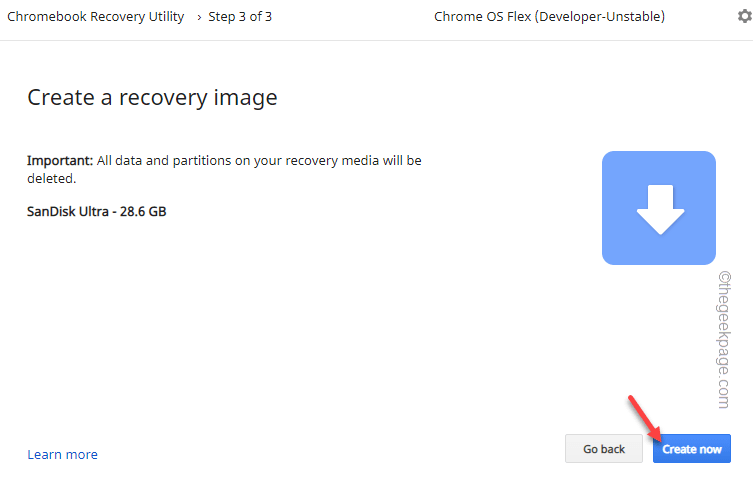
It will now download Chrome OS Flex to the drive, unzip it, and write it to the USB drive.
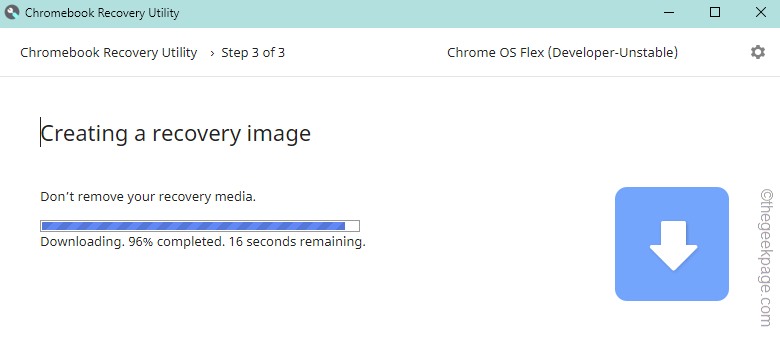
This process can take a while.
The waiting unit is complete.
Step 2: Get started on your previous PC and install Chrome OS Flex
Once you’ve completed the first part, you can now use the USB drive to install Chrome OS Flex.
1. Plug in the USB drive.
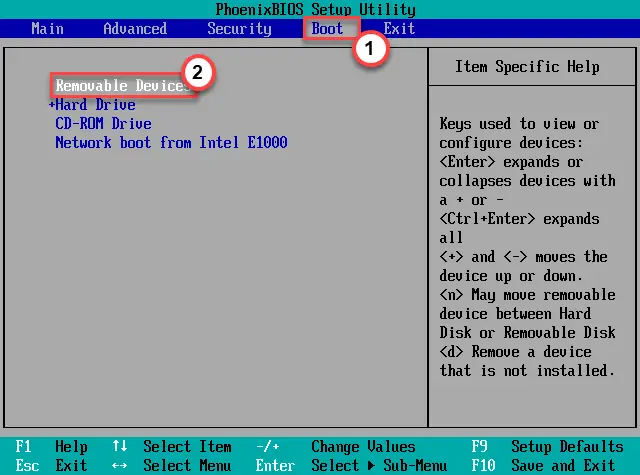
2. Then boot your system. During startup, repeatedly press the associated button start key to access the boot menu.
It actually differs from manufacturer to manufacturer. These are the keys used by popular brands:
F2, Supr, F12, F1, F9, F2, ESC

3. Once the boot menu opens, go to «world” and select the USB drive with the arrow keys.
4. Then press Get into to boot using the drive.
It will appear on the Welcome to CloudReady 2.0 page.
5. Then tap on “Begin“.
6. Now on the next page you will see two options:
Install CloudReady 2.0
try it first
You can choose “try it first” to run and test the operating system directly from the USB file.
Click on “Install CloudReady 2.0” to make the device a CloudReady 2.0 device.
7. As we have mentioned before, this process will format the device.
8. Finally, tap on “Install CloudReady 2.0“.
This will start the final installation process. Very soon, Chrome OS Flex will boot up on your computer.
Enjoy!
Related posts:
 How to access Steam games without an internet connection
  How to view FPS with Xbox Game Bar in Windows 10: Steps Made Easy
  Hacked account? How to check and remedy
  How to make video calls from WhatsApp Web
  How to increase the RAM memory of a desktop or laptop + Tips and Tricks
  How to organize your YouTube subscriptions into categories
+ Tips and Tricks
How to organize your YouTube subscriptions into categories
+ Tips and Tricks


