


How to Take Photos with Instagram Filters and Timer From the App?
–
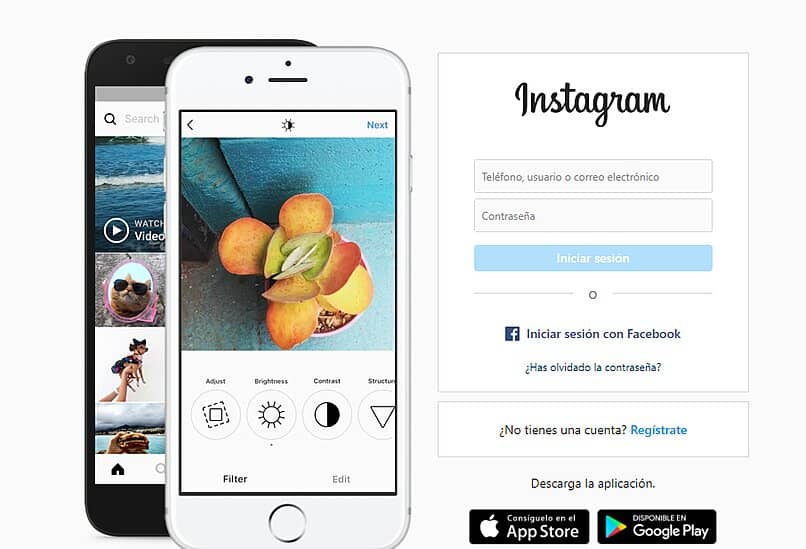
Instagram is a social network where you can interact with the people you love, but today it is not only used as a social network, but also as an image editor program. In it you can easily take professional photographs, if you do not know how to use its filters, here we will explain how to take photos with instagram filters and the timer from the App
How can you access Instagram filters from the app’s camera?
Instagram filters are a way to easily edit your photos from the camera of the same application, you just have to place them and start taking pictures, This is how you can use them:
- Enter the application menu of your app, here are all apps downloaded to your device.
- Search and find the Instagram app.
- When you have her in your sights, press on her in order to enter.
- If you are already inside it, press on the application’s camera, you can do it as if you were going to upload a new story.
- Being already in your camera, you must slide the lower part of your screen, here you will find a series of filters, to place them you just have to press on them, too you can search for more at the bottom right of your screen.
What steps should you follow to activate the camera timer on Instagram?
One way to take your photos and make it easier for you is by setting a timer for have already displayed when the capture was takenif you want to place this option you just have to follow these steps:
- Enter your Instagram social network, for this you can do it with your application from your iOS or Android device.
- While in your app, enter your app’s camera.
- You have an option that says timer, which is located in the upper right.
- By pressing on this, you You will be able to choose how long you want them to be taken the photograph, it could be 3 or 10 seconds, choose the one that seems most convenient to you.
- When you place the time you must click on the shutter of your screen so that the clock begins to do its countdown and thus take the new photograph.
- If you already took the photo, now you can put stickers, emojis, music or anything else you want, just like before the timer you can put filters on your photos to make it look more professional.
What are the other edits you can make to your Instagram photos?
Adding filters and placing a timer on your photos are not only the editions that you can make to your photos, Instagram offers you others options to make your photos projections Expert, these are some:
Music is a way to give creativity and joy to your photos, it is an edition that you can implement to make your perfect instagram photos. You can place the music on your photos and both appear at the same time, if you don’t know how to do it, you just have to implement the following steps:
- Click on the Instagram application.
- Enter add photo and make an image you want share with your Instagram followers.
- When you already have this photo on your phone, click on add stickers, this option is located in the upper right part of your screen.
- Here you will see the music option.
- Enter the search engine and place the name of a song, you can also press between the options that they give you here.
- When you have selected the song that you want to place in your photo, you just have to press in sharing and waiting for it to finish uploading your photograph. You will only have the opportunity to place a song, in your search engine you will be able to find any song that is on a YouTube page, so you only have to search here.
insert your location
If you add your location to your photos in the Instagram application everyone will be able to see where you are located at that moment, if you want have privacy in your application this option is not recommendedbut if not you can add your location as follows:
- Enter your Instagram application, you must already have it downloaded beforehand.
- When you are in the application you must enter add a new content for your Instagram app.
- If you already have your content on your screen, click on Add location, this option is among one of the settings you have on your screen, these settings are located depending on the model of your device.
- A box will appear on your screen where you must place the location you want to put on your photograph, you can also add one of the ones offered here.
- Al ya write your location you will only have to press share and that’s it.

Add a moving sticker
If you have an account in the application or social network Instagram you can implement many options for editing your photosone of these will be to add stickers of different models, these can also be in motion as GIT, if you do not know how to place it, you just have to follow the following procedure, it is very simple:
- Enter the application menu of your phone.
- Now among your applications you must search for the Instagram social network, this procedure can be for a device with an iOS or Android system.
- After finding the app, Click on it to enter.
- If you do not have an open account, enter your data.
- Being already in the application with your account as such, you must press on the camera of your application.
- I take as a photo or video something that you want to add a moving sticker.
- As it is already taken, you will see that you will find a menu in your phytography.
- Here you will find some stickers, among these you can see the movement ones.
- Click on the ones you want to add so that they enter the image.
- Add the stickers you want.
Related posts:
 How to access Steam games without an internet connection
  How to view FPS with Xbox Game Bar in Windows 10: Steps Made Easy
  Hacked account? How to check and remedy
  How to make video calls from WhatsApp Web
  How to increase the RAM memory of a desktop or laptop + Tips and Tricks
  How to organize your YouTube subscriptions into categories
+ Tips and Tricks
How to organize your YouTube subscriptions into categories
+ Tips and Tricks


