


[SOLVED] No mapping was done between account names and security IDs
Windows users reported seeing a problem after making changes to their username in use. Even changing or resetting the password is known to cause this problem. The full error message is shown below:
No Mapping Between Account Names And Security IDs Was Done
This article covers the fixes that can help you overcome the above error.
Solution 1: use Registry Editor
1. Open Run dialog with the keys Windows + R.
2. Type the command «Regedit» and hit Get into.
3. If you see a UAC window looking for permissions, click Yes.
4. In the registry editor window, copy and paste the following location in the search bar and press the Get into wrench. Please see the screenshot below for more details.
HKEY_LOCAL_MACHINESOFTWAREMicrosoftWindows NTCurrentVersionWinlogonGPExtensions{827D319E-6EAC-11D2-A4EA-00C04F79F83A}5. On the right side, locate the key called ExtensionDebugLevel.
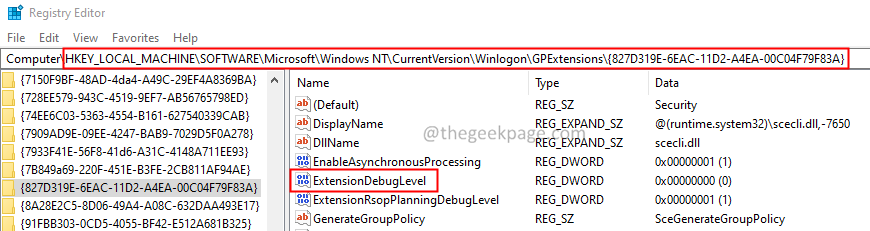
6. Double click on the key to modify its value.
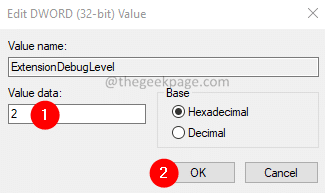
7. In the Edit DWORD window that opens, set the value to 2 and hit Get into.
8. Restart the system.
Solution 2: use the Microsoft Management Console
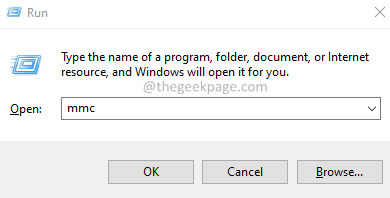
1. Hold down the keys Win + R to open the To run Dialogue.
2. In the Run dialog box, enter mmc and hit Get into.
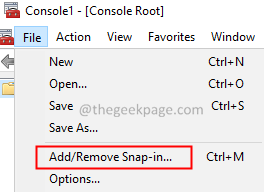
3. In the Microsoft Management Console (MMC) window that opens, click Archive and choose Add or remove plugin option.
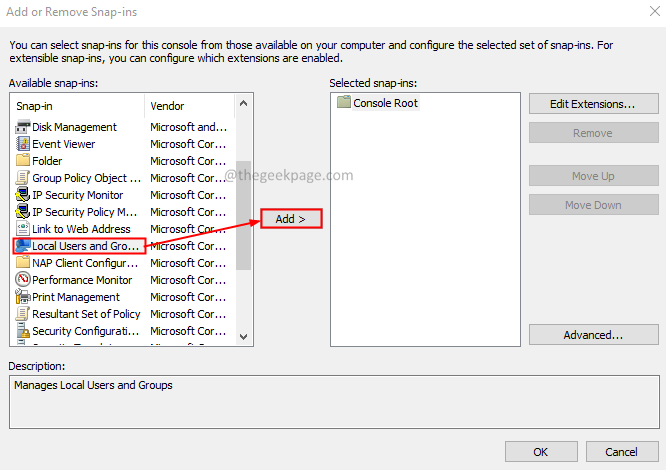
4. The Add or remove plugins the window opens. From the Available add-ons section, locate Local users and groups.
5. Then click the Add button.
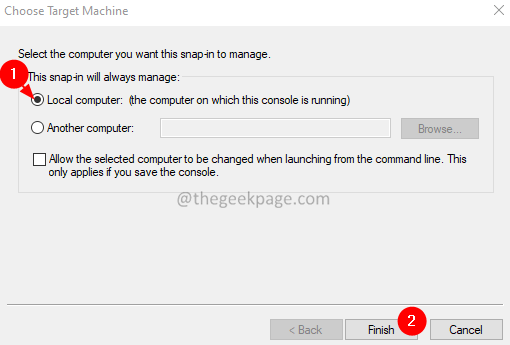
6. You will see the Choose Target Machine window appear. Check the Local computer option.
7. Click the End up button.
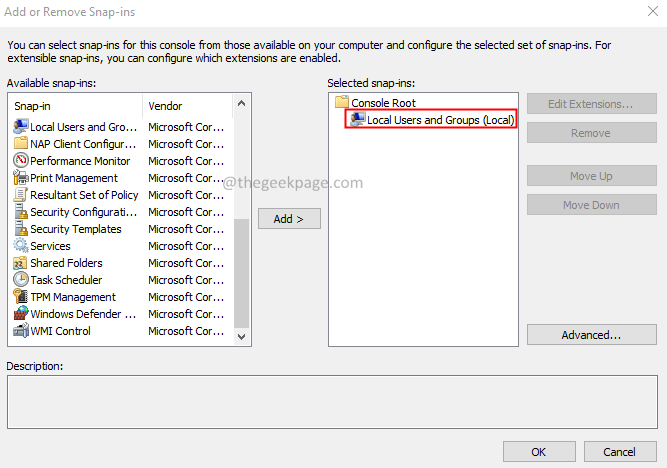
8. Now, you should see the Local users and groups at Selected add-ons section.
9. Click the OK button.
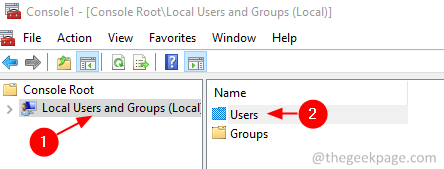
10. Click the Local users and groups On the left side.
11. Now click on the Users folder on the right side.
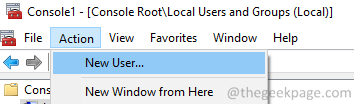
12. Click the Action and choose New user.
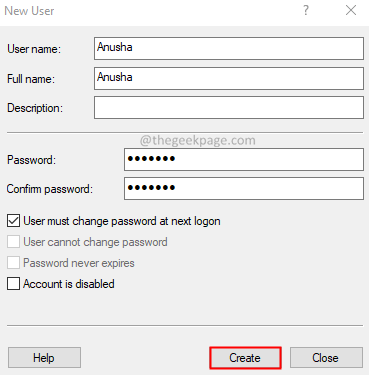
13. In the New user window that opens, enter the credentials and click on the To create button.
14. Finally, reboot the system.
Solution 3: Log out and log into the system.
This simple solution has helped some of the users.
1. Hold down the keys Ctrl + Shift + Delete
2. On the screen, select Disconnect.
3. Log back in and see if the problem is resolved.
Solution 4: Disconnect your Microsoft Live account and use it again.
If you are logged into the system with your Microsoft account, try logging out and then trying to log in again.
1. Using the keys Win + R, open the To run dialogue.
2. Type ms-settings: emailandaccounts and press Get into.
3. Sign out of your Microsoft account.
4. Create a local user account. For more details, see the link How to create a local Windows 10 account
5. Restart your system.
6. Log in from the local user account.
7. Now, go back to your Microsoft account.
8. Reboot the system.
That’s it.
We hope this article has been informative. Thank you for reading.
Please comment and let us know if this solution helped you.
Related posts:
 How to access Steam games without an internet connection
  How to view FPS with Xbox Game Bar in Windows 10: Steps Made Easy
  Hacked account? How to check and remedy
  How to make video calls from WhatsApp Web
  How to increase the RAM memory of a desktop or laptop + Tips and Tricks
  How to organize your YouTube subscriptions into categories
+ Tips and Tricks
How to organize your YouTube subscriptions into categories
+ Tips and Tricks


