


5. Windows 10 insufficient virtual memory error
Windows 10 has virtual memory which is an extension of the physical memory of our computer, so that a combination of RAM and hard disk is created, thus, when the physical RAM does not give enough to execute a task, Windows 10 takes care of temporarily storing files in virtual memory and then swapping them back to RAM at the appropriate time, but this process can negatively impact hard drive performance.
Step 1
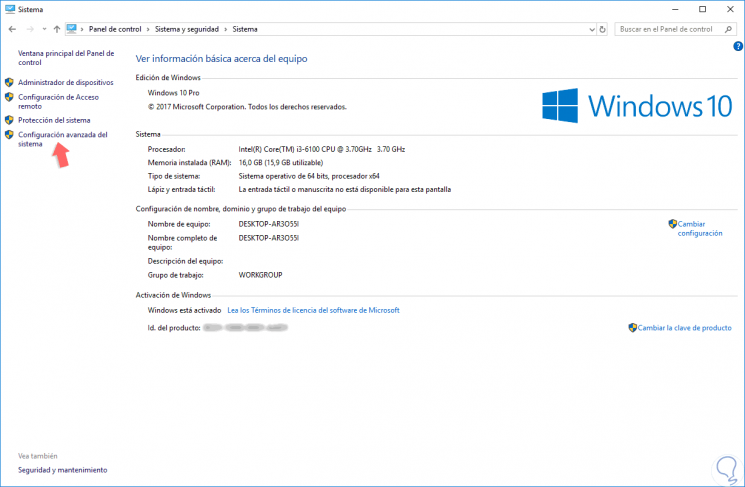
For this configuration we will go to the following route:
Step 2
There we click on the line “Advanced system configuration” located on the left side and in the new window displayed we go to the “Advanced options” tab:

Step 3
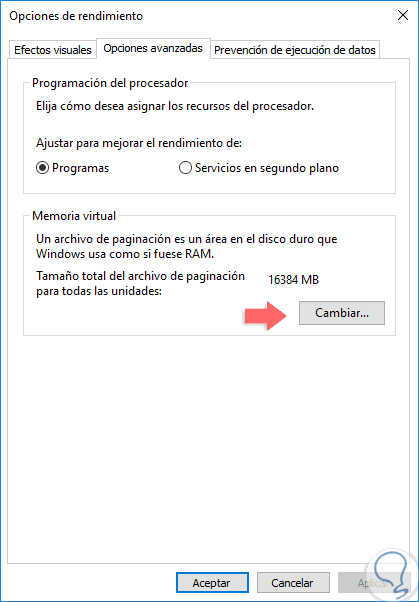
There we click on the “Settings” button located in the “Performance” section and in the new window we go back to the “Advanced options” tab where we will see the following:
Step 4
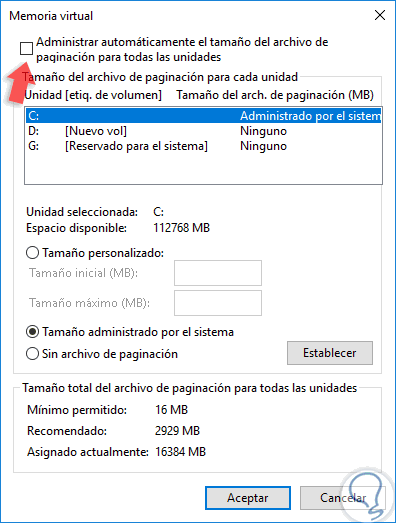
There we click on the “Change” button located in the “Virtual memory” section and there we will validate that the “Automatically manage the paging file size for all units” box is disabled:
Step 5
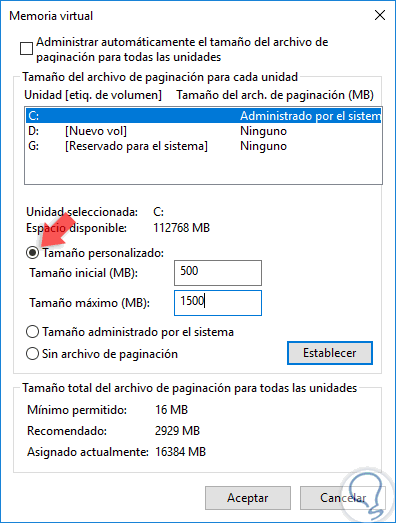
Then we select the drive where the operating system is installed, normally drive C, and there we will enter an initial size and maximum size for virtual memory in MB by activating the “Custom size” box:
Step 6
Once the values have been defined, click on the “Establish” button and then “OK” to apply the changes.
Then, we will use the following key combination and execute the “temp” line:
+ R
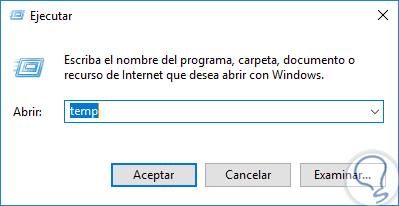
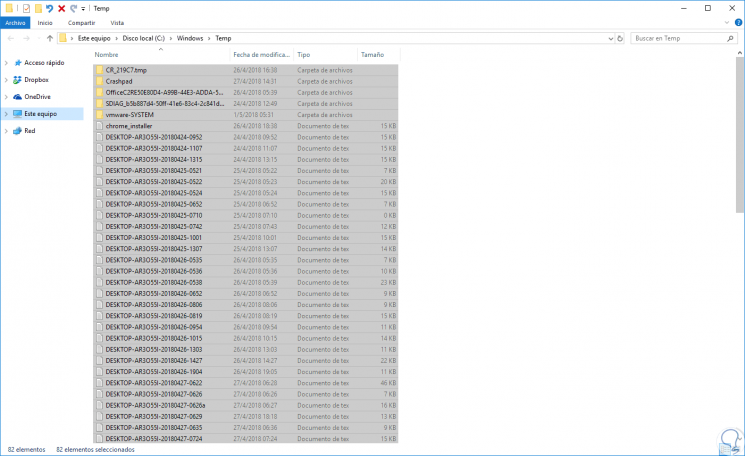
Step 7
We press Enter or Accept and in the displayed window we will select all the files and proceed to delete them. Once this is done we can check the status of the hard drive from the Task Manager.
6. Solution Skype and Google Chrome CPU 100 Windows 10
Two of the tools most used today for multiple personal and professional tasks are Skype and Google Chrome, but when using both it is possible that a direct impact on the use of the hard disk is generated.
Step 1
To configure Google Chrome, click on the “Customize and control Google Chrome” icon and select the “Configuration” line:

Step 2
In the new window we go to the bottom and click on the “Advanced” line and then we go to the “Privacy and security” section and there we will deactivate the switch “Use a prediction service to load the pages faster”:
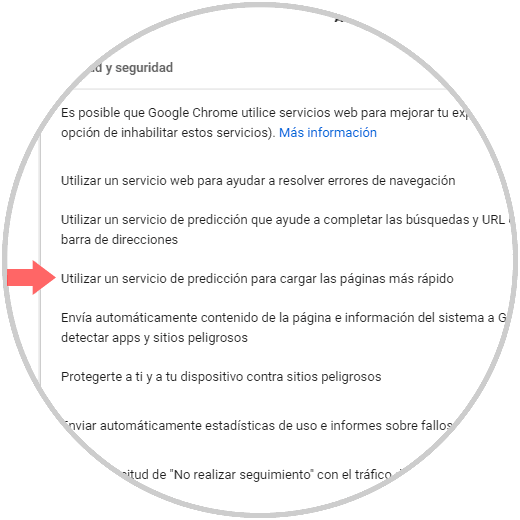
Step 3
Now, to configure Skype, we must validate that Skype is not running and then we will go to the following path:
C:Program Files (x86)SkypePhone
Step 4
There we will right click on the Skype executable and select the “Properties” option:
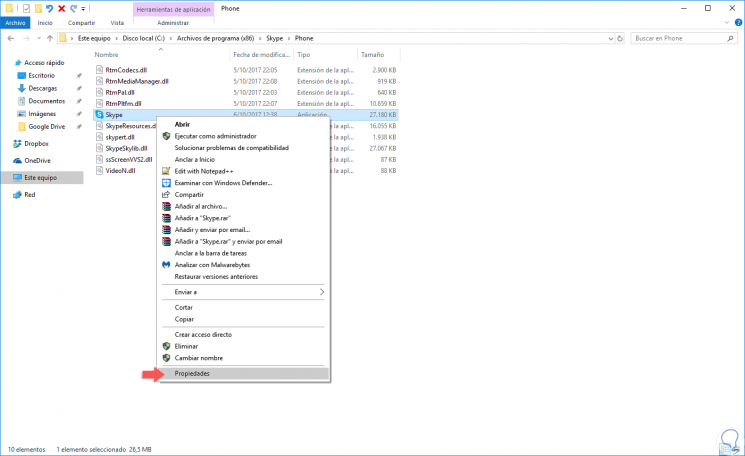
Step 5
In the displayed window we go to the “Security” tab:
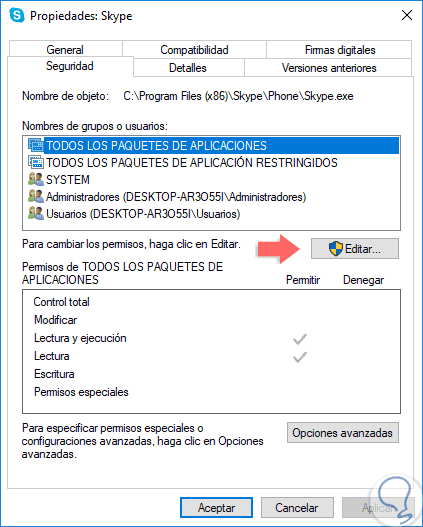
Step 6
There we click on the “Edit” button and in the new window we select the option “ALL APPLICATION PACKAGES” and we validate that the “Writing” box is active. Click on Apply and OK to save the changes.


